
Part 2 of 2
In our last blog, we featured a full-scale remodel in which we incorporated accessible features to make a 1940s home more wheelchair friendly. Part 1 delved into how we modified the home’s entrance and doors and created seamless flooring transitions.
Here in Part 2 we’ll talk about modifications we made in specific rooms—including the kitchen and bathrooms—and automations we added throughout the house.
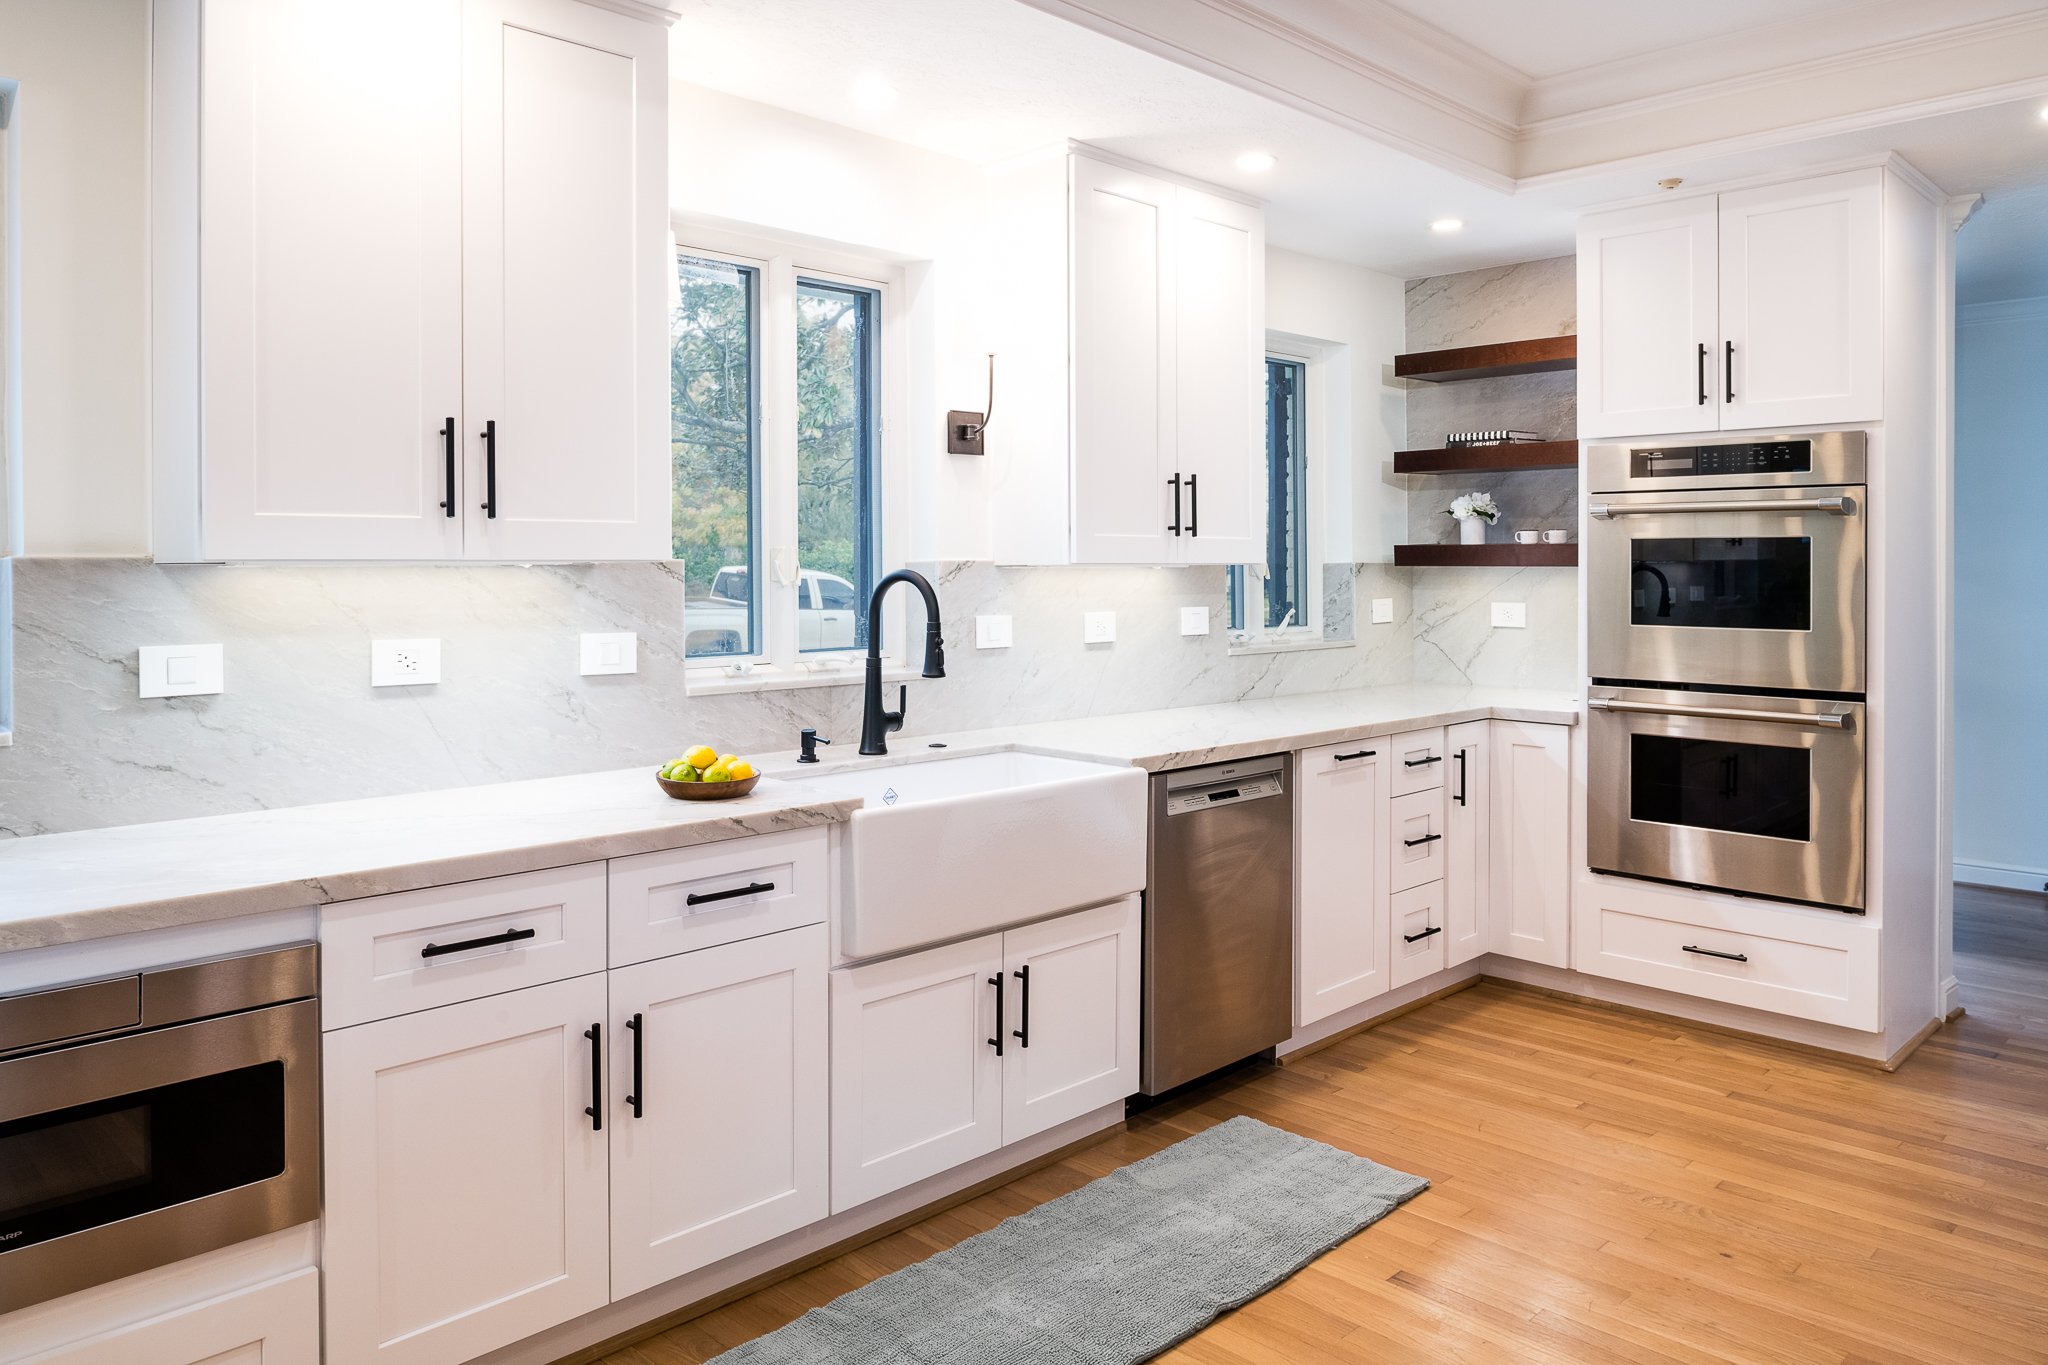
A more functional kitchen
The home’s kitchen has a pass-through layout, meaning the kitchen has two points of exit and entry. The space needed to be adapted so it could be wide enough for a wheelchair to enter and turn around in the space.


The island was very narrow and it didn’t have room for a wheelchair to work at it. We widened the adjacent opening and built a new cantilevered quartzite table, meaning it’s fastened at just one end. We used steel strips embedded in the 5/8 of an inch of plywood base to provide the required support for the semi-floating countertop.
Next, we installed a touch-control microwave into lower kitchen cabinets.


Creating an accessible bathroom
The existing bathroom had an enclosed shower and tub. We took out the tub and added a big, no-step, partially open shower instead. The open shower has no curb, so the owner can easily access the shower in their wheelchair.


First, however, we had to prepare the room for the shower. We extended the shower pan to cover the entire room, with the cement bed graded so water will drain from the across the floor into the shower and then down the drain.


We also opened up the entrance to the primary bath from the main bedroom to 48 inches and installed a pair of custom double barn doors.
Tip: Not only are barn doors a great space saver, but they also add visual interest due to the exposed railing and guides. They can also be ADA compliant.
While conventional doors have a swing or a hinged door, with barn doors, the footprint is smaller since the door opens parallel to the wall at a depth of only about 3 to 4 inches. Unlike pocket doors, no construction is required because the door stays outside the bathroom and slides in front of the opening. (With pocket doors you have to create the space for the door to slide into. When that wall contains pipes, wiring or structural components, it can be a big job.)
We installed a pair of custom, glass panel barn doors between the primary bedroom and bathroom using ball bearing floor guides for a smooth, quality feel to opening the door. If you use a minimal gap, you won’t experience door shaking. We used small transparent rubber buttons, instead of door stops, where required, for a cleaner look.


Adding automation
The owner wanted automation and voice control for the home’s systems. This included HVAC, lighting, audio visual, blinds and access.
We installed a full home automation system. Now, the owners can open garage and exterior doors (with the help of electromechanical door openers), change the temperature, open or close blinds, turn on music or TVs and control all the lights in the house by voice or with just a few clicks.
We placed the automation system controls and power in a closet in the living unit above the garage. To give the controls the necessary airflow to keep the system cool, we added a return air vent in the room.


Tip: Automation systems require extensive programming and physical access. When picking a spot for the system, choose one that’s easily accessible and won’t disrupt the household. For example, we don’t recommend putting the system in the primary bedroom closet.