
From tooth brushing and face washing to luxuriating in a long shower, most homeowners spend a significant amount of time in the bathroom. For many, it’s a sanctuary. One survey found two in five homeowners rest and relax in their bathroom.
We love helping transform outdated bathrooms into spa-like oases. A recent project helping a young family of four revitalize their small and inefficient primary bathroom was especially rewarding and everyone was pleased with the end result.


The owners’ existing bathroom felt closed off, dark and claustrophobic. It had a small shower with an unnecessary step-up at the entrance and an oversized tub on a raised platform toward the back. Designers often like to make a tub the focal point of a bathroom. But, in this case, it looked like the tub was added as an afterthought.


The bathroom also didn’t give the owners adequate storage, and having only one sink in the room created traffic congestion in the morning when everyone was getting ready for their day. The bathroom needed a major change. We planned to give it a completely new layout, and we started the total remodel by gutting the small room.


Here’s how we approached the small bathroom remodel, which our client needed to be done on a tight budget. As Don Draper from the TV show “Mad Men” likes to say, we wanted to “Make it simple, but significant.”
1. Planning it all out. We started by creating a new bathroom layout. The owners didn’t use the tub at all, so we decided to get rid of it and instead put a larger shower in the room. By removing the old shower from the entry way, we opened up the space and then had room for a nice linen closet by the entrance.
We wanted to hide the toilet so it wasn’t the first item seen when entering the room. We found the perfect place—in between the linen closet and the shower. That way, we could fit a double vanity in place of the prior single vanity and toilet. There was also a space in the wall behind the toilet we could use for storage. We found the previous contractor made the wall thick enough to accommodate a storage space. We used mosaic tile and put it in the middle of the space.
Since we were working with a small space with almost no natural light, we chose bright colors for the room. Knowing the tight budget, as we picked materials, we found wholesale items and items on clearance at warehouses that worked well.
Arieli Custom Homes Bathroom Remodel Ideas
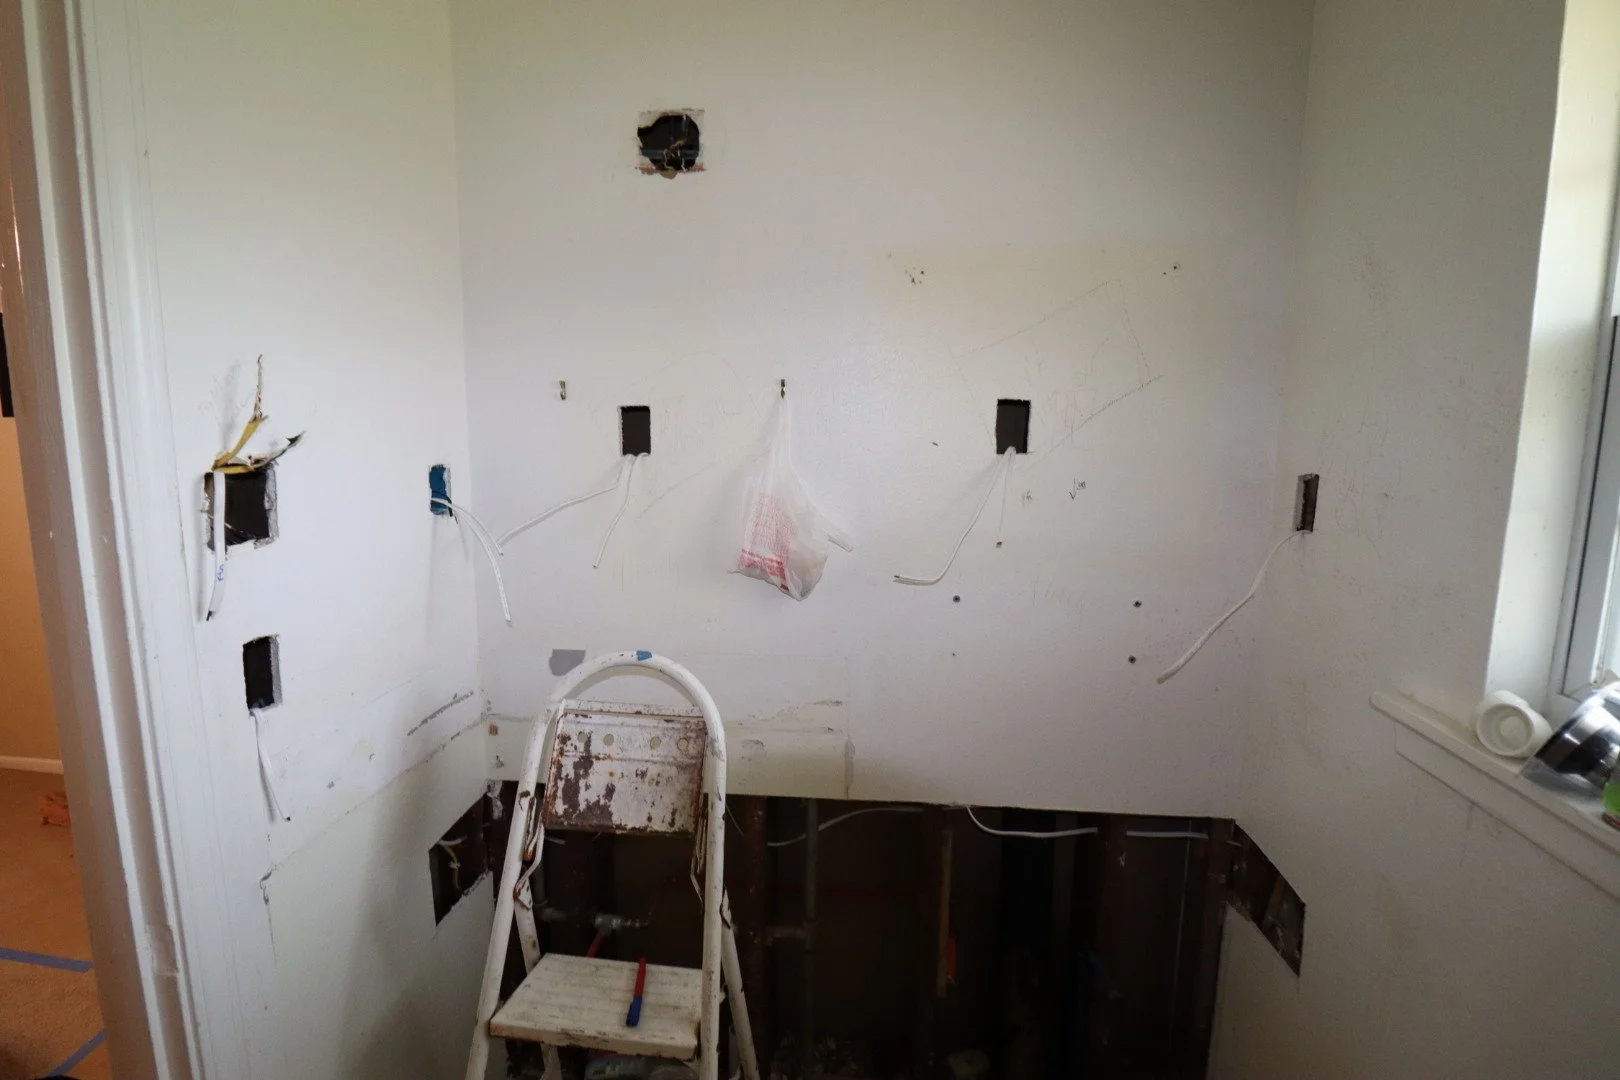
2. Demolishing the old bathroom. We ripped out everything in the room—including the elevation differences and steps—leaving only the walls.


3. Making the plumbing adjustments. Since we moved the toilet and shower and added another sink, we needed some substantial plumbing work in the bathroom. The house is slab on grade, so we had to cut through the slab and back porch concrete deck, onto which the previous contractor had extended the bathroom.
4. Doing the electrical work. We like layering lighting and believe the more options, the better. We added LED panel lights on the ceiling and installed LED lighted vanity mirrors above each sink.

5. Covering the walls. We replaced all the old insulation and sealed the exterior walls with Polyseal. In the shower area, we added a new shower pan, per code, and covered the shower walls with 1/4" cement board sealed with a waterproofing membrane. We built the bench from CMU blocks and cement and sealed it, too, with the waterproofing membrane.


6. Installing the tile. For the shower walls and bathroom floor, we chose a 12x24 porcelain tile. For the shower floor, and as an accent tile, we found a beautiful marble mosaic to add some texture. On the vanity wall, we used a 3x9 gloss subway ceramic tile with a gentle texture. A tile like this reflects more light than a matte finish and it has the effect of adding more brightness to a space.


7. Painting the room. We chose to use SW7009 Pearly White for walls. This creamy white paint helped add some warmth to the space. We chose other design elements, such as cabinet hardware and finish of vanity faucets in satin nickel (a warm-toned silver), for the same reason.
8. Putting up the shower glass. The previous shower had a traditional framed design that didn’t let much light pass through. We installed a frameless modern shower glass that goes great with the look of the new bathroom. It’s also glass treated to prevent water spots.
9. Trim out. In this last phase of electrical work in which plugs, switches and light fixtures are installed, we decided to install a humidity sensitive exhaust fan (with a built-in night light) and LED panel lights. A good place for the fan is on the ceiling between the toilet and shower.


10. Finishes. We liked a deep blue vanity to add some color to the mostly white and gray of the new design. The vanity has a bright quartz countertop that goes beautifully with all other elements. Adding black shower fixtures and a heated towel rack complemented the dark color of the vanity and made the design look cohesive and finished. With Houston’s high humidity, we also included a heated towel rack that helps with faster drying.
In the end, our clients were thrilled with the bathroom results and they’ve been enjoying their time in their new bright, open space.

