Remodel

How Much Does It Cost to Convert Windows to a Patio Door? 15 Things to Consider Before You Commit

Converting a window to a patio door can be a great way to get your family to spend more time outside—whether it’s barbequing, gardening or playing backyard games.

But contrary to popular belief,  the process isn’t quite as simple as popping out old windows and then securing a new door in their place. Converting windows into patio doors takes careful planning and precision during from demo through installation.
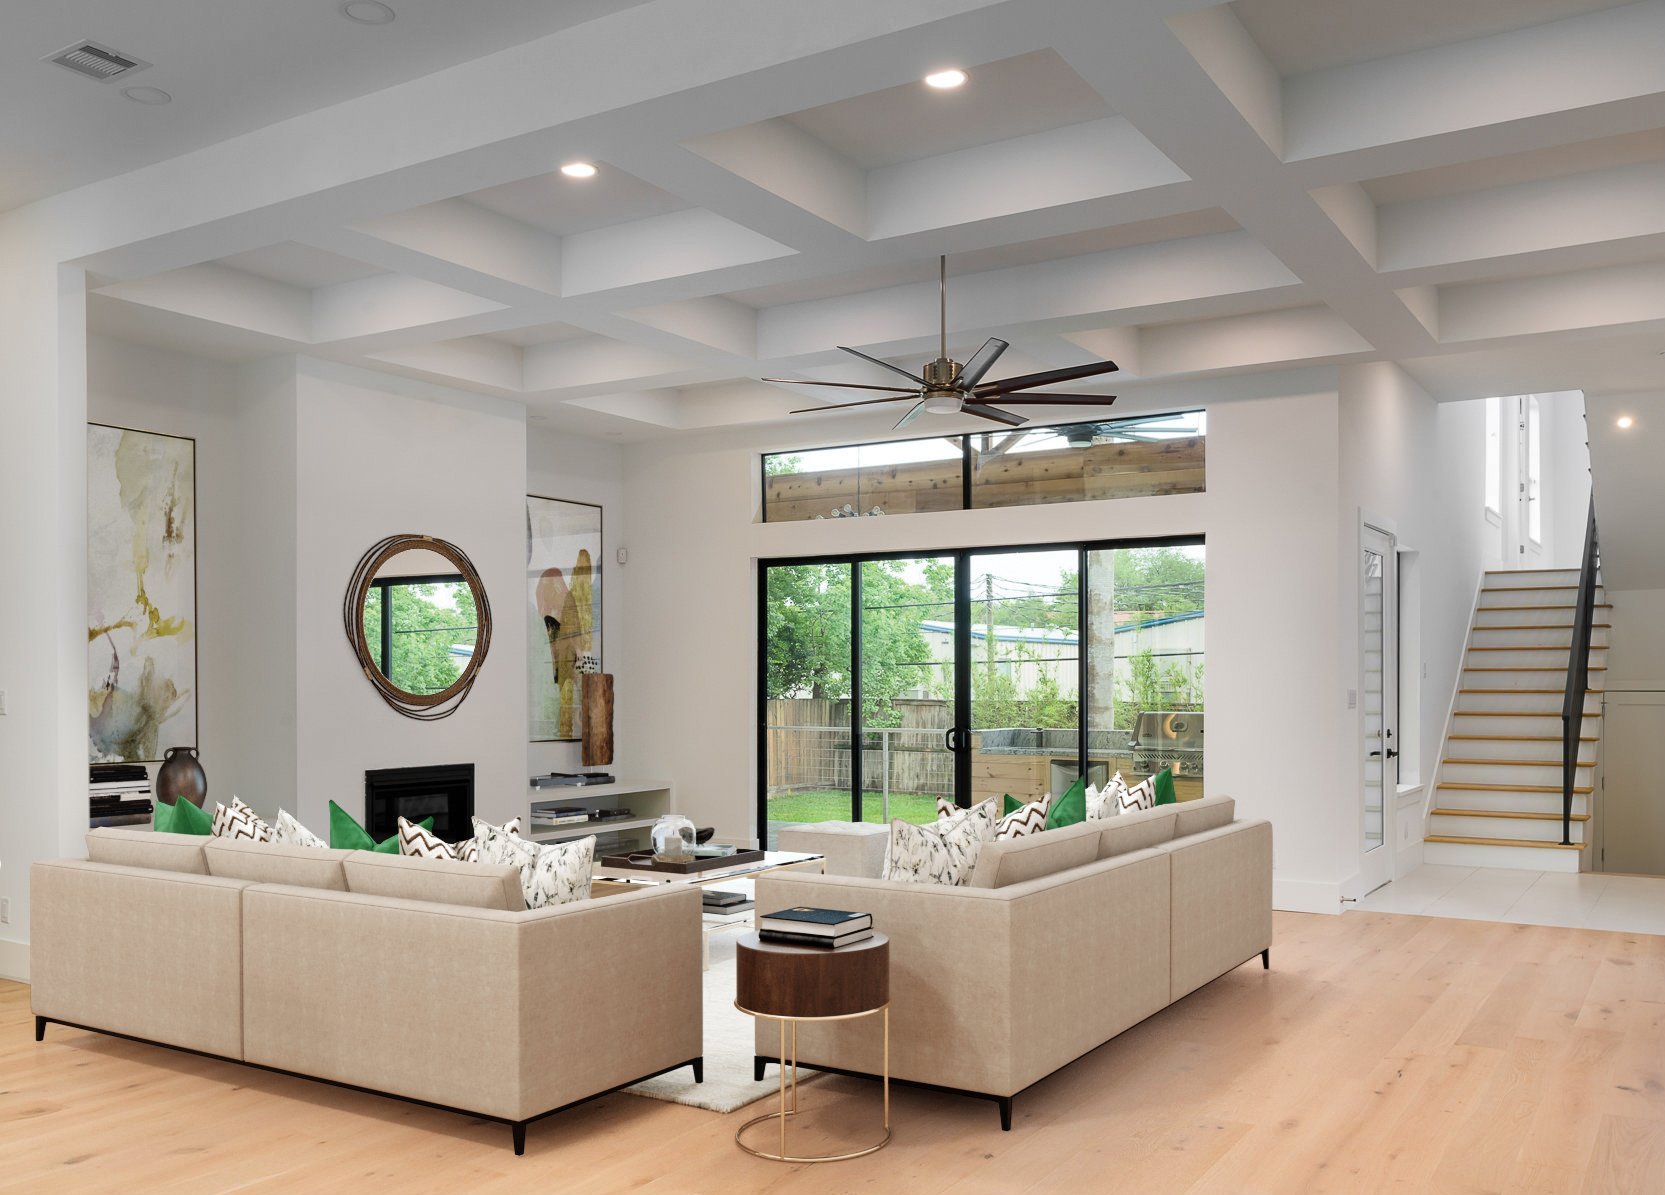
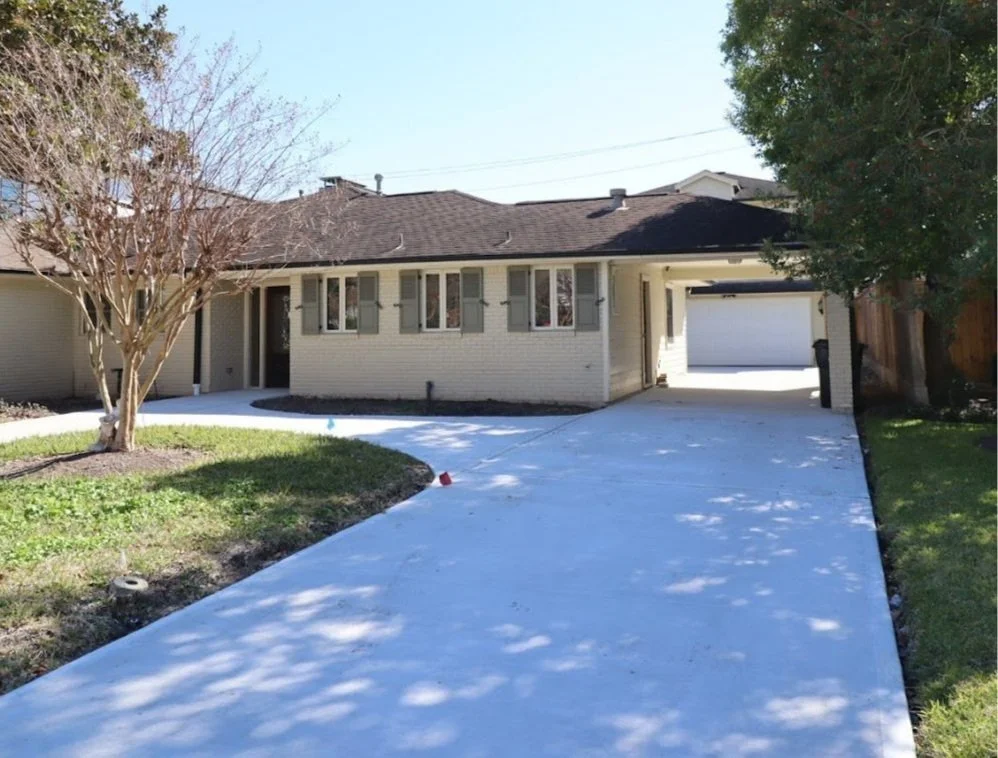
The Jason Project

Costs can also add up depending on the decisions you make and the materials you choose. If you’re toying with the idea of turning your windows into a patio door, here are 15 considerations to keep in mind—and decisions you should make—before you commit. 

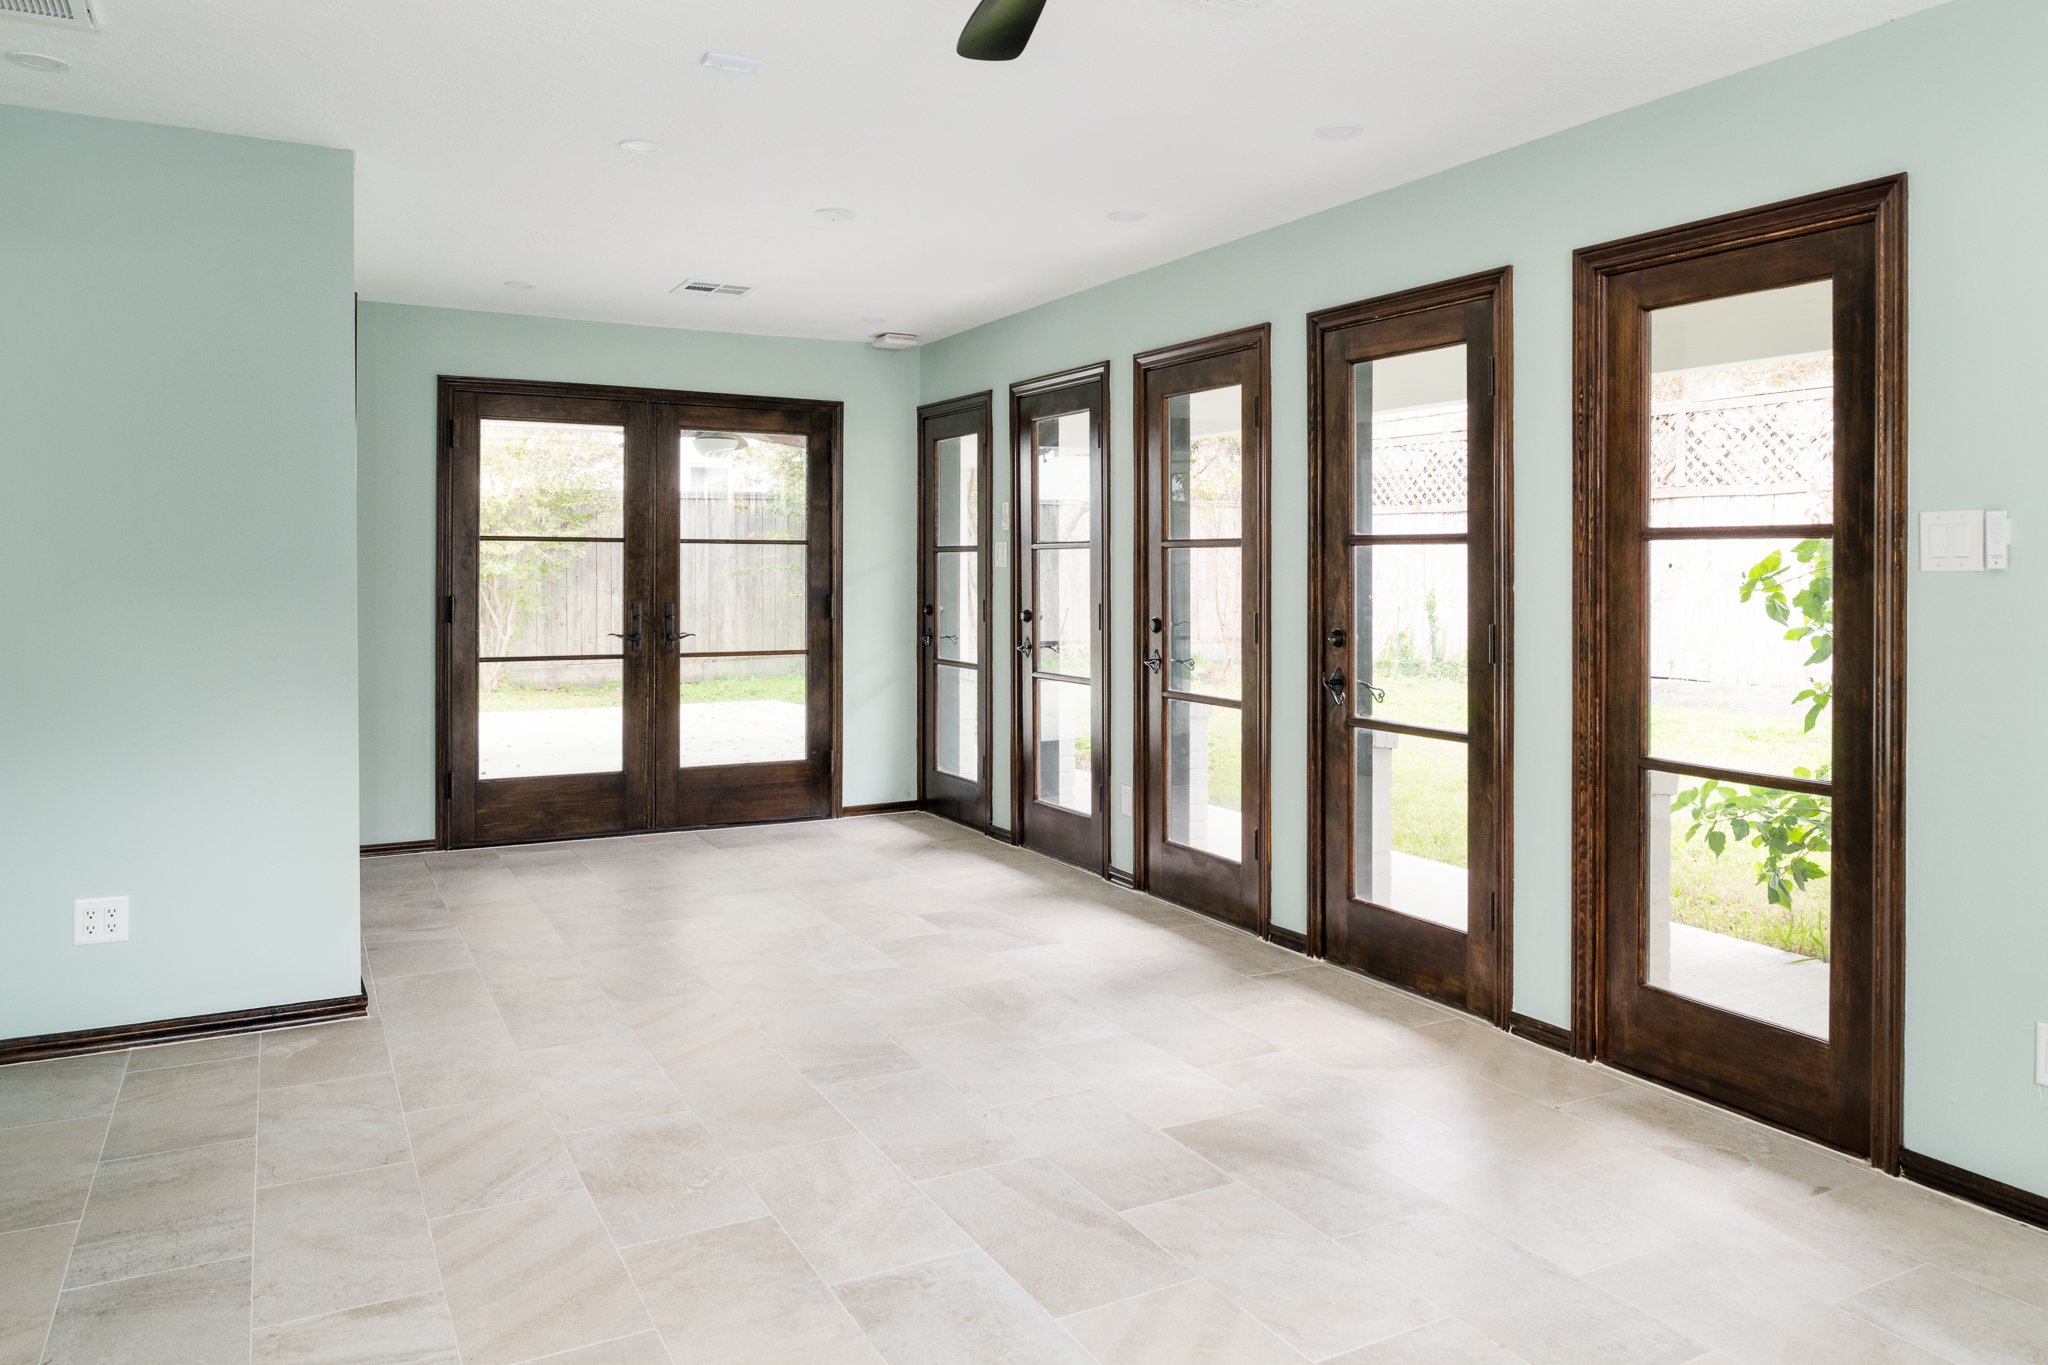
1. Decide on the doors. Door will be a big chunk of your budget. There are many varieties to choose from, including French, sliding, multi-slide and bifold patio doors. This can cost anywhere from $500-$20,000. Take the time to look at all the options online, in the store, or better yet in action at a friend or family member’s home, to decide which one you prefer.

2. Ask about an overhang. After considering size, cost and door style, ask the manufacturer their requirement for an overhang or facing to go along with the door. Depending on location, you may need to build an overhang to protect your doors from the elements—or even change the type of door you were considering depending on the manufacturer’s response. If you do need an overhang, a small, shingled mini roof can start at $1,500 and easily climb to tens thousands of dollars depending on the type of construction, finishes and size.  

3. Factor in demo costs. Demolition (inside and out) and debris removal can cost about $1,800 for a 10’x8’ wall. Price will depend on the type of construction—brick is more expensive than siding, for example—and location. Costs can add up, for instance, if manual hauls of debris are necessary because a dumpster isn’t allowed on the property per neighborhood policy.

4. Understand if you need a landing. Per some building codes, a landing outside any exterior doorway that doesn’t open onto a solid surface is required. If code requires you to have a landing outside the door, ask about the cost and required size. For example, a 6’x3’ basic concrete runs about $1,000.

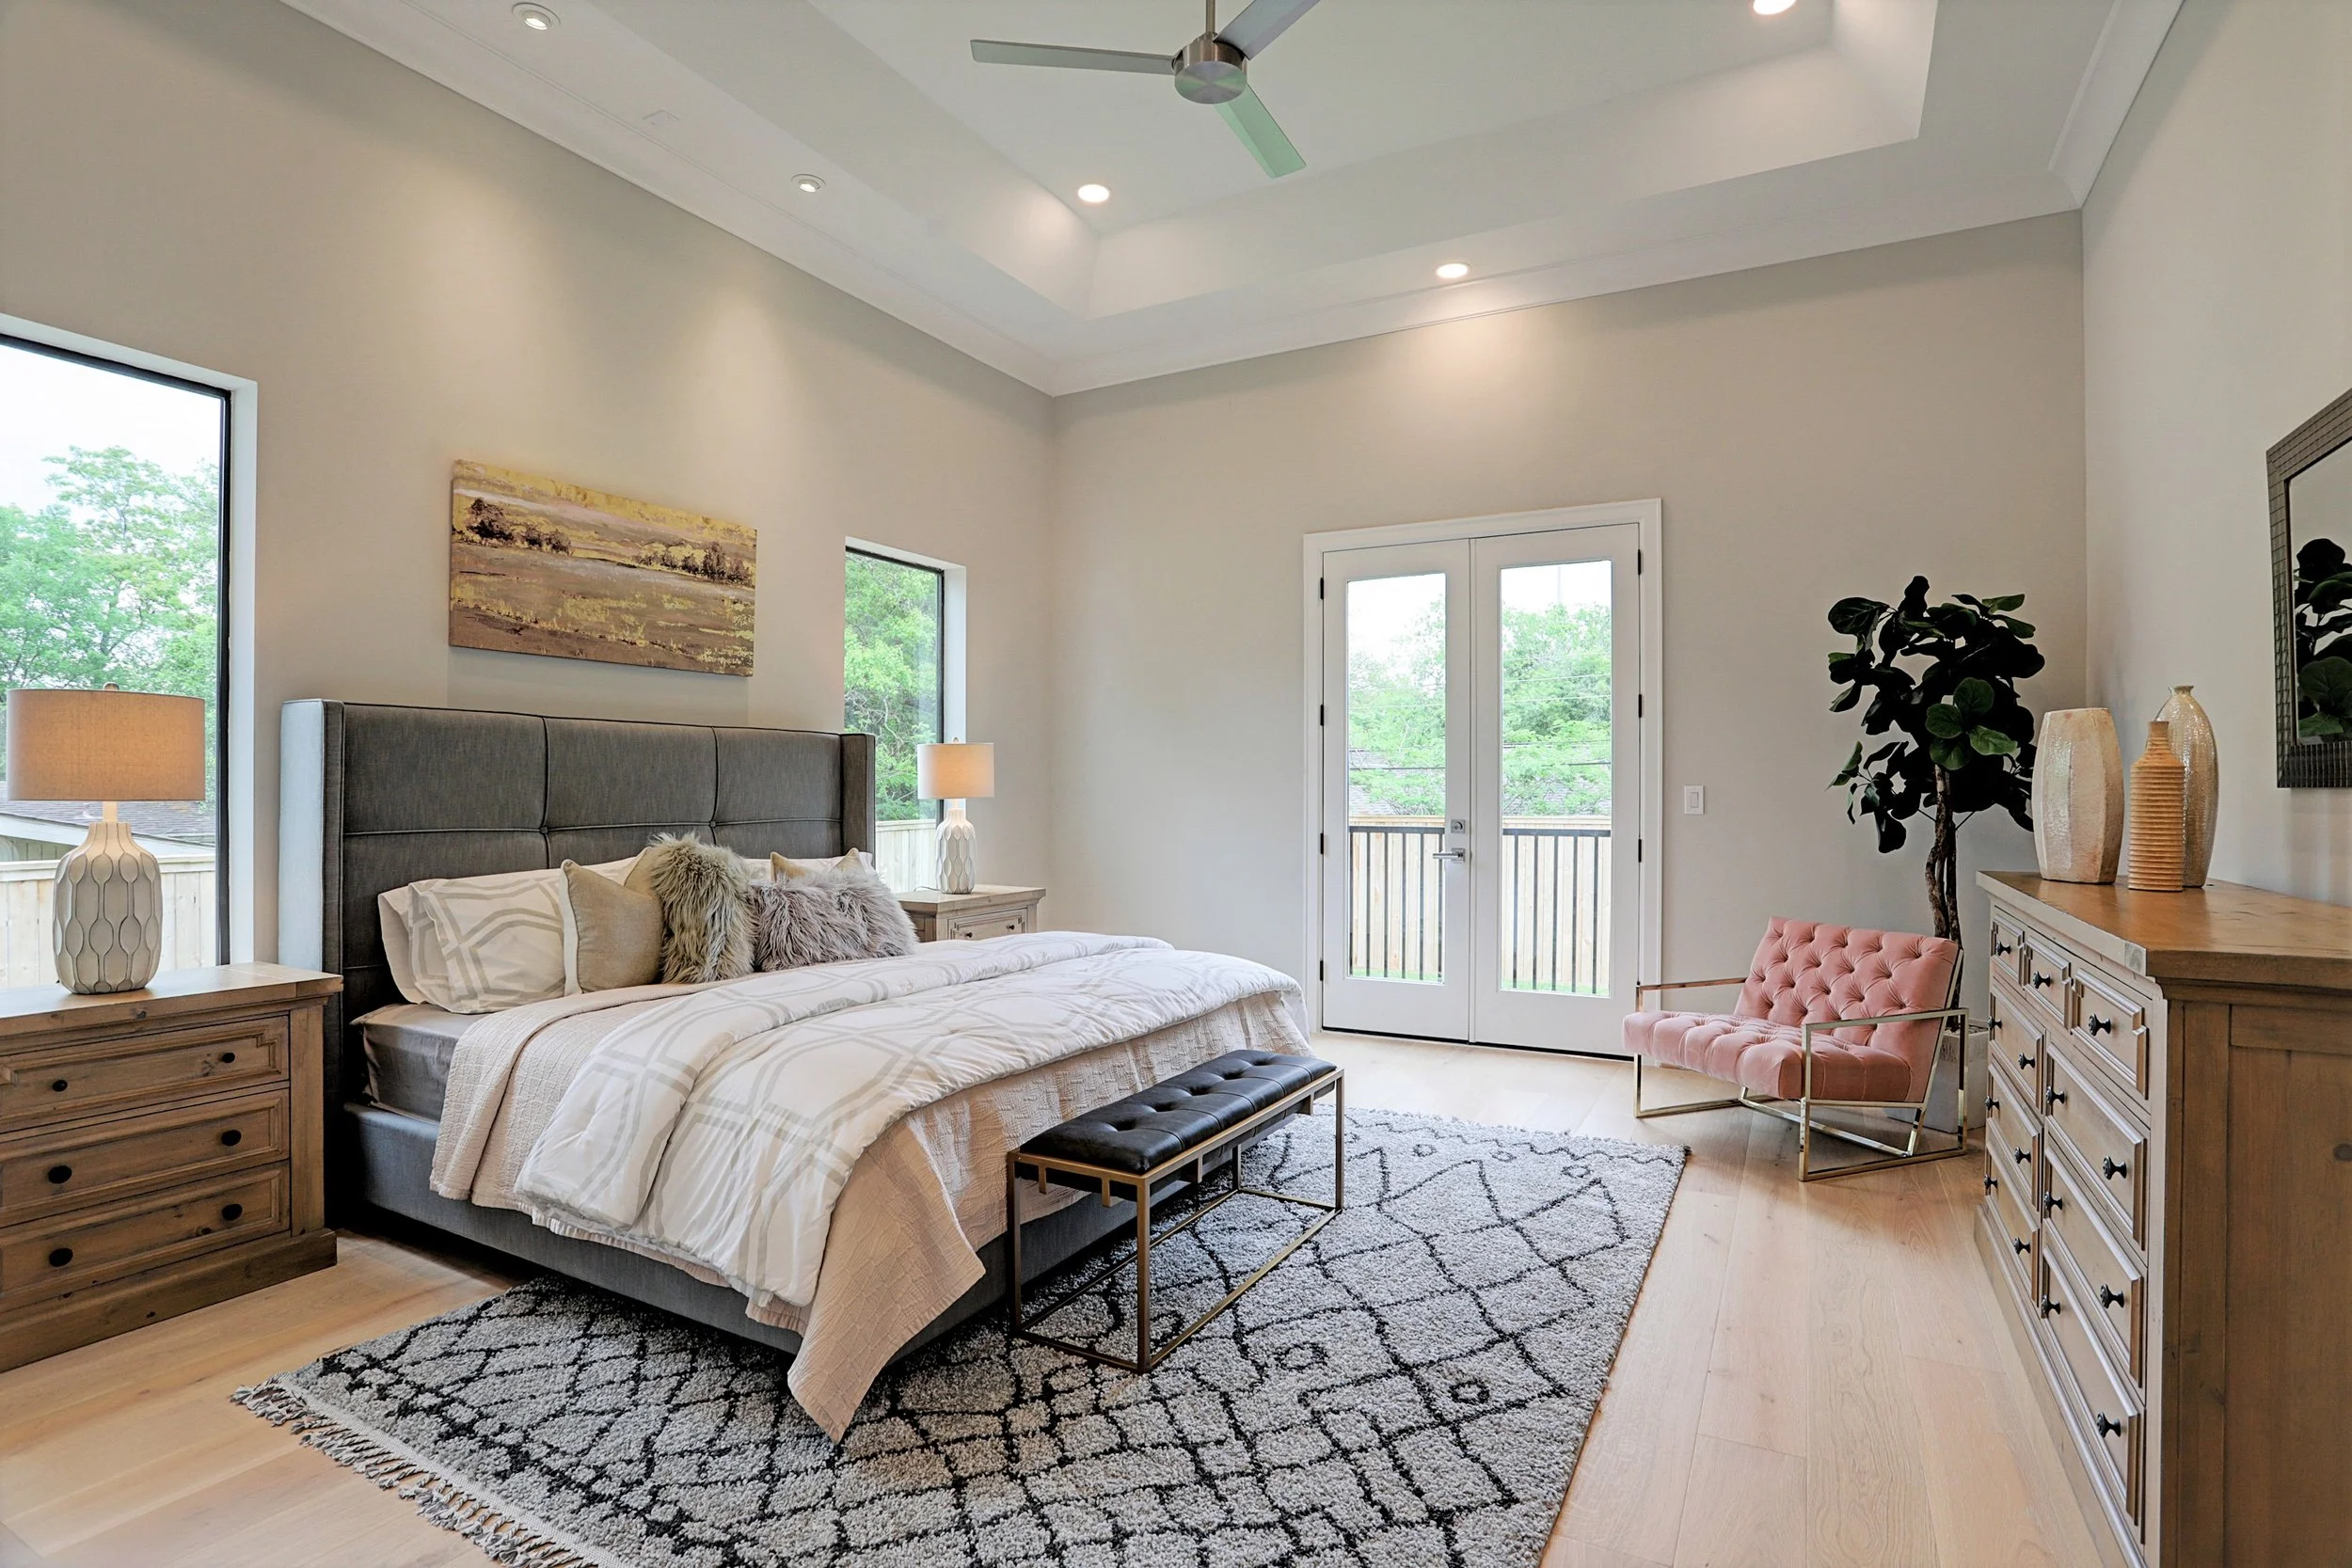
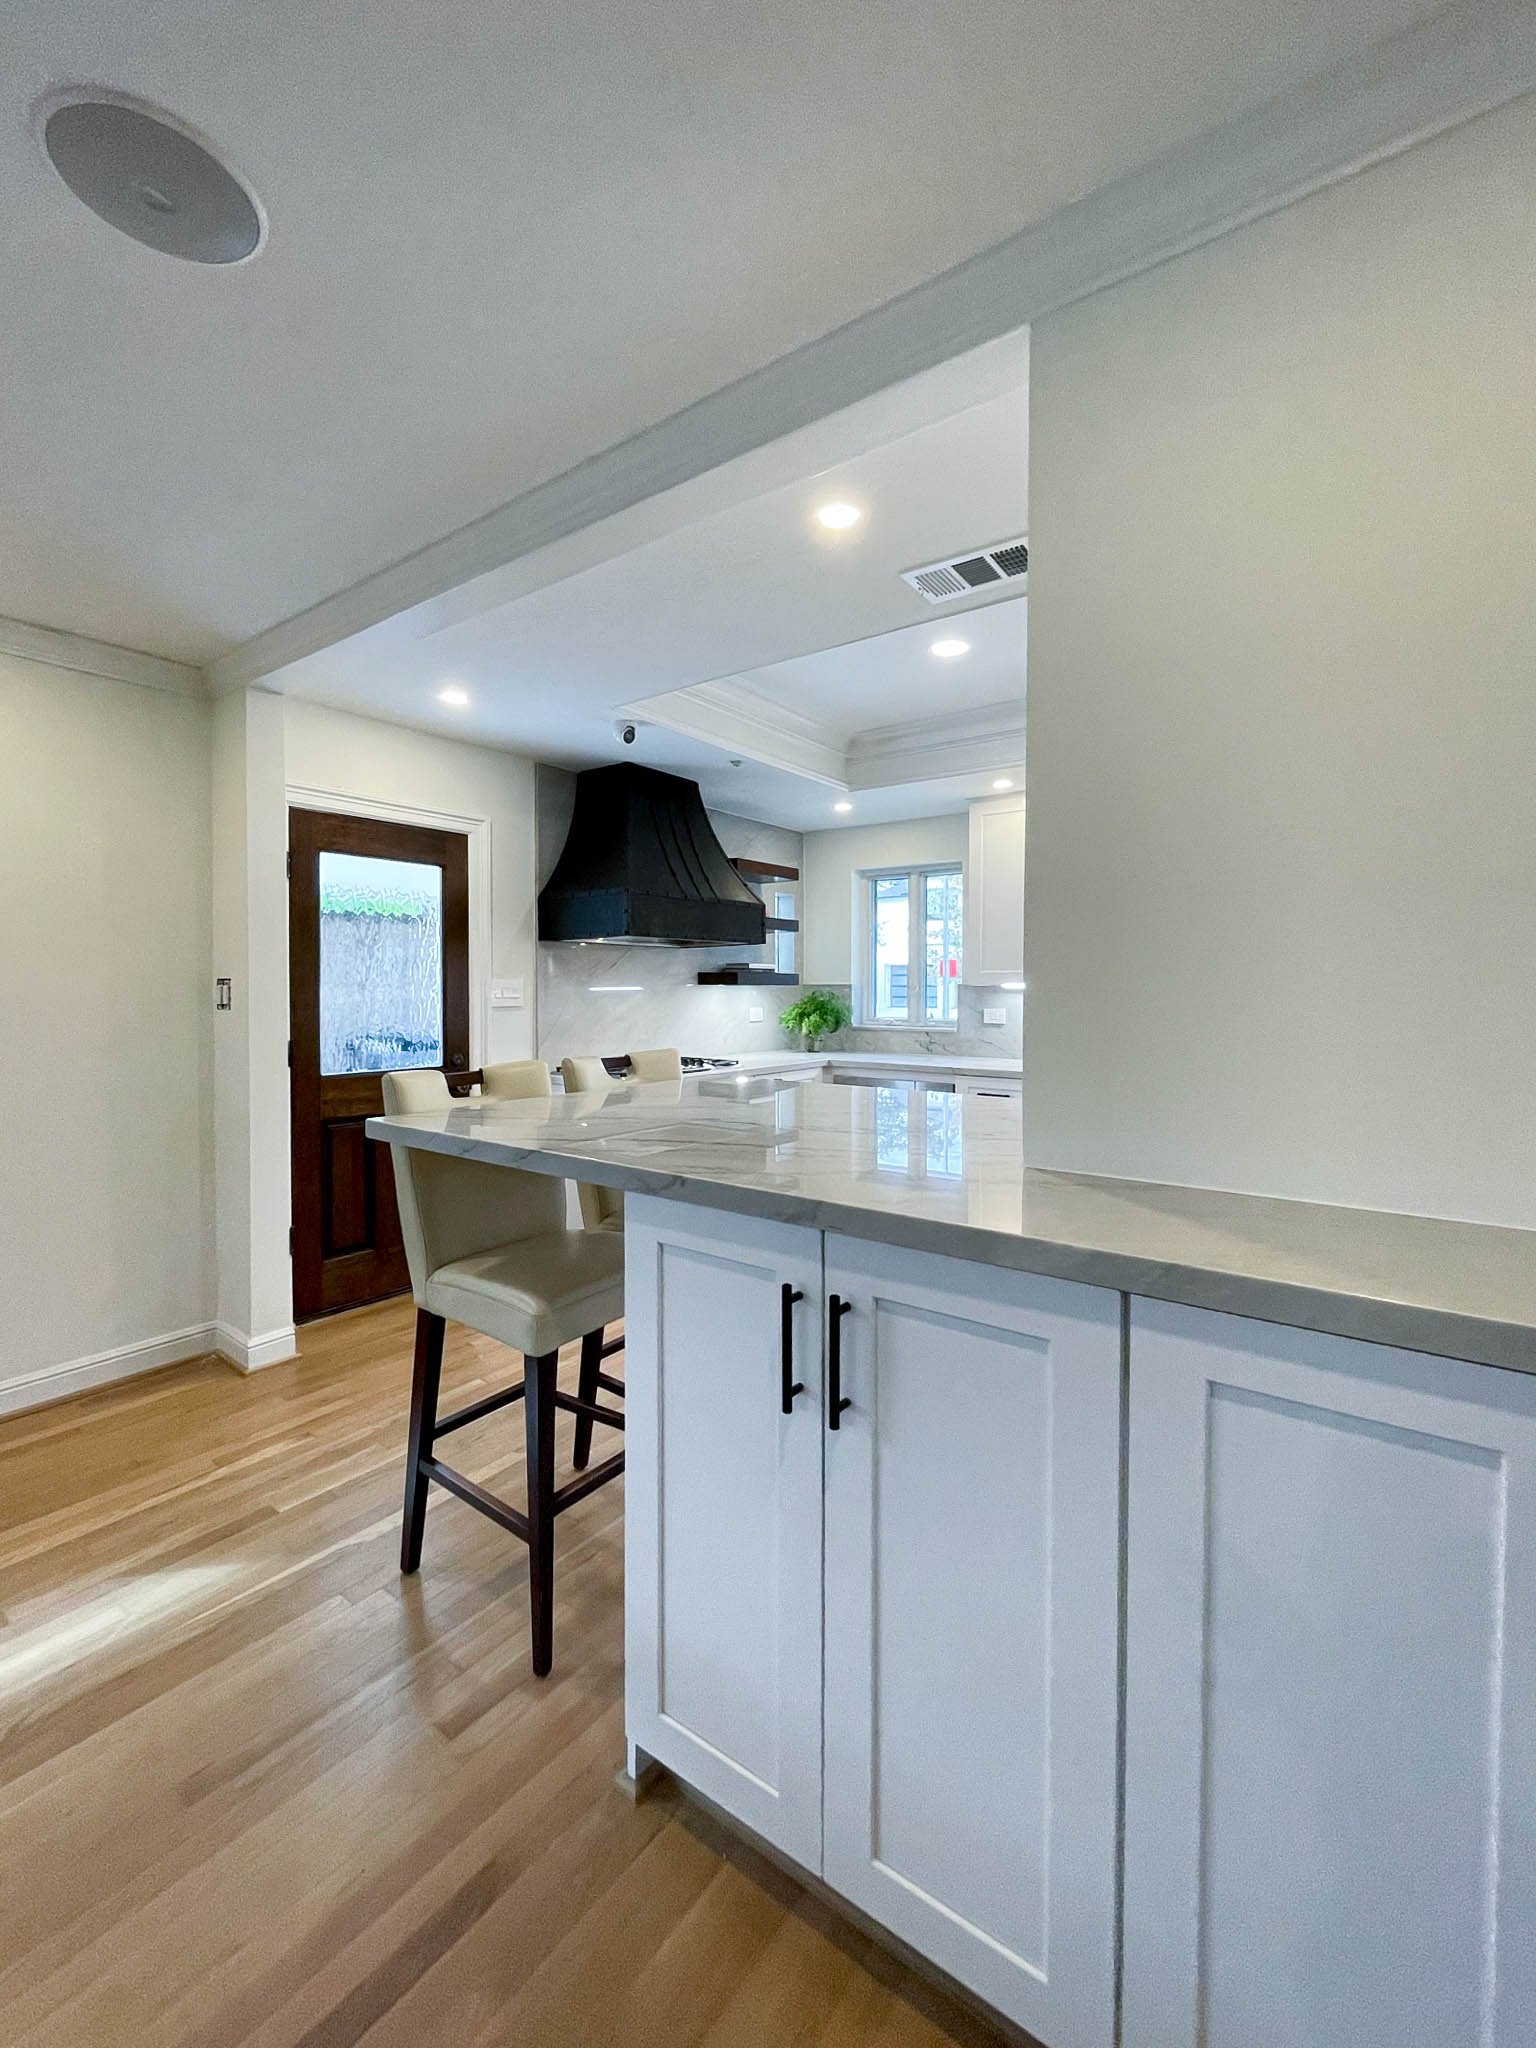
Braes Mansion Project

5. But install a landing nonetheless. We recommend you have a landing, regardless of what the code says. A landing will provide a stable place to stand while one's attention is focused on operating the door. It’s also a good idea because it will help avoid tracking excess dirt and mud inside the house. And, the step up to a doorway can be high—anything above about 7” will be a trip hazard.

(If your new door widths are less than the size of the window or windows you’re replacing, you’re in luck because that means you can skip over several more complicated and expensive steps below. If that’s the case, skip the next step.)

6. Add in new header costs, if needed. Depending on the type of construction and the distance between windows, there’s a high probability you’ll need a new header installed that is designed to bear the load of the wall or structure above. That means the whole area needs to be reframed, at least 2’ from each side of the doors’ rough opening, or the framed opening size into which a door is installed. This is normally 2.5-3” larger than the door size, but it’s model specific, so check with the supplier. The new header needs to covers the entire span of the opening. That will cost anywhere from $1,500 to $3,000 including labor and materials for a 6’x 6’-8” door’s rough opening.

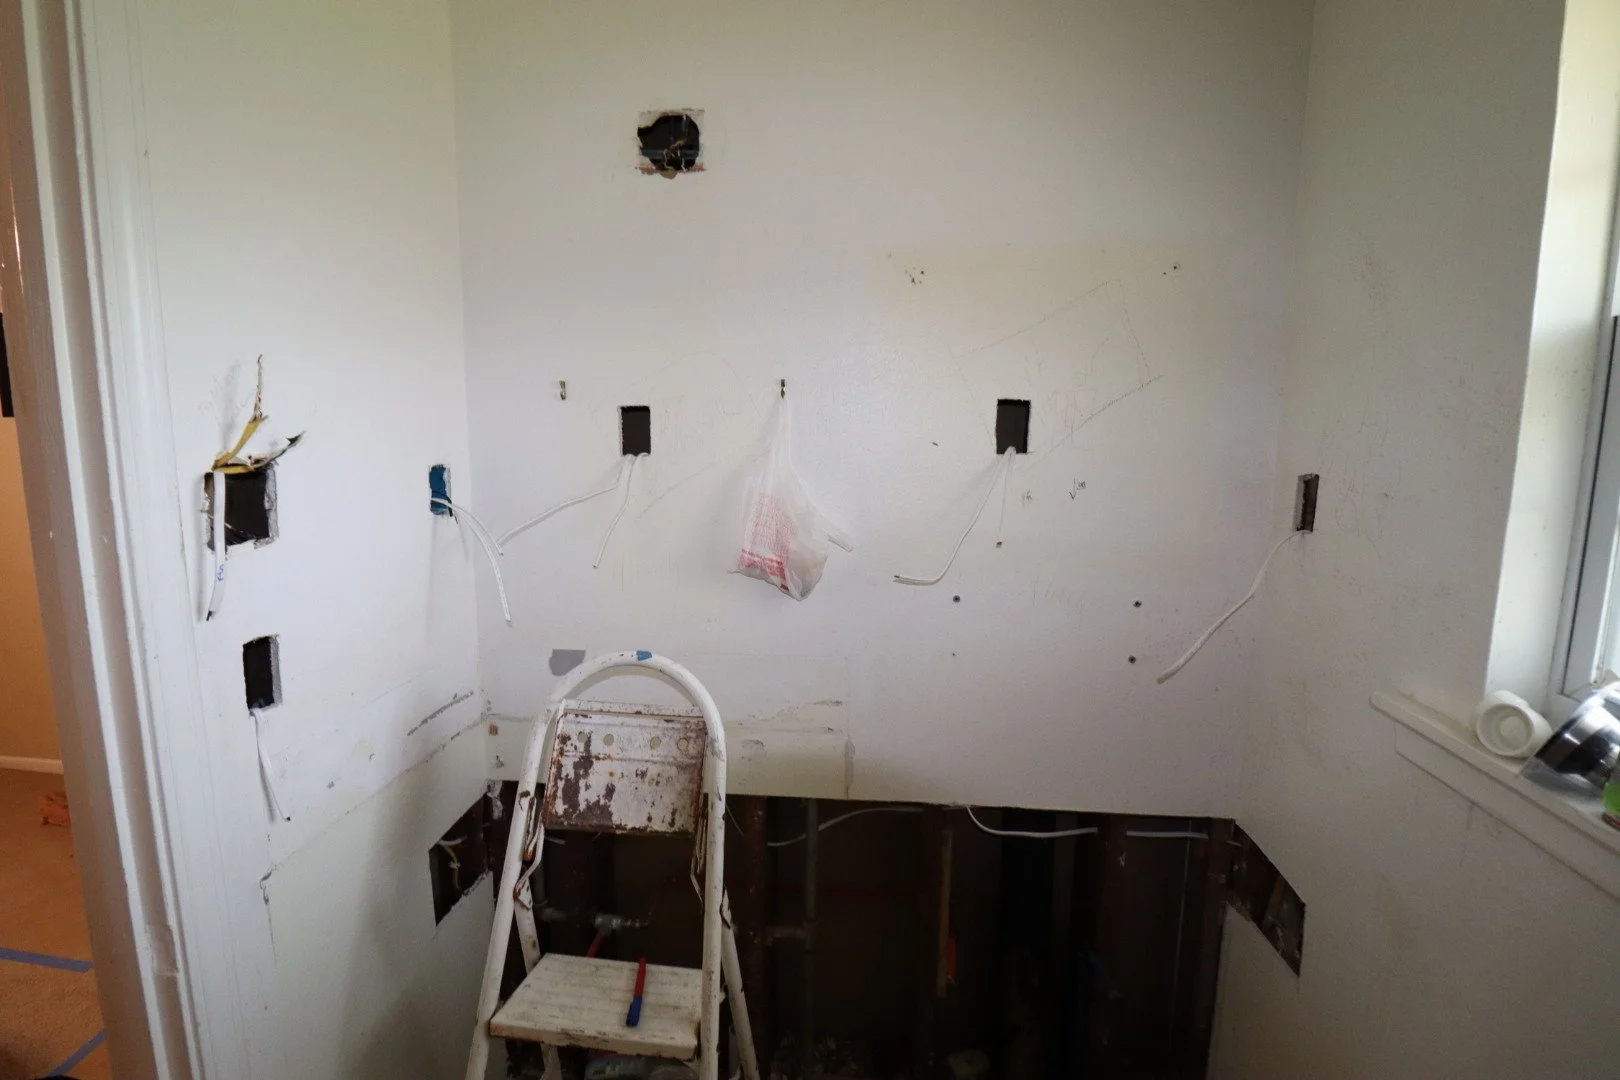
7. Think about plumbing. If there’s plumbing in the area of the new rough opening, you’ll need to relocate or remove the plumbing. Sometimes you’ll be able to see a hose bib, or small faucet, on an exterior wall. In other cases, you won’t know about plumbing until the wall is opened up. Capping this hose bib, modifying it or moving it to a new location can start at $350 with labor and materials. If you don’t have access to the wall from the attic, for example, on the ground floor of a two-story home, be prepared for some surprises.

8. Remember HVAC and outlets. You may need to make adjustments with HVAC and outlets, too. As with plumbing, some of this work will be simple and inexpensive. Moving or canceling an outlet or two can cost around $200 each. But the same caveats apply—often you won’t know what you’re dealing with until the wall is opened up.

9. Choose a quality door sill pan. For the new opening you make with your doors, you’ll most likely need a door pan. It’s a tub the bottom of the door sits in that’s open to the exterior. The water that inevitably gets through door seals, jambs and thresholds is diverted back outside instead of onto your new wood flooring or carpet. This is especially important if you’re facing south or west and lack adequate overhang protection. The cost depends on the quality of the pan. We use custom stainless steel pans that run about $850 for a 6’ pan, installed. 

How a Specs Document Can Transform Your Remodeling Experience

10. Get ready for wall repair. After the new door pan and door are installed, the exterior will need to be trimmed out, or the wall repaired so the new door looks finished like the rest of the house. The price depends on the material your exterior is finished with (siding, stucco, brick). Siding, for example, is often the most economical option. Brick or stone is normally the most costly and could run about $2000. You’ll also need to install a metal lintel, or a piece of metal that spans the space in front of the header and supports the weight of the brick or stone. If you have a one-story home, you can choose to have just siding above the door. But if you have a brick wall over the door, you must install a lintel. 

11. Prepare for painting. Exterior trim, paint and flashing will cost you about $600-700 for a 6’x6’-8” opening on a lap siding wall, or type of siding that’s installed horizontally on your home, such as Hardie Plank, wood, aluminum, or PVC.

12. Doing drywall. Interior drywall, trim, and paint costs about $1,300 for a 6’x6’-8” door. This depends on door casing and baseboard used in the home, the paint and drywall finish level and demo required for framing, electrical and plumbing.

13. Installing the door. Sometimes suppliers have installers of their own. This is a good idea, as suppliers are familiar with the product and your warranty is assured (at least with respect to install). This cost will run about $750, depending on the type of door and the manufacturer. 

14. Putting in a threshold. If you order conventional swinging doors without a threshold, there will be an additional cost. Thresholds can be installed from about $650 for a 6’ double door.

15. Accounting for permitting. Finally, you might encounter additional costs if HOA/Municipality permitting is required or requested for the project.


In all, you’re likely looking at about $6,500 up to $15,000 to convert a window to a patio door—minus the cost of the actual door or doors. Costs will fluctuate based on what’s found behind the walls, any technical complications with the doors, and materials costs. If this works with your budget, then adding a patio door can be a great option.


You may also like:

From Driveway to Flooring: Making a Home More Wheelchair Friendly

Part 1 of 2

“A design isn’t finished until somebody is using it.” — Brenda Laurel, Scholar, Author and Researcher

Modifications that make homes more accessible help people with disabilities live more independently, and that’s especially true for the around 2.7 million people in the U.S. who use a wheelchair.

In recent years, developments in technology have made it possible for builders to incorporate more automation into home modifications. But less hi-tech modifications to make sure wheelchairs can easily navigate through a home are crucial. These need to be well thought out if they’re going to be successful.

During a recent full-scale remodel, we incorporated accessible features into a home to make it more wheelchair friendly. The one-story house was built in 1940s with a traditional closed floor plan. It needed updating. But the bulk of the remodel focused on incorporating specialty items and automation into the design and making sure counters and fixtures were set at appropriate heights and locations for the homeowners.

The one-story house was built in 1940s with a traditional closed floor plan.

We started by addressing the home’s exterior and driveway to make them more wheelchair friendly. Then, we addressed doors—both interior and exterior—modified the floor plan, streamlined flooring and made modifications to the kitchen and primary bathroom.

A more welcoming entrance

The existing home had a narrow path to the front door and the brick driveway was bumpy and uneven. We redesigned the flatwork in front of the house to create a wider path to the front door. We also took out stepping stone path from the main driveway to the front entrance and made it concrete instead so the wheelchair can easily navigate it.

At the end of the driveway where it meets the street, there was a small ditch to collect water. The owner couldn’t safely pass over it in his wheelchair, so we added a steel cover. We used treadplate on it to make for better traction when cars pull into the drive.

This took planning because we didn’t want to impede the flow of rainwater. We used self-leveling sealant to create a smooth transition from the driveway to the ditch cover to the street. Now, the owner can successfully navigate by himself from the street up the driveway and into the house.

We added a steel cover over a ditch. Now, the owner can successfully navigate by himself from the street up the driveway and into the house.

Out back, we created a flat, even patio area that connects to the house with new double doors. To keep water from entering the home through the patio we used stainless steel flashing with a drip edge. We installed it under the bottom skirt of siding, sealing off the first 18 inches from the ground to keep water from damaging the walls.

ADA-accessible doors

We wanted to make sure every entrance to the house, plus interior doors, were accessible. Almost all doors we used were at least 36 inches wide and double doors to make it more seamless to pass through in a wheelchair.

For exterior doors, we installed beautiful Jeld Wen Multi Lock door sets with a stain grade wood interior and ADA thresholds. Door thresholds refer to the material on the floor inside a doorframe that helps ensure an air-tight fit between the floor and bottom of the door. ADA thresholds are lower—they must be almost flat with the floor, but high enough so water can’t seep through. To ensure water doesn’t make its way into the house, we also had custom door pans made for the new exterior doors to drive water out and away from the house.

For exterior doors, we installed beautiful Jeld Wen Multi Lock door sets with a stain grade wood interior and ADA thresholds.

We added pocket doors throughout the house, an option we liked because they don’t require door stops to hold them open or get in the way of other nearby opened doors. With one, we did away with the typical stops and trims you normally see on the insides of pocket door frames so we could recoup 3/4 inches in a tight space. The modification will save money on future repairs due to what would have been inevitable damage from the wheelchair navigating the small space.

An open floor plan

While the openings between the kitchen, living and dining spaces were all wide enough to be ADA compliant, we wanted to open up the space even more for ease of movement.

This modification gave the homeowner more options when it comes to furniture placement and to creating easy to navigate paths around furniture and easy access to furniture.

As with all remodels, opening up walls and adding beams to make sure the home was still structurally sound meant multiple systems needed to be rerouted. This included water pipes, gas pipes, electrical wiring and HVAC drain lines. It was time-intensive work that had to be completed well before the framer, drywaller and painter got involved and required careful planning and coordination.

Seamless flooring transitions

The house still had its original, traditional two-inch select white oak flooring throughout, except for in the kitchen, gym (the former den) and in the bathrooms. We wanted to make sure flooring was even and made for easy transitions in the wheelchair.

We installed new tile in the gym and made it perfectly flush with the wood floor in the living room. We used a thin metal flush transition piece to separate the tiles from the wood. Color-matched flexible sealant filled in final gaps.

In the kitchen, we removed the tile and installed matching wood. We found reclaimed wood, matching the wood species, grade and manufacturer. We used the “tar and screeds” method to put in the floor, first laying tar, then thin wood planks, or screeds, followed by the flooring. We were able to lay the wood perfectly flush and in line with the rest of the home. Transitions between all rooms were seamless, with most not requiring any thresholds or transition strips to bridge gaps.

Stay tuned for Part 2 of this blog where delve into modifications made in specific rooms and automations.

10 steps to transforming a small bathroom on a budget

From tooth brushing and face washing to luxuriating in a long shower, most homeowners spend a significant amount of time in the bathroom. For many, it’s a sanctuary. One survey found two in five homeowners rest and relax in their bathroom.

We love helping transform outdated bathrooms into spa-like oases. A recent project helping a young family of four revitalize their small and inefficient primary bathroom was especially rewarding and everyone was pleased with the end result.

The owners’ existing bathroom felt closed off, dark and claustrophobic. It had a small shower with an unnecessary step-up at the entrance and an oversized tub on a raised platform toward the back. Designers often like to make a tub the focal point of a bathroom. But, in this case, it looked like the tub was added as an afterthought.

The bathroom also didn’t give the owners adequate storage, and having only one sink in the room created traffic congestion in the morning when everyone was getting ready for their day. The bathroom needed a major change. We planned to give it a completely new layout, and we started the total remodel by gutting the small room.

Here’s how we approached the small bathroom remodel, which our client needed to be done on a tight budget. As Don Draper from the TV show “Mad Men” likes to say, we wanted to “Make it simple, but significant.”

1.     Planning it all out. We started by creating a new bathroom layout. The owners didn’t use the tub at all, so we decided to get rid of it and instead put a larger shower in the room. By removing the old shower from the entry way, we opened up the space and then had room for a nice linen closet by the entrance. 

We wanted to hide the toilet so it wasn’t the first item seen when entering the room. We found the perfect place—in between the linen closet and the shower. That way, we could fit a double vanity in place of the prior single vanity and toilet. There was also a space in the wall behind the toilet we could use for storage. We found the previous contractor made the wall thick enough to accommodate a storage space. We used mosaic tile and put it in the middle of the space.

Since we were working with a small space with almost no natural light, we chose bright colors for the room. Knowing the tight budget, as we picked materials, we found wholesale items and items on clearance at warehouses that worked well.

Arieli Custom Homes Bathroom Remodel Ideas

2.    Demolishing the old bathroom. We ripped out everything in the room—including the elevation differences and stepsleaving only the walls.

3.    Making the plumbing adjustments. Since we moved the toilet and shower and added another sink, we needed some substantial plumbing work in the bathroom. The house is slab on grade, so we had to cut through the slab and back porch concrete deck, onto which the previous contractor had extended the bathroom.

4.    Doing the electrical work. We like layering lighting and believe the more options, the better. We added LED panel lights on the ceiling and installed LED lighted vanity mirrors above each sink.

5.    Covering the walls. We replaced all the old insulation and sealed the exterior walls with Polyseal. In the shower area, we added a new shower pan, per code, and covered the shower walls with 1/4" cement board sealed with a waterproofing membrane. We built the bench from CMU blocks and cement and sealed it, too, with the waterproofing membrane.

6.    Installing the tile. For the shower walls and bathroom floor, we chose a 12x24 porcelain tile. For the shower floor, and as an accent tile, we found a beautiful marble mosaic to add some texture. On the vanity wall, we used a 3x9 gloss subway ceramic tile with a gentle texture. A tile like this reflects more light than a matte finish and it has the effect of adding more brightness to a space.

7.    Painting the room. We chose to use SW7009 Pearly White for walls. This creamy white paint helped add some warmth to the space. We chose other design elements, such as cabinet hardware and finish of vanity faucets in satin nickel (a warm-toned silver), for the same reason.

8.    Putting up the shower glass. The previous shower had a traditional framed design that didn’t let much light pass through. We installed a frameless modern shower glass that goes great with the look of the new bathroom. It’s also glass treated to prevent water spots. 

9.    Trim out. In this last phase of electrical work in which plugs, switches and light fixtures are installed, we decided to install a humidity sensitive exhaust fan (with a built-in night light) and LED panel lights. A good place for the fan is on the ceiling between the toilet and shower.

10.   Finishes. We liked a deep blue vanity to add some color to the mostly white and gray of the new design. The vanity has a bright quartz countertop that goes beautifully with all other elements. Adding black shower fixtures and a heated towel rack complemented the dark color of the vanity and made the design look cohesive and finished. With Houston’s high humidity, we also included a heated towel rack that helps with faster drying.

In the end, our clients were thrilled with the bathroom results and they’ve been enjoying their time in their new bright, open space.

Why showers are replacing tubs

People bathed in bathtubs until modern plumbing made it possible for the most U.S. homes to have a shower starting around the 1920s. Since then, we’ve seen trends come and go when it comes to bathtubs and showers in home bathrooms.

For many, a large soaking tub has been–and still is—the hallmark of an upscale master bathroom. But, overall, homeowners tend to use their shower more than their bath. A recent study also found online searches for walk-in showers surged by 100%. At Arieli, we’ve seen signs that showers may be replacing tubs. We’ve had clients ask us to scrap the bathtub in their bathroom and install a larger shower instead.

While a long soak in a deep soaking tub can be a relaxing end to a long day, there are many compelling reasons for showers to completely replace tubs in the modern home. A large, luxury shower can be just as satisfying and elegant.

Here are six reasons to consider including showers in your new custom home design or replacing a tub with a luxury shower during your home renovation.

1) Showers are more accessible. Getting in and out of a shower is much easier than a bath tub. So, if you have someone in your home who has a disability or who’s older and less mobile, a larger shower might be a good option. Showers can be built so they’re walk-in, with no ledges to step over. You can also add customized built-in benches, grab bars and even non-slip tiles.

showers might be on their way to replacing tubs. Arieli Custom Homes

2) Showers are quick and convenient. Nothing beats a shower when you need to wash your body quickly. You don’t have to wait for the water to warm up and then an entire tub to fill. Simply hop in, soap up and rinse off. This is a good option if, because of your lifestyle – maybe you’re an athlete or you exercise often – you find yourself bathing very frequently.

3) You can conserve water with a shower. Showers only use around two-thirds the amount of water of baths if you take a quick shower, around 10-15 gallons versus up to 70 gallons. With showers, you can control the amount of water you’re using based on the fixture you use. Some fixtures are made with water conservation in mind. You can also try taking a Navy shower, or a way of showering where you conserve water by turning off the faucet while you soap up your hair and body.

4) Cleaning a shower is easier. It’s easy for dirt and dead cells to stick to the walls of a soaking tub, building up grime that you have to spend time and muscle scrubbing off. A shower can be easier to both clean and maintain. Steam is a great tool to loosen dirt on shower walls. If you squeegee after every shower and turn on the fan in the bathroom, you’ll help keep mold at bay and regular cleaning will be simpler.

5) Your body after showering may be cleaner, too. When you shower, the dirt and dead cells you scrub off your body flow down and out the shower drain. The water pressure can also help get the dirt off of your skin. However, when you clean yourself in a soaking tub, anything that you scrub off your body sticks around with you in the tub until you’re done and you drain the tub.

6) A shower can be luxurious, too. A shower can be a relaxing spa-like experience, too, depending on the design and the various features you choose to install. Start with beautiful tiling, and then add features like custom benches, rain showers, or a steam option. More companies are also now making products to use in the shower to make it just as indulgent as a long soak in a bathtub.

After replacing our clients’ tubs with large, luxurious showers, we’re growing more convinced that showers might be on their way to replacing tubs. However, as you plan your custom home or think about how to renovate your current one, keep in mind that having at least one bathtub in your house is probably a good idea when it comes to resale value.

Showers only in a home might be okay if, when you’re ready to sell, you attract elderly buyers or a couple that doesn’t plan to have kids. But if a family with young kids, or a couple with a child on the way, is interested in buying your home, they’ll likely want a bathtub, and not having at least one could turn your potential buyer away.

Why showers are replacing tubs.

How to plan your remodel. Putting it together.

How to plan your remodel. Putting it together.

Remodeling your home not only enhances your living experience and functionality but can also significantly increase your property's resale value. By collaborating with experienced professionals and methodically planning your space, the entire remodel process can be a gratifying journey towards a more livable and functional home.