Backsplashes are much more than just a pretty accent.
They protect kitchen and bathroom walls from the heat of cooking, from grease stains, and from water spots that can damage drywall or even encourage mold growth. They make cleaning easy, and yes, depending on what kind you choose, they can make a design statement.
Backsplashes are most often installed in wet areas and cooking areas, so above sinks, ranges, or cooktops. You’ll typically find backsplashes in your:
· Kitchen or outdoor kitchen
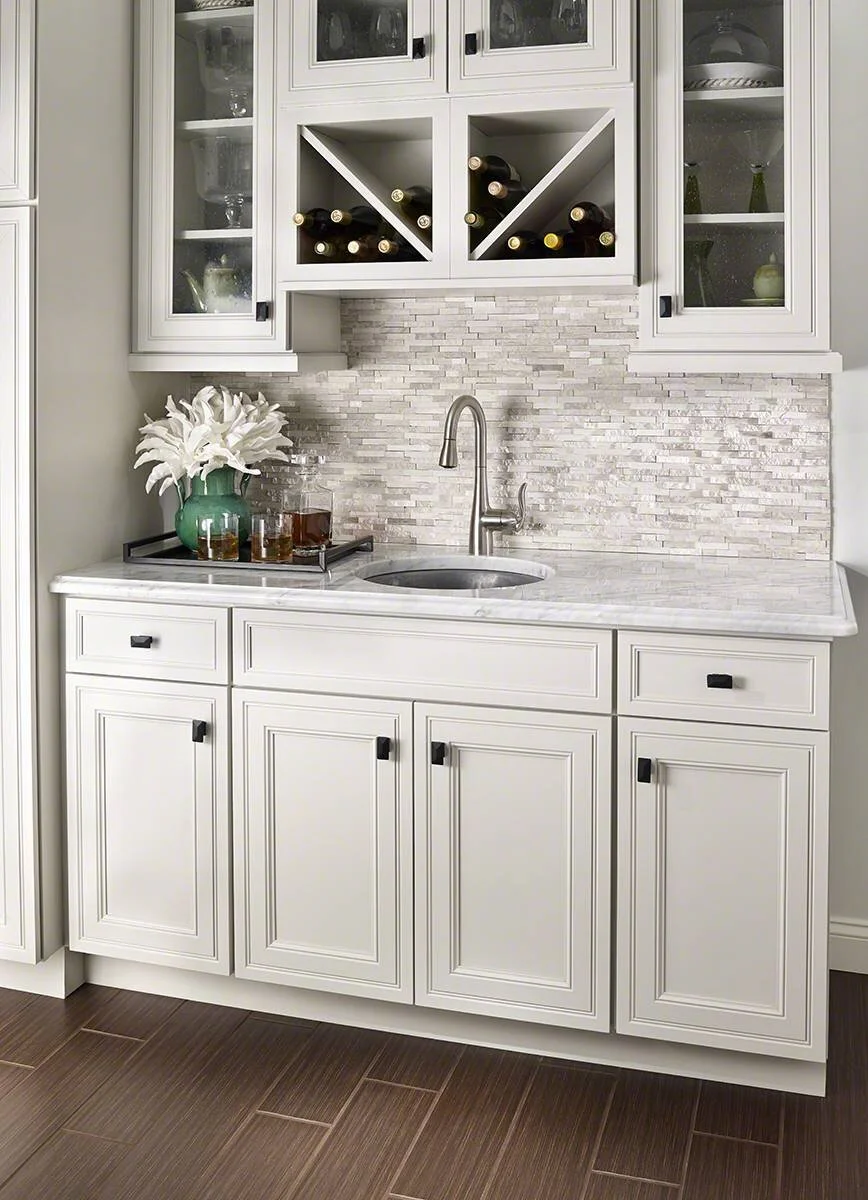
· Wet Bar
· Laundry room
· Mudroom
· Bathroom
Backsplashes come in a variety of materials, each with their pros and cons and price points.
1) Tile and Mosaic Backsplashes
Tile and Mosaic Backsplashes are the most common and versatile type of backsplash available in a wide array of materials, colors, and patterns.
Ceramic/Porcelain. This is perhaps the most traditional tile material that’s used for backsplashes. It’s affordable, durable, and easy to clean.
Glass tile. For a more contemporary look, choose glass. Generally, glass tile is just as washable, stain-resistant and durable as ceramic/porcelain tile. Glass’ translucence, however, means it has visual depth, giving the overall tile color a beautiful watery glow.
Natural Stone. Choose natural stone for a classic, luxury look. Natural stone is timeless and elegant, but it’s also easily scratched or chipped and can sometimes stain and be difficult to maintain. Even though, these days, porcelain does a great job of mimicking natural stone, the true luxury look of natural stone can’t be perfectly replicated. Keep in mind, though, that stone costs at least 20-30% more than porcelain.
TIP: If cost is a big consideration when you’re choosing a backsplash, thanks to inkjet printing technology, you can find porcelain tile that looks very much like natural stone.


Tile and mosaic cons: The major con for this material is grout lines. The smaller the tile pieces, the more grout lines the backsplash will have. Grout must be properly sealed, or an epoxy- or acrylic-fortified grout should be used for stain-resistance.
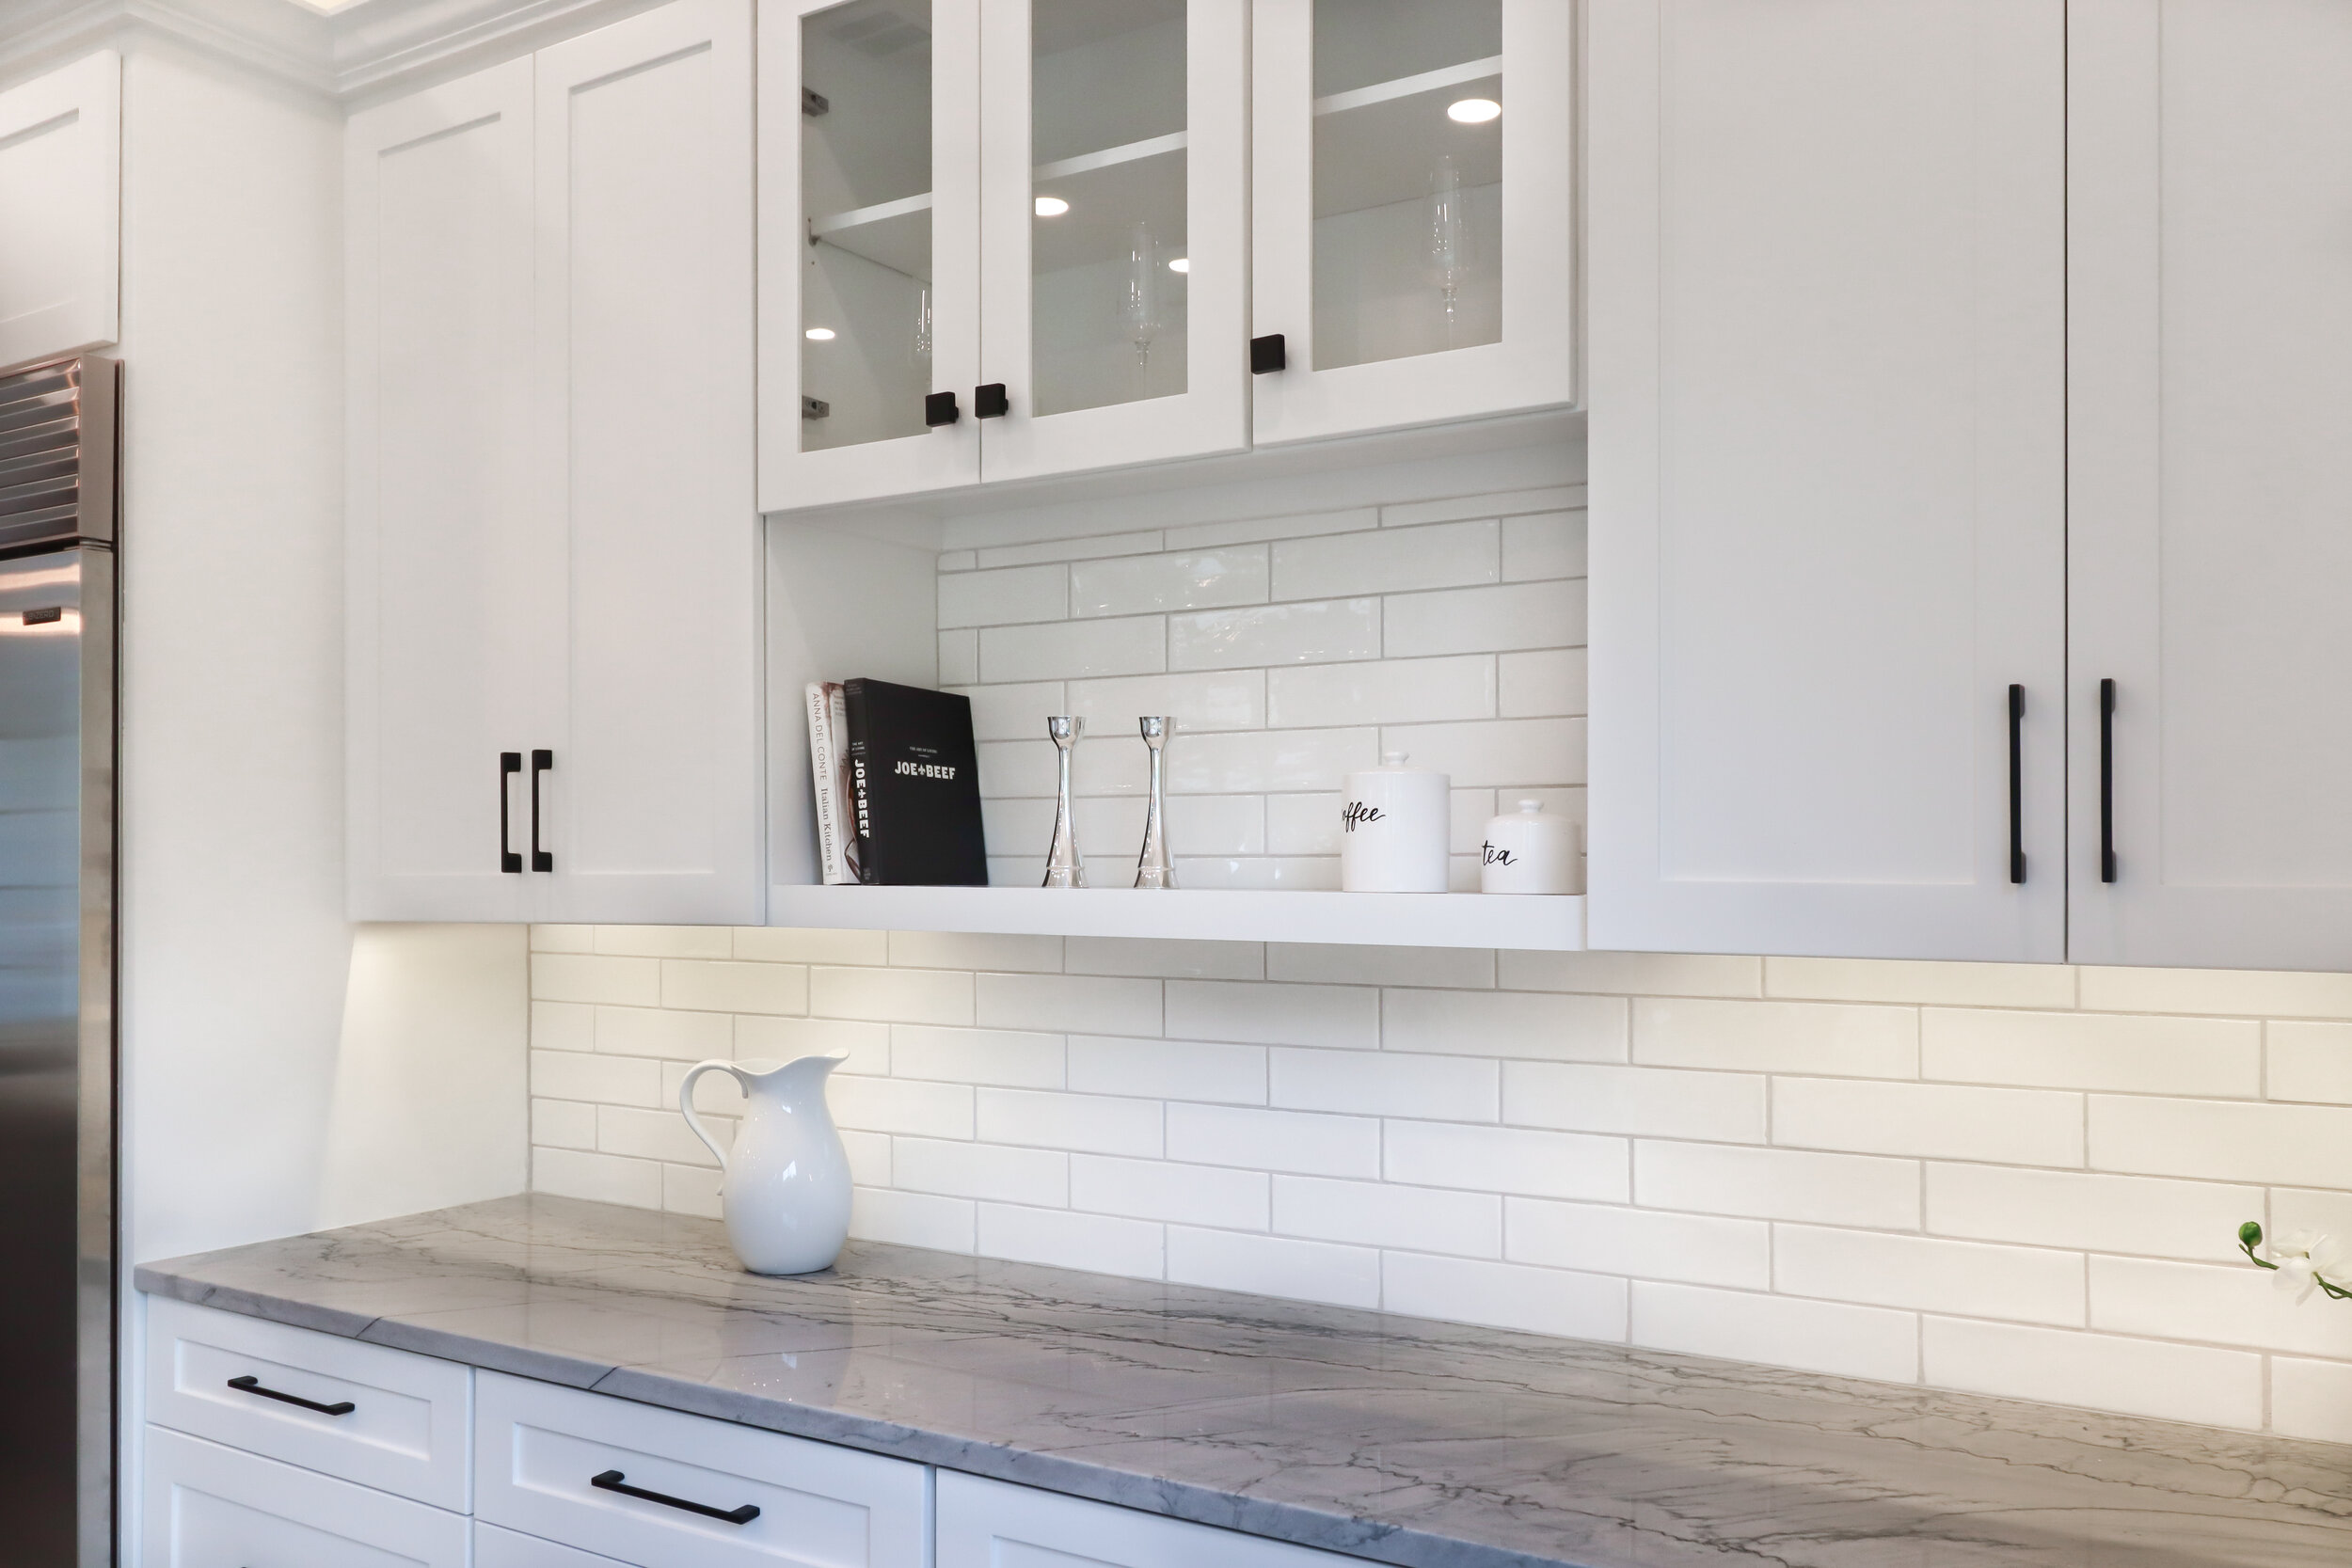
Subway tile is the most popular backsplash, since it’s practical, timeless, and works in interiors of all types.
2) Slab Backsplashes
Slab backsplashes are made of a continuous material that’s sometimes matched to the countertop. Without joints, grout lines or any other areas where dirt can collect, they can create a bold and seamless look. Use timeless traditional materials, installed in a modern way (as one large piece), to balance your contemporary or transitional kitchen.
Natural Stone Slab Backsplash. Unlike stone tile, which has veins going in every direction, a stone slab has connected and structured veins, giving it a totally different overall effect. Know though that, depending on the specific material, some can stain.
Glass Sheet Backsplash. This material offers a minimalistic and modern look. The bouncing light off of glass will make your kitchen look even bigger with glass sheet backsplash. For back-painted glass, color options are unlimited, offering a customizable look while being highly functional and easily maintained.


Other options for a solid backsplash include a Thin Slab Porcelain and Quartz Slabs. Both can be found in patterns mimicking natural stone, in materials like leather, or in a solid color of your choice.
3) Stainless Steel Backsplash
A beautiful reflection from a stainless steel surface will add brightness and an industrial effect to your space. Stainless steel backsplashes come in a variety of geometrical shapes and patterns, making them an excellent choice for just about any kitchen or bathroom design.

MSI
TIP: Stainless steel backsplashes work great for an outdoor kitchen because of their low maintenance and durability. Stainless steel is more resistant to corrosive effects than most kinds of tile.
4) Shiplap Backsplash
Shiplap backsplashes are classic and never go out of style.
Shiplap is a wooden board with a groove cut into the top and bottom, which allows the boards to fit together, giving them a unique appearance.
You can hang a shiplap backsplash horizontally or vertically depending on your space and preference.
If used in the kitchen and bathrooms, shiplap backsplashes require a protective finishing coat to prevent food stains and moisture damage. A cementitious shiplap (like the one made by James Hardie Building Products) should be used behind cooking surfaces.
McGee
TIP: A shiplap backsplash works well in a mudroom or laundry room. It will protect your walls while also adding texture and interest to your space.
5) Brick or stone veneer
Brick or stone veneer is often a good fit for a farmhouse or industrial style. This type of material has an undeniable rustic charm and easily becomes a focal point of your space.


Keep in mind, though, that while a brick backsplash is known for its strength and durability, it’s extremely hard to clean, and especially when it’s above a range.
6) A mix of materials
Sometimes, the best choice is to use a variety of materials when designing your backsplashes.
For example, some natural materials look unique and are gorgeous, but they’re extremely hard to take care of – they’re sensitive to stains, have tendency to chip, and they can’t withstand harsh chemicals. You can use these hard-to-care for materials in some spots, but then, use a more durable material in areas where stains, heat or water will affect the backsplash. You can enjoy the best of both worlds.
You might also use a mix of materials as an aesthetic choice. A variety of colors, textures or shapes can be a design statement, and make your backsplash a focal point.


TIP: Mixing a marble backsplash with quartz slab, or metal sheet with marble slab are good examples of how to take advantage of both aesthetics and practicality.
With so many backsplash options, choosing one might at first feel overwhelming. But it doesn’t have to be. Start by thinking about what aesthetic you’re going for. Then, consider how much time you want to spend cleaning. Finally, factor in your price point. With the wide variety of options, you should be able to find material that meets all your criteria at a reasonable price.


