How To

How Much Does It Cost to Convert Windows to a Patio Door? 15 Things to Consider Before You Commit

Converting a window to a patio door can be a great way to get your family to spend more time outside—whether it’s barbequing, gardening or playing backyard games.

But contrary to popular belief,  the process isn’t quite as simple as popping out old windows and then securing a new door in their place. Converting windows into patio doors takes careful planning and precision during from demo through installation.

The Jason Project

Costs can also add up depending on the decisions you make and the materials you choose. If you’re toying with the idea of turning your windows into a patio door, here are 15 considerations to keep in mind—and decisions you should make—before you commit. 

1. Decide on the doors. Door will be a big chunk of your budget. There are many varieties to choose from, including French, sliding, multi-slide and bifold patio doors. This can cost anywhere from $500-$20,000. Take the time to look at all the options online, in the store, or better yet in action at a friend or family member’s home, to decide which one you prefer.

2. Ask about an overhang. After considering size, cost and door style, ask the manufacturer their requirement for an overhang or facing to go along with the door. Depending on location, you may need to build an overhang to protect your doors from the elements—or even change the type of door you were considering depending on the manufacturer’s response. If you do need an overhang, a small, shingled mini roof can start at $1,500 and easily climb to tens thousands of dollars depending on the type of construction, finishes and size.  

3. Factor in demo costs. Demolition (inside and out) and debris removal can cost about $1,800 for a 10’x8’ wall. Price will depend on the type of construction—brick is more expensive than siding, for example—and location. Costs can add up, for instance, if manual hauls of debris are necessary because a dumpster isn’t allowed on the property per neighborhood policy.

4. Understand if you need a landing. Per some building codes, a landing outside any exterior doorway that doesn’t open onto a solid surface is required. If code requires you to have a landing outside the door, ask about the cost and required size. For example, a 6’x3’ basic concrete runs about $1,000.

Braes Mansion Project

5. But install a landing nonetheless. We recommend you have a landing, regardless of what the code says. A landing will provide a stable place to stand while one's attention is focused on operating the door. It’s also a good idea because it will help avoid tracking excess dirt and mud inside the house. And, the step up to a doorway can be high—anything above about 7” will be a trip hazard.

(If your new door widths are less than the size of the window or windows you’re replacing, you’re in luck because that means you can skip over several more complicated and expensive steps below. If that’s the case, skip the next step.)

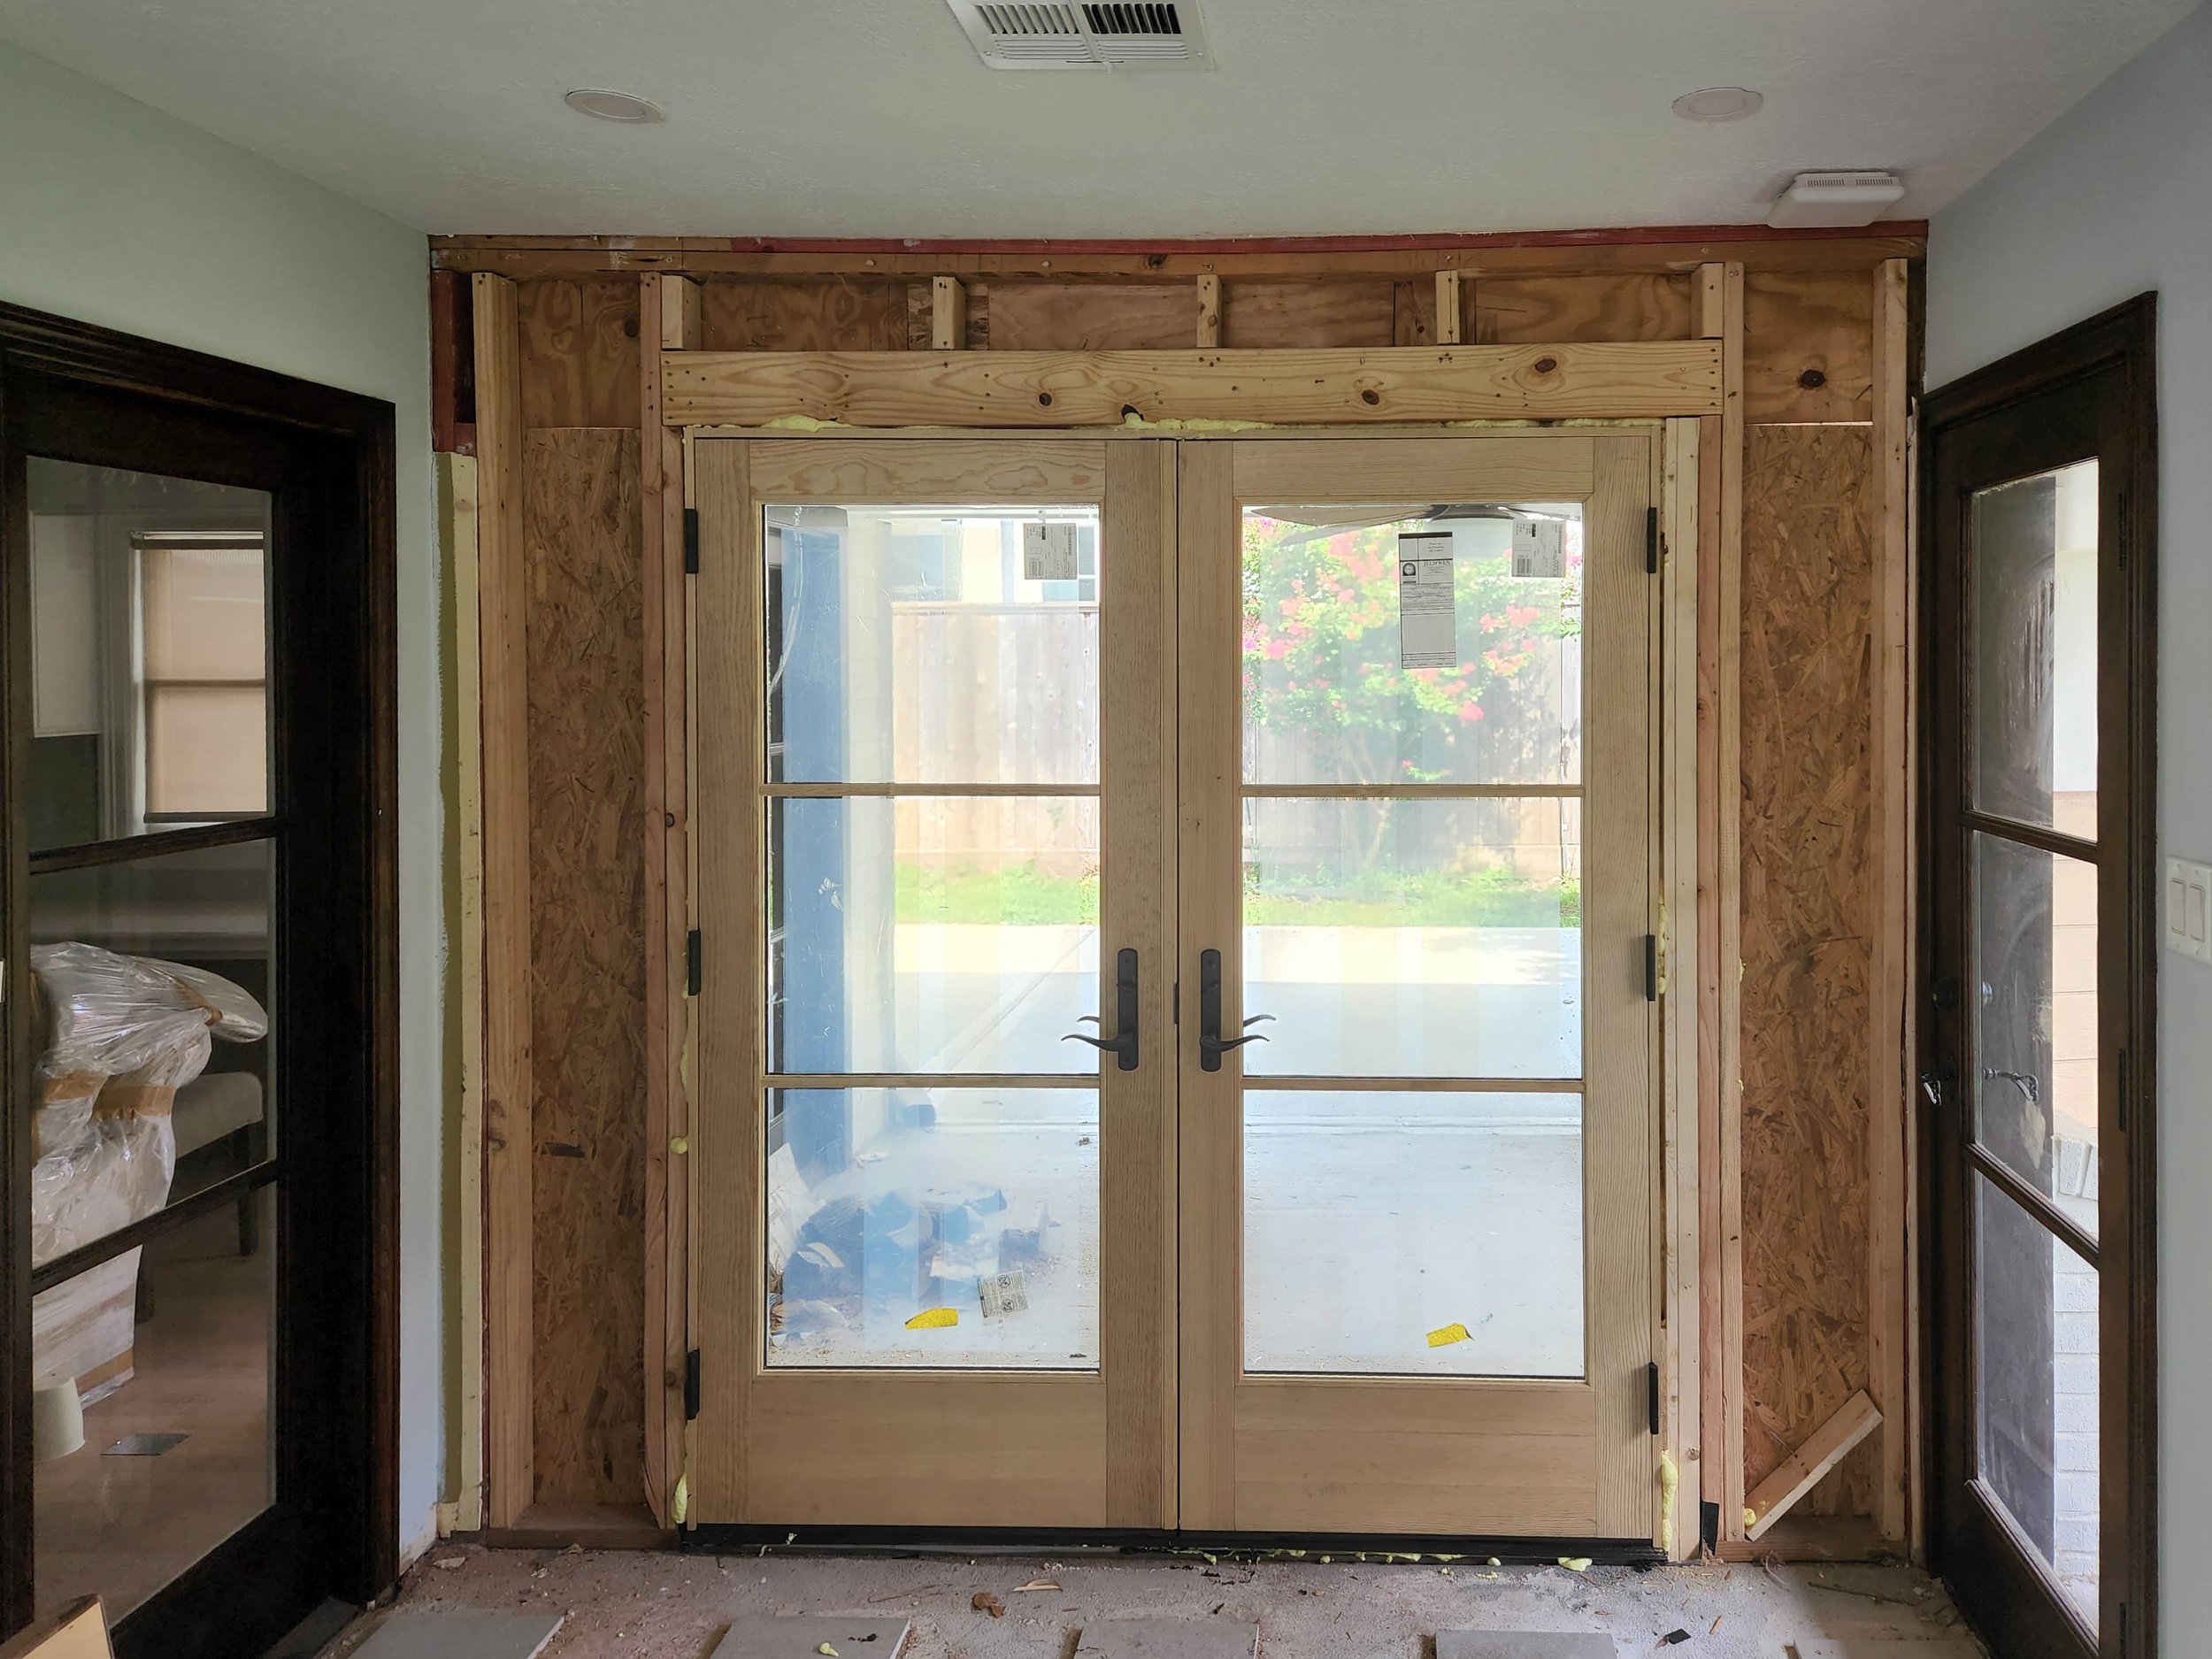
6. Add in new header costs, if needed. Depending on the type of construction and the distance between windows, there’s a high probability you’ll need a new header installed that is designed to bear the load of the wall or structure above. That means the whole area needs to be reframed, at least 2’ from each side of the doors’ rough opening, or the framed opening size into which a door is installed. This is normally 2.5-3” larger than the door size, but it’s model specific, so check with the supplier. The new header needs to covers the entire span of the opening. That will cost anywhere from $1,500 to $3,000 including labor and materials for a 6’x 6’-8” door’s rough opening.

7. Think about plumbing. If there’s plumbing in the area of the new rough opening, you’ll need to relocate or remove the plumbing. Sometimes you’ll be able to see a hose bib, or small faucet, on an exterior wall. In other cases, you won’t know about plumbing until the wall is opened up. Capping this hose bib, modifying it or moving it to a new location can start at $350 with labor and materials. If you don’t have access to the wall from the attic, for example, on the ground floor of a two-story home, be prepared for some surprises.

8. Remember HVAC and outlets. You may need to make adjustments with HVAC and outlets, too. As with plumbing, some of this work will be simple and inexpensive. Moving or canceling an outlet or two can cost around $200 each. But the same caveats apply—often you won’t know what you’re dealing with until the wall is opened up.

9. Choose a quality door sill pan. For the new opening you make with your doors, you’ll most likely need a door pan. It’s a tub the bottom of the door sits in that’s open to the exterior. The water that inevitably gets through door seals, jambs and thresholds is diverted back outside instead of onto your new wood flooring or carpet. This is especially important if you’re facing south or west and lack adequate overhang protection. The cost depends on the quality of the pan. We use custom stainless steel pans that run about $850 for a 6’ pan, installed. 

How a Specs Document Can Transform Your Remodeling Experience

10. Get ready for wall repair. After the new door pan and door are installed, the exterior will need to be trimmed out, or the wall repaired so the new door looks finished like the rest of the house. The price depends on the material your exterior is finished with (siding, stucco, brick). Siding, for example, is often the most economical option. Brick or stone is normally the most costly and could run about $2000. You’ll also need to install a metal lintel, or a piece of metal that spans the space in front of the header and supports the weight of the brick or stone. If you have a one-story home, you can choose to have just siding above the door. But if you have a brick wall over the door, you must install a lintel. 

11. Prepare for painting. Exterior trim, paint and flashing will cost you about $600-700 for a 6’x6’-8” opening on a lap siding wall, or type of siding that’s installed horizontally on your home, such as Hardie Plank, wood, aluminum, or PVC.

12. Doing drywall. Interior drywall, trim, and paint costs about $1,300 for a 6’x6’-8” door. This depends on door casing and baseboard used in the home, the paint and drywall finish level and demo required for framing, electrical and plumbing.

13. Installing the door. Sometimes suppliers have installers of their own. This is a good idea, as suppliers are familiar with the product and your warranty is assured (at least with respect to install). This cost will run about $750, depending on the type of door and the manufacturer. 

14. Putting in a threshold. If you order conventional swinging doors without a threshold, there will be an additional cost. Thresholds can be installed from about $650 for a 6’ double door.

15. Accounting for permitting. Finally, you might encounter additional costs if HOA/Municipality permitting is required or requested for the project.


In all, you’re likely looking at about $6,500 up to $15,000 to convert a window to a patio door—minus the cost of the actual door or doors. Costs will fluctuate based on what’s found behind the walls, any technical complications with the doors, and materials costs. If this works with your budget, then adding a patio door can be a great option.

 

You may also like:

How to plan your remodel. Putting it together.

How to plan your remodel. Putting it together.

Remodeling your home not only enhances your living experience and functionality but can also significantly increase your property's resale value. By collaborating with experienced professionals and methodically planning your space, the entire remodel process can be a gratifying journey towards a more livable and functional home.

Create the most functional and best possible steam shower for your budget.

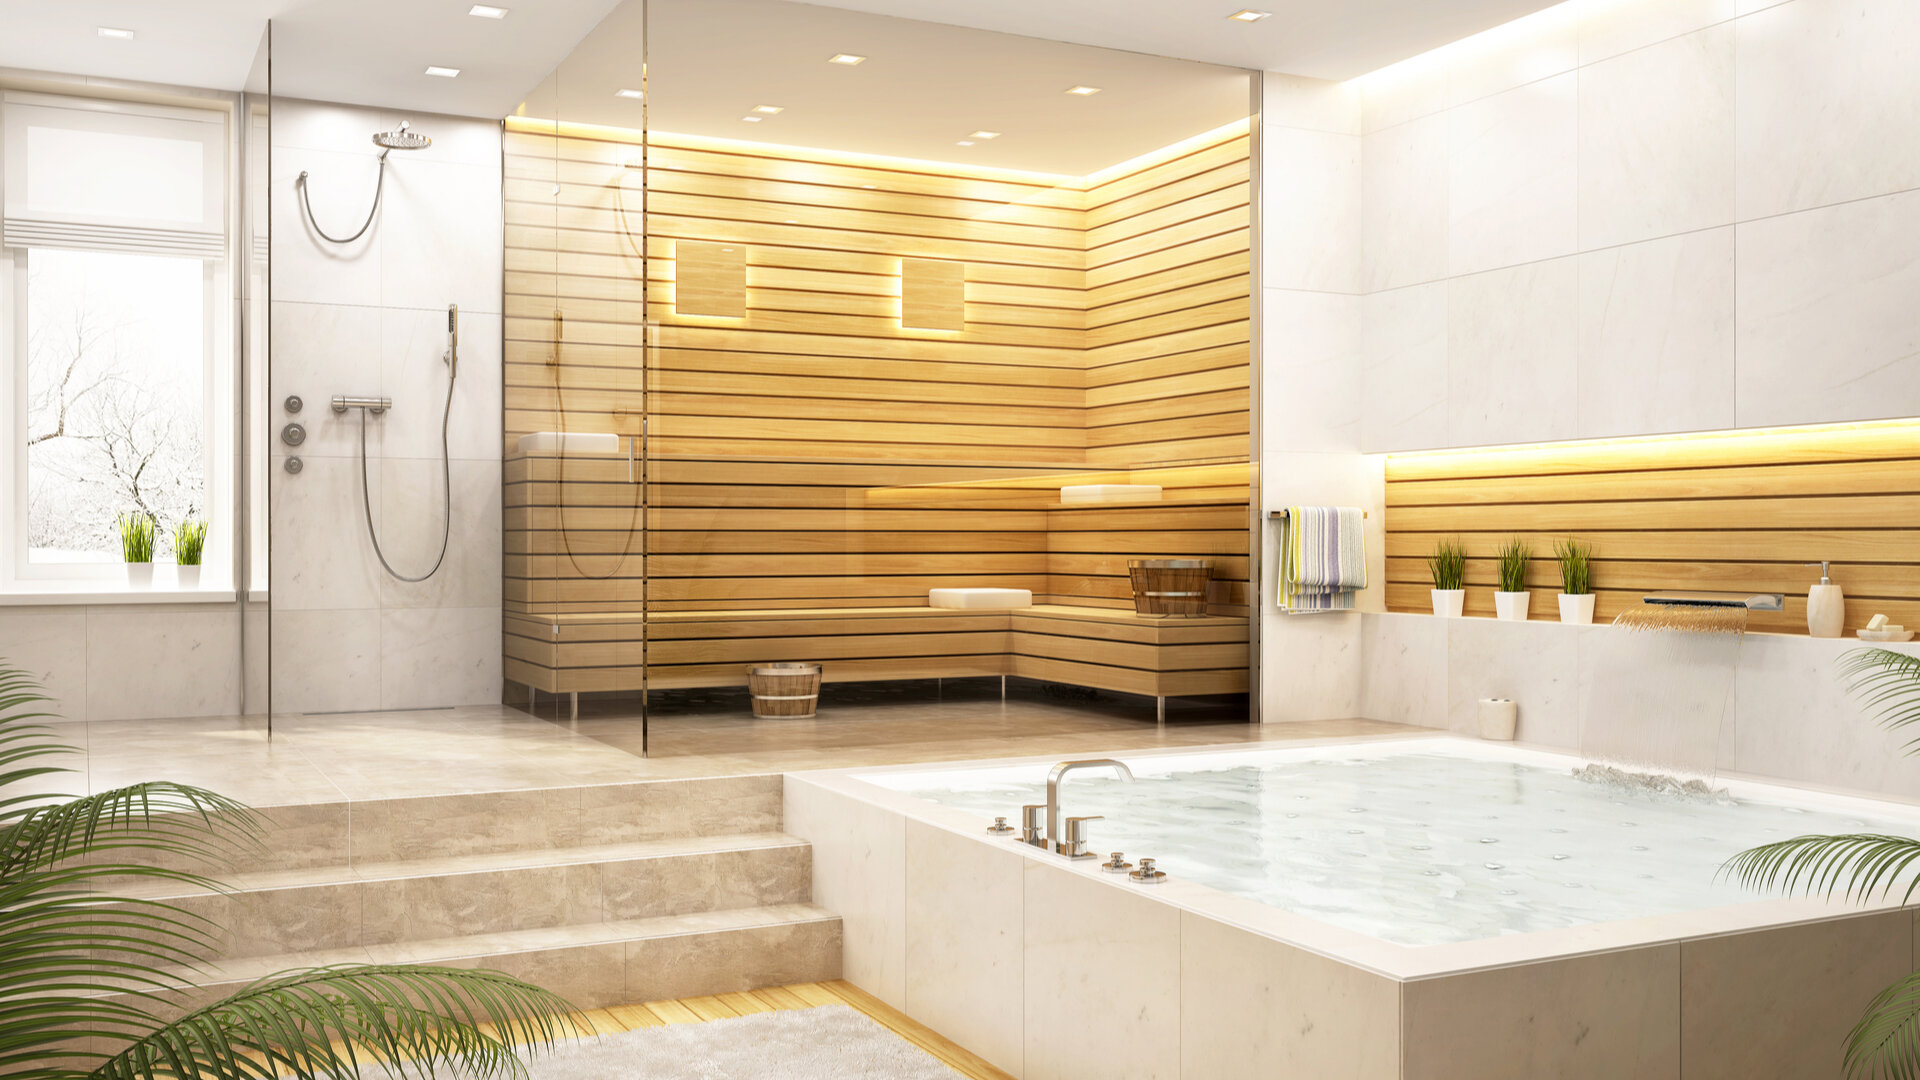
A steam shower can be a smart addition to your custom home, helping both your health and your finances. Steam rooms have been linked to health benefits including relief from sore joints and muscles, soothing allergies and reducing stress. One analysis found that houses with steam showers sell for 31% more than their expected price.

A steam shower replaces a plain shower stall, and many people opt to install one in their master bathroom. Homeowners that invest in one can create a luxury spa atmosphere at home. Steam rooms are also “green.” Steaming for 20 minutes only consumes a few gallons of water as opposed to several dozen gallons for a shower that lasts just as long.

Steam Room Arieli Custom Homes.jpg

As you plan a steam shower for your custom home, you’ll want to understand the various options and the costs involved so you can create the most functional and best possible steam shower for your budget.

1) The steam generator. A steam generator is the heart of your steam shower and can cost on average up to a few thousand dollars. Cold water pumped into the generator is heated to boiling. Then, steam flows into the shower through a steam head. More expensive models build steam faster. As you choose a generator, make sure to pick one that’s large enough to steam your space, but not too large to be wasteful. Generators can be tucked into a closet or attic space or placed beneath a bench in your shower stall.

2) Steam shower controls. To adjust steam temperature and time, you’ll need to install digital controls. Some homeowners install controls inside the shower stall, while others choose to place the controls outside the stall. Another option is to also have a remote control so you can stay seated while adjusting the temperature or setting a timer. A panel can control extras as well, like special lighting, music and aromas. Controls range in price. Higher tech ones with features like a touch screen will cost more.

3) Tiling options. Porcelain tile is a great option for steam showers and it comes in a variety of shapes, colors and styles. Choosing the tiling for your steam shower is an opportunity to put your own unique design spin on the space. For benches, solid or composite stone is often the most comfortable to sit on. When choosing flooring, make sure to look for tiling that gets a good slip-resistance rating. Steam showers with a curved ceiling work well because water droplets can then run down the sides of the space instead of dripping straight down. For curved ceilings, smaller tiling works best.

Bench in Steam Shower Arieli Custom Homes.jpg

4) Types of benches. Some homeowners decide to install a simple bench in their steam shower, but others choose to get creative. Options include an ergonomic bench that props up your head and supports your spine, or an oversized wooden bench that can give your space a spa-like sauna feel. For smaller steam showers, a floating bench can free up floor space and often gives the illusion of a larger shower.

5) Other design elements. When building a steam shower, many people choose to use a frameless glass door to enclose the shower as opposed to a framed door. A frameless steam shower door gives the shower a more seamless and sleeker look and it can make your bathroom appear even larger than it actually is.

Steam Shower Design Arieli Custom Homes.jpg

6) Spa-like extras. Bells and whistles you can add to your steam shower include special mood lighting, Bluetooth audio so you can listen to relaxing music while steaming, and a pump to infuse calming aromatherapy oils into the shower.

In addition to buying a steam generator and the necessary parts and materials piecemeal, homeowners can also opt to purchase a steam shower kit instead. A steam shower kit can include the generator, shower tools, and the glass enclosure.

Whether you decide to opt for the a la carte option or to purchase a steam shower kit, steam shower installation should always be left to the professionals.

At Arieli, our team can work with you to design and build your ideal steam shower that you’ll enjoy for years to come.


Functional and Beautiful Aspects of a Farmhouse Kitchen

Farmhouse kitchens mimic the simpler homes of early settlers with their exposed beams and basic décor. They have a rustic, warm look and homey feel and continue to be a popular style today. With a farmhouse kitchen, you can have both a functional and beautiful space for preparing food, feeding your family and entertaining guests.

If you love farmhouse kitchens and want to create one of your own in your new custom home, the first step is to become familiar with the typical elements and materials used to create one. Classic farmhouse kitchens incorporate plenty of natural materials, including quality hardwoods like maple, oak and pine, and metal fixtures. They feature large cooking and eating surfaces, and are painted in neutral colors like beige and white.

Arieli Custom Homes Vent Hood Design.jpg

As you design and budget for your new custom home, consider the following nine typical components of a modern farmhouse kitchen and pick and choose the ones that appeal to you and fit within your unique budget.

1) Exposed beams. Exposed beams are a classic element of the traditional farmhouse kitchen. You can keep it simple with basic horizontal beams, or create a more detailed design by working exposed beams into an A-frame ceiling.

2) A large, natural butcher block. Most farmhouse kitchen feature a sizable butcher block countertop that gives you plenty of space for food prep. Butcher blocks give a kitchen a clean, simple look and are also inexpensive, convenient since you can use it as a cutting board, and easy to maintain. For added storage space, opening shelving can be added below the countertop to give a decorative touch to the space.

3) A kitchen farmhouse sink. These types of sinks, also often called apron-front sinks, have become more popular in recent years for their sleek look and functionality. Farmhouse sinks are wide and deep and can hold a good number of dishes. While there are new models to choose from, you can also find attractive vintage models.

Arieli Custom Homes Kitchen Remodel.jpg

4) An exceptional stove. In old-time farmhouse kitchens, the stove was the centerpiece of the room, and often of the entire home, providing warmth and nourishment. Some modern homeowners who’ve committed to a classic farmhouse kitchen choose to invest in antique or vintage stoves to complete the rustic look.

5) Stone or hardwood floors. Farmhouse kitchens incorporate natural elements throughout, but definitely in the flooring. Most modern farmhouse kitchens have wooden floors with wide planks, imperfections or graining and natural or matte finishes. Other homeowners opt for more rustic stone flooring made from a material like slate or limestone. Wooden and stone floors are also relatively easy to clean and maintain.

Arieli Custom Homes House.JPG

6) Custom farmhouse kitchen cabinets. Farmhouse kitchen often include a mix of open shelving with kitchen cabinets, which can make your space feel larger. Custom cabinets in a classic farmhouse kitchen should be simply designed, with clean lines, plain trim and paneling. They’re often made from reclaimed, salvaged or distressed wood, adding to the room’s rustic look. Cabinet hardware in farmhouse kitchens could be antique, with a simple look. Beadboard is also often used on cabinets, walls and even on ceilings to bring additional texture into the room.

7) A hanging pot rack. Pot racks became less popular as built-in kitchen cabinets became more prevalent. But, in recent years, and especially in farmhouse kitchens, they’ve grown in popularity. Hanging pot racks make a kitchen more functional because it’s simple to grab the pot you need rather than digging through a cabinet. A preferred spot for a pot rack is above a kitchen island or butcherblock.

8) A banquet-style kitchen table. Called a farmhouse table, this type of kitchen table is usually large, rectangular and made from natural wood and it can seat more than a family of four, usually up to eight or ten people. The table harkens back to when people lived on farms and had larger families to accommodate around the table. Today’s often smaller families can use it for both every use and to entertain guests.

Arilei Custom Homes Lighting Desing.jpg

9) Versatile, interesting lighting. Old-time farmhouse kitchens had large windows and plenty of natural light to brighten the room during the day. Modern farmhouse kitchens can mimic that with large, abundant windows, while also making use of recessed lighting and simple metal fixtures like wall sconces and pendants made out of wrought iron or even copper.

As you plan for your modern farmhouse kitchen, balance out the functional elements with the beautiful ones keeping your budget in mind—and get creative. Farmhouse kitchens are all about a homespun and handcrafted feel, so don’t be afraid to put your personal touch on the space, whether it’s by adding an old-fashioned hutch from an antique shop, incorporating exposed brick, or creating a custom apron rack.

At Arieli, we have years of experience designing and building beautiful farmhouse kitchens. Please find more information on building a custom home with us here.

Do you want separate closets or one shared space with an island?

When you build a custom home, you make every space your own, from the entry way to the pantry to your master bedroom closet. Out of all the decisions you’ll make as you’re designing your custom home, an important one is how you’ll configure your master closet. Do you want separate closets or one shared space with an island?

It’s a good idea to think carefully about your master bedroom closet since it’s a spot you’ll spend a good deal of time in each day. In recent years, plenty of well-planned-out storage space has also topped homebuyers’ wish lists, so a solid closet design can help with resale value as well—should you eventually decide to sell your custom home.

There are both pros and cons to having separate closets and a single shared space with an island. The best way to decide is to think about your particular situation, your needs, your budget, and how you want to use your closet space day to day.

Sticking to separate closets

Separate closets can work well if one person has significantly more “stuff” to store than the other. In that situation, the person with fewer clothes might feel overcrowded in a shared closet and could feel happier if they were to have their own personal space.

If the person you’re sharing a closet with has different ideas about tidiness than you do—they’re typically messy while you like a clean closet—sticking to separate spaces can also help stave off arguments or any feelings of resentment.

Arieli Custom Homes Windows in Master Closet.jpg

Separate closets provide more privacy as well ,and they can be a more convenient and less hectic option first thing in the morning when you’re rushing to get ready for work. Having individual closets means that you’re not getting in each other’s way while you’re trying to choose your outfit for the day.

Committing to a shared space

In recent years, however, more and more homes have featured walk-in master bedroom closets as many homeowners have gravitated toward larger closet spaces with a more open feel.

In kitchens, islands can add important extra storage space. It’s the same with closets. Having a shared walk-in closet with an island can add to your storage options, giving you custom-made spots to stash your shoes, belts, and even your jewelry.

Many homeowners like closet islands because they can eliminate the need for a dresser or a bureau, freeing up space in the master bedroom and giving your bedroom a cleaner, more streamlined feel. A closet island can also come in handy as a space for folding clothes or packing luggage as you’re preparing for a trip.

Arieli Custom Homes Island in Master Closet.jpg

For a shared closet with an island, you need a large enough space so the closet doesn’t end up feeling cluttered. Generally, islands work well when they have around 36 inches of space on each side. That translates into a closet space that’s at least 12’ by 12’.

Adding an island to your share closed is also another opportunity to put your design spin on your space. You can choose an interesting finish for your island or top it with an eye-catching granite or a marble slab. Choosing interesting decorative hardware can also make your custom master closet island stand out.

Closet considerations

As you mull over whether to have separate closets or a shared space with an island, it’s a good idea to start by taking an inventory of what items each person has in their wardrobe and needs to store. Think about how much clothing should be hanging — and which items need a full hanging space versus a half space. Also think about what items can be placed in drawers or set on shelves instead.

1971-Arieli-4902 Jason-059-web.jpg

Islands with drawers and dividers can be great for folded items like T-shirts, pants, underwear and lingerie and scarves. In the past year, many people have found themselves buying and wearing more leisure attire, which lends itself well to storage in drawers and on shelves.

With many workplaces now permanently shifting to at least part-time remote work for their employees, for many people, this trend toward more leisure wear could stick. Consider this as you’re making decisions about your custom closet.

Finally, think about how your closet could work in conjunction with other spaces in your new home, like your laundry room. If you decide to have a larger, shared closet, you may also have room for a hidden ironing board so you can do a fast touch-up before getting dressed. An island can also be built with a pull-out hamper inside. 

Whichever you choose – separate closets or a larger, single space with an island – take the time to work with your architect and custom builder team to make sure the final design suits all of your needs. At Arieli Homes, we’ve designed countless custom master closets. We love working with our clients to find the solution that best fits their unique needs.

Home Automation. How much do you really need?

Home automation is more common these days since it’s become cheaper and easier to install, with more and more people realizing the numerous benefits it can bring. Homeowners who’ve embraced home automation are benefiting from added convenience and safety plus energy savings. As you build your custom home, home tech can be a wise investment.

Home automation monitors or controls systems like lighting, temperature, home entertainment and even your appliances, letting you control them from your smartphone, tablet or computer – with just the push of a button or a voice command.

It’s an investment up front that can pay off in the long run. Indeed, smart home features can lift your home’s resale value by up to 5%, according to Consumer Reports. Home appraisers are also starting to look at the value of home automation. What’s more, some insurance companies will give a discount to homeowners who have home automation.

But, with so many options, it can be hard to figure out what you really need. As you begin to research home automation products, think about your budget, your home design and your lifestyle. For example, are you often away from home or out of town, or do you forget to lock your front door several times a week? If so, an automated home security system with a smart entry system probably makes sense.

Many people choose to start with the basics. They buy a smart home hub like Amazon’s Alexa or Google Home. Through a smart home hub, you can connect and control other smart home products. Then, they invest in a few key home automation products. Later, once they’ve lived in their custom build for a while and figured out what other home automation products may make sense, they add on some “nice-to-haves.”

Office+with+built+ins.jpg

Automating home security

Many people choose to start with automating their security and alarm systems, including smart doorbells and smart locks. It’s a great way to protect your home.

Smart doorbellsPaired with smart video cameras, they livestream video to your device so you can see who’s coming by your home. Through most, you can talk to and listen to whoever is outside your front door.

Smart locks These look like a regular dead bolt lock but are connected to Bluetooth or Wi-Fi, or, they can have touchscreen keypads you use to set a code. Smart locks can be pricey at a few hundred dollars upfront. But they allow you to open your door for guests remotely, which can come in handy for letting in dog walkers or a cleaning person. Depending on the lock, you can also set it to sense your smartphone and have it automatically lock the door when you leave the house with your phone.

A smart thermostat

A smart thermostat can lead to big savings when it comes to heating and cooling a home, which accounts for almost 50% of energy use in the average home in the U.S.

This type of thermostat can learn your habits and adjust the temperature when you’re not at home so you’re not cooling or heating an empty house.

They may cost a few hundred dollars up front, but you’ll quickly recoup that money with energy bill savings. Many energy companies also offer a rebate for smart thermostats.

Outlets and light bulbs

Smart outlets convert any appliance into a smart device, and they’re inexpensive, typically costing less than $75. They can come in handy if you want to start your slow cooker while you’re away from home or you forgot to turn off your hair straightener.

With smart light bulbs, you can turn your lights on and off when you’re away from home, helping save on energy costs. You can also program them to turn on and off at certain times of the day, a great safety feature for when you’re away on vacation.

Depending on the smart light bulbs, you might also be able to dim them remotely or even change the color of the bulb. A major benefit of smart light bulbs is that they last many longer than regular bulbs and only consumer 8.5 watts of electricity versus the 60 watts conventional bulbs can consume.

Carbon monoxide and smoke detectors

With smart carbon monoxide and smoke detectors, you won’t have to worry about frequently replacing batteries. A smart carbon monoxide and smoke detector will alert you on your phone in case of an emergency.

Contemporary pool lights.jpg

Other areas to automate

In addition to the above basic home automation devices, there are plenty of other areas in your home that you can automate. These include:

·       Sprinkler system

·       Window shades

·       Pet feeders

·       Pool cleaners

·       Window washers

·       Murphy beds

·       Refrigerators

·       Washers and driers

·       Basement water leak sensors

·       Garage door openers

While home automation devices are an upfront investment that will add to your expenses as you’re building your custom home, in the long run, they make sense. By investing in home automation, you’re adding convenience to your life, you’re saving money and you’re helping to increase the value of your home.

Which microwave to choose and why

As you’re planning out your new kitchen, you might be wondering if microwaves are out of style. You may ask yourself, should I get a microwave for my new home? The answer—you probably should.

Ever since microwave ovens were invented in the late 1940s, they’ve stood the test of time. Microwaves continue to be a staple in U.S. households and an essential kitchen appliance in our modern and fast lifestyle. It’s a quick way to re-heat leftovers, melt butter or chocolate, steam veggies, and even cook full meals. These days, go online and you’ll find tons of interesting recipes that can only be made in the microwave.

Still, even though most of us can’t imagine our kitchen without a microwave, it’s an awkward appliance. Designers continue to struggle to find a good spot for a microwave in the modern kitchen regardless of the model. Some spots are just hard to reach, make microwaves difficult to clean, and can feel unsafe for some homeowners.

Currently, there are four types of microwave ovens on the market: over-the-range, countertop, built-in, and drawer. Some of these models also come in a convection option. Unlike a standard microwave, which uses radio frequency to cook food, a convection microwave oven cooks with heating rods and a fan that circulates air in the oven, keeping food moister and more flavorful.
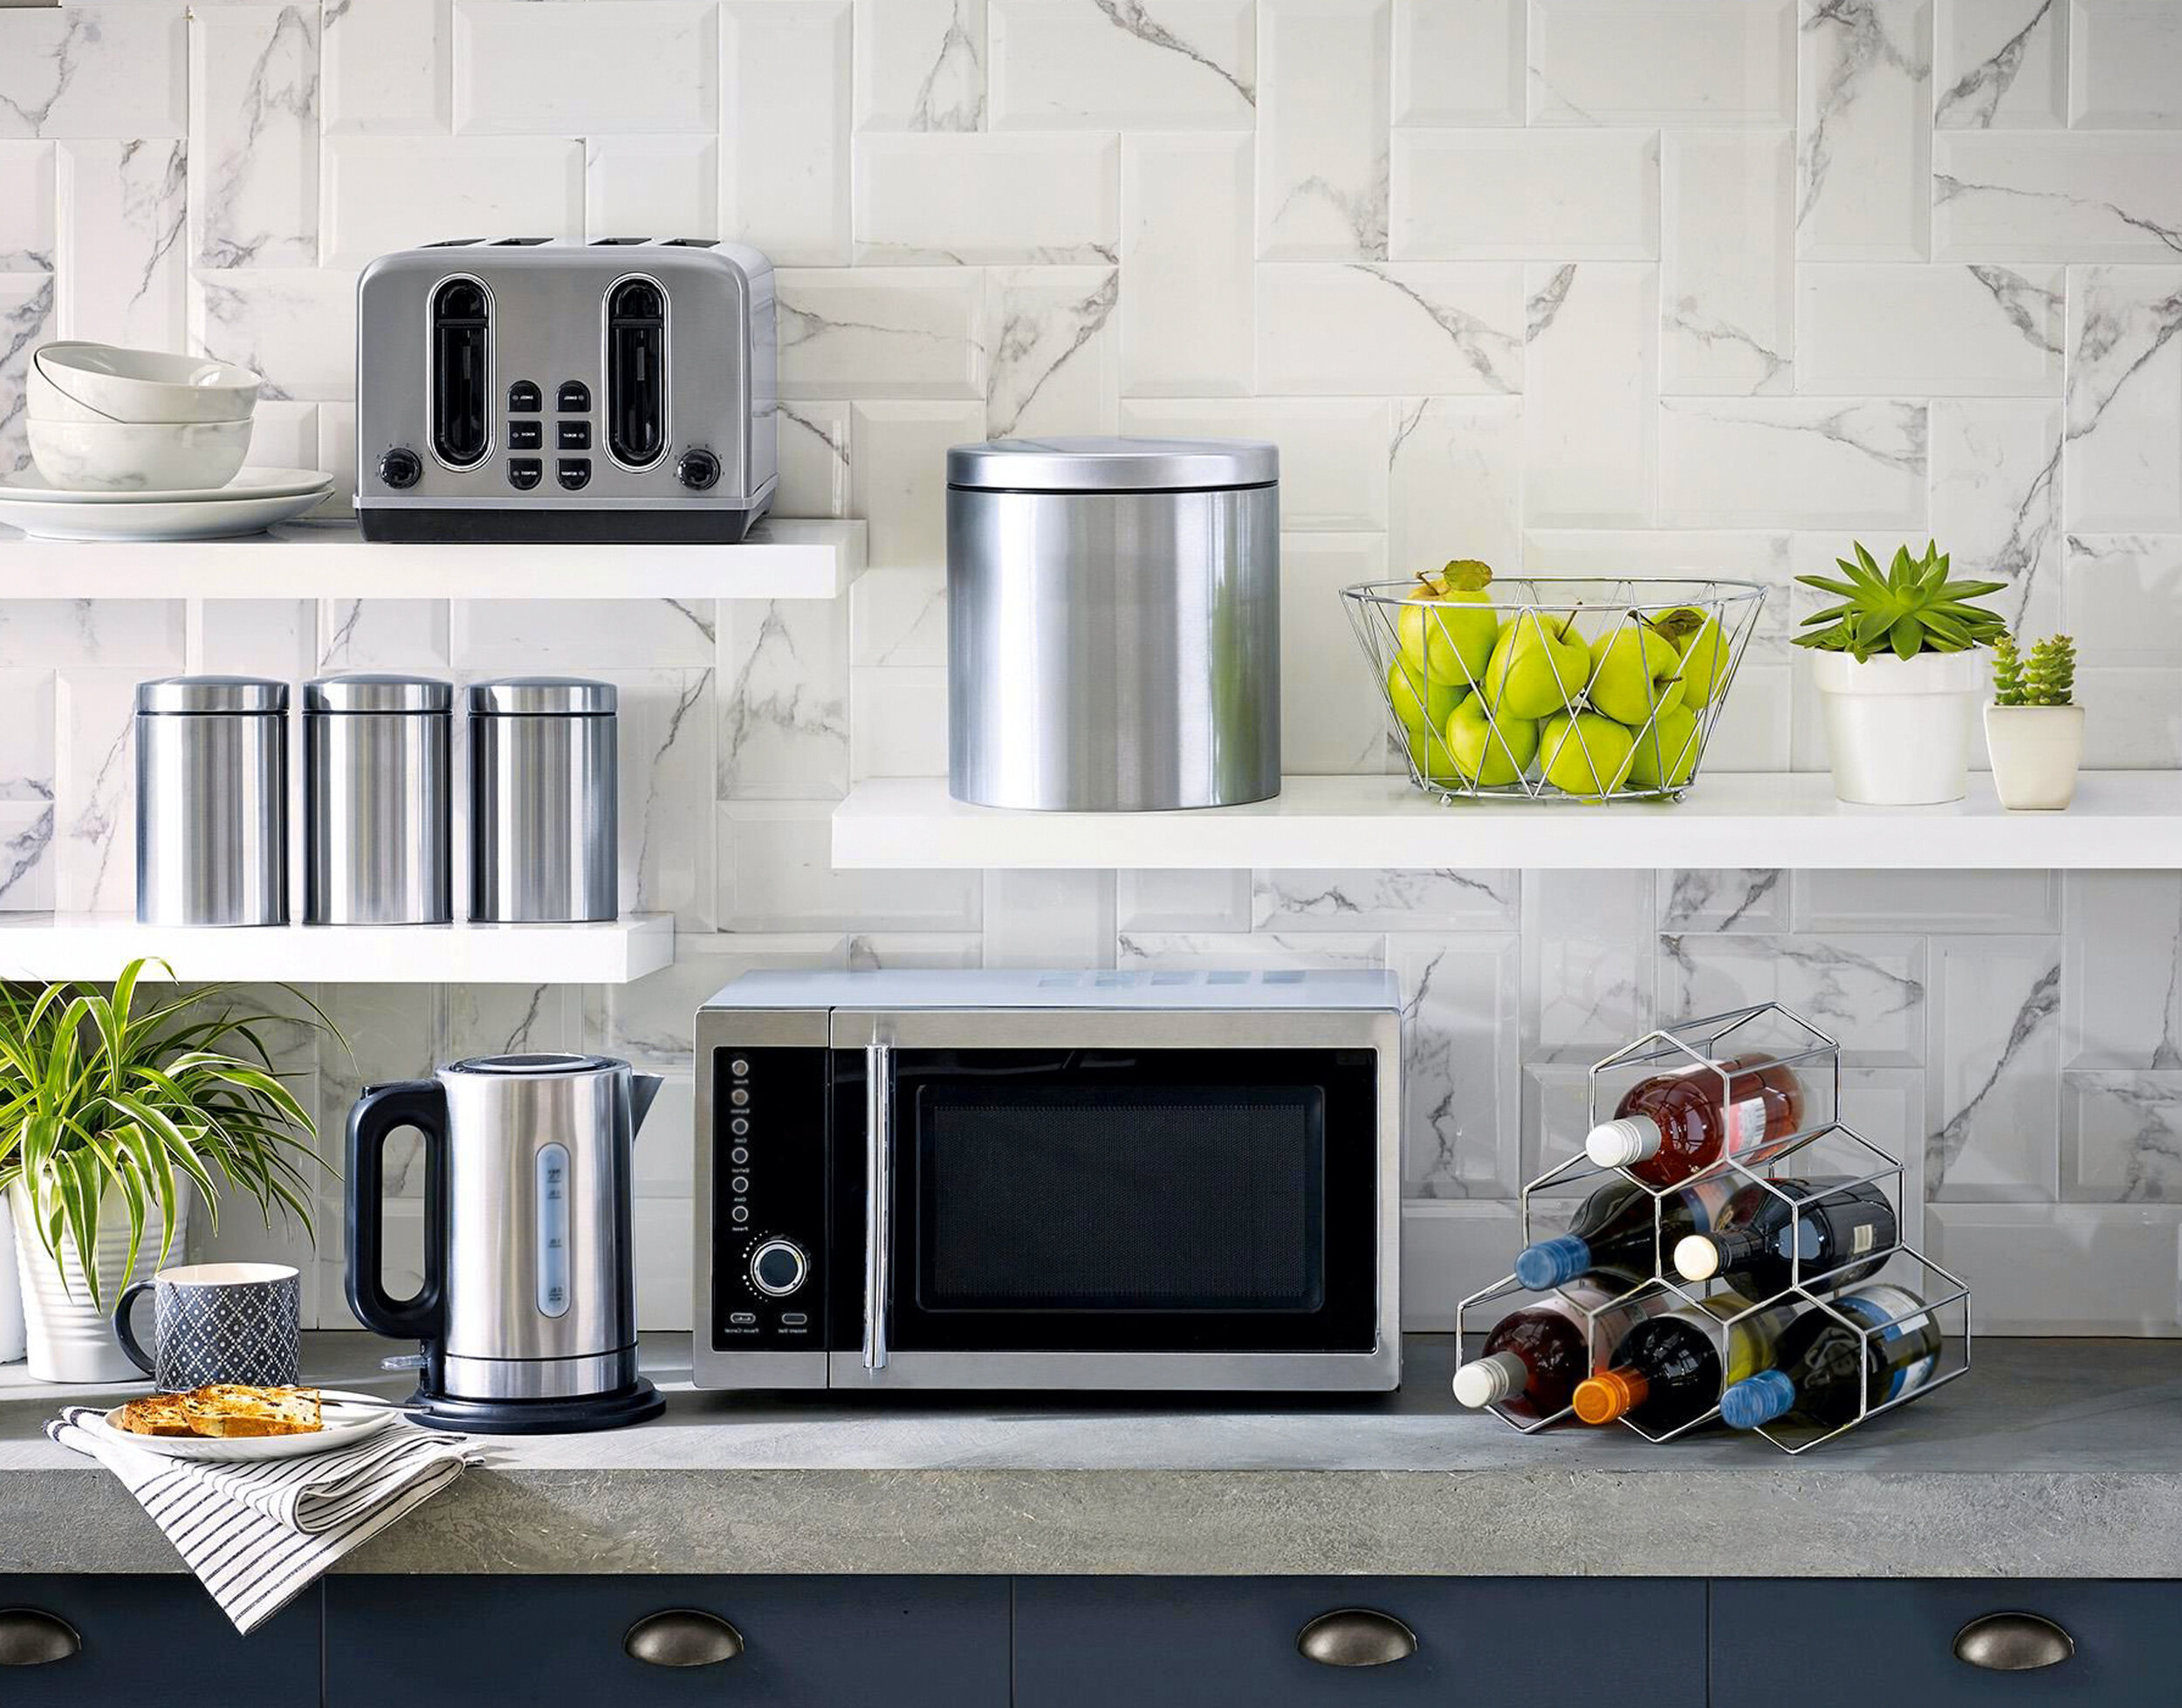
All microwave oven models have their advantages and disadvantages. Your kitchen floor plan, design style, your preferences and requirements will dictate the right microwave type for your new home.

Over Range Microwave.jpg

Over-the-range microwaves. These types of microwave ovens install above a range or a cooktop in place of a range hood.

Pros

·       Great for small kitchens, saves space

·       Functions as a vent, two appliances in one

·       Built-in lights brighten the surface of the range or cooktop

·       A convection oven option is available

Cons

·       Too high for some people to lift heavy dishes inside, including kids

·       Provides poor ventilation (usually 300 cfm capacity, like a basic vent hood)

·       Accumulates built-up grease from the range burners below

Counter Microwave.jpg

Countertop microwaves. These standard freestanding microwaves are designed to be placed directly on your kitchen counter.

Pros

·       Easy to move

·       Inexpensive

·       No installation needed

·       Easy to see inside and reach to clean

·       Convection cooking option is available

Cons

·       Takes up valuable countertop space (about 4 square feet of counter)

·       Take away from a kitchen design, does not look sleek or appealing


Built-In Microwave.jpg

Built-in ovens. This type of microwave is installed into a cabinet or a wall.

Pros

·       Frees up counter space

·       An integrated design that looks sleek, luxurious

·       Custom height; the appliance can be installed at your eye level

·       Convection cooking option is available

Cons

·       Professional installation is recommended, which drives up cost

·       Difficult to replace

·       Takes up valuable cabinet storage space

Misterio Quartz Kitchen Island.jpg

Drawer Microwave. A microwave drawer is designed to fit perfectly into a lower cabinet or inside a kitchen island.

Pros

·       Gives you additional countertop space

·       Provides a modern look

·       Has a spacious interior

·       Easier reach for people who are shorter, including kids

Cons

·       Convection cooking option is currently not available

·       Professional installation is recommended, which drives up cost

·       Hard to reach for cleaning the interior back wall

·       Takes up valuable cabinet storage space

·       Requires bending down to see the controls

·       Difficult to replace

When you’re shopping around for a microwave oven for your new kitchen, there’s no wrong choice. Microwave drawers are a very versatile option for modern cooking needs. Along with built-ins, microwave drawers are also probably the best option if you want a sleek and streamlined look in your new space.

But if you’re on a tight budget, or you have a small kitchen with limited cabinet storage space, it could make more sense to install an over-the-range microwave or go with a countertop one. Whatever you choose, to extend your microwave’s life and avoid unnecessary repair expenses, be diligent about covering your food while heating it up, and always keep your unit clean.

Follow these tips to save money on your new build. Learn where to cut and compromise when building your home!

A fancy bathtub, kitchen tiles sourced from Italy, a wraparound porch. As you’re planning your new, custom build, it’s normal to be excited about all the possibilities—the special features and finishes you’ve always wanted in your dream home.

Why showers are replacing tubs

But often, budgets are limited. Some busy future homeowners also want to help customize and personalize their home by choosing the features and finishes themselves. That takes time, however, and will likely add to the length of the project as the number of features continues to grow and the homeowner struggles to find time.

With custom home builds, it’s okay not to have it all. To make your project less stressful and more pleasant, it helps to decide which features you can’t live without and which you can compromise on. Some homeowners find only after they’ve completed a build that they included items they rarely use. Think about your needs, and current and anticipated future lifestyle, as you plan your project. Setting realistic goals that include possible compromises and cuts also helps to reduce overconsumption and protects the planet.

Cozy Office ideas.JPG

Our Imogene Project

Consider these top six types of compromises and cuts that can be made during planning and construction of new home builds:

1. Forgo a tub in the master bath. A big, freestanding bathtub can be a nice focal point in a master bath, but in recent years some homeowners have decided to leave out a tub in the master bath and instead use the space for a shower. Not including a tub can save both money and time spent agonizing over the right tub.

2. Saving items for future installation. Maybe you want a pool or an elevator installed in your custom build, but you just don’t have the funds. The groundwork can be laid for items like pools and elevators during your build, making it less expensive for you to complete the installation down the road.

Building a pool in a flood zone?

3. Think about rooms you can combine. Some homeowners choose to combine rooms they don’t use all the time to cut down on costs. For example, if you don’t frequently have guests who stay with you, you could combine a guest room with an office. Other homeowners have paired their dining room with a library.

4. Ditch the porch. Porches in Houston, where temperatures can top 100 degrees in summer, are more often than not designed for a particular look and are infrequently used, especially on the front of the house. On a tight budget? Consider forgoing a porch.

How Much Does It Cost to Convert Windows to a Patio Door?

5. Reconsider sky-high ceilings. High ceilings look and feel great. They can open up rooms and researchers have found they just make us feel good. But they also cost more to build and they can cause heating and cooling costs to add up.

6. Scale back the size of your kitchen island. Kitchen islands can help your kitchen flow and provide a great space for food prep. The average kitchen island measures at about 3 feet deep by 6 ½ feet long. Some people like to have even bigger islands, but those over 5 feet deep are just too large to efficiently use or clean. Creating a large island for your kitchen also adds a good deal to building costs.

Double Kitchen Islands. A Trend Not Going Anywhere

As you’re planning and executing your custom home build, keep in mind these six compromises and cuts. If you find yourself nearing the end of your budget or you’re too busy to take the time to browse all the features and finishes you might want, consider scaling back, at least for now. It’s okay not to have it all, and you can always add additional features later.


You May Also Like:

5 things to help keep you from blowing your budget

1.JPG

Worried about going over budget on your new build? Here’s one way to help curb costs: take the time to fine-tune your architectural plan and scrutinize it before submission. The more you research and prepare ahead of time, the fewer surprises you’ll encounter and changes you’ll have to make.

In general, it’s always a good idea to save 10 to 15% of your budget as a buffer when planning a project. Unfortunately, it’s not unusual for homeowners to spend more than that, but that doesn’t have to be the case.

In a construction project, a variety of factors can elevate or lower your costs. A good architect and builder help clients navigate their unique budget, style preferences and family needs. To make sure you and your team are moving in the right direction, consider these five often-overlooked factors that could play a big part in your budget planning.

2.jpeg

1) Gross square footage. Construction costs are normally quoted in “net,” “livable,” or “air-conditioned” space. But depending on the size and design of your custom home, your architectural plan may include many more non-livable areas than you’re expecting. A grade level basement, a porch, or garage, for example. These areas still cost a good amount of money to build—mostly in foundation costs—so make sure you really want those areas before committing.

2) Your lot height. Building your home up off the ground, otherwise known as “above grade,” is more expensive than “on grade.” If you try to size up your lot yourself, you won’t be able to tell how high off the ground you’ll need to build your first floor. To get your lot’s exact height, pay for an elevation certificate and a topographic survey. That will show you how high you should build above grade. In Houston, lot heights are measured from sea level. The MFPE (Minimum Flood Protection Elevation) is the lowest elevation above sea level that you can build your first floor, according to the city or FEMA. In general, the lower your lot’s elevation, the higher you have to build and the more it will cost. In Houston, homeowners in a flood zone may want to build even higher than required. Knowing your lot’s elevation will give you a better sense of the cost of building up.

3) Dead corners and unused spaces. Look for dead corners and spaces you can incorporate into an existing room or remove entirely. Your garage floor and the first floor will be at different heights if you’re in a flood zone—your first floor has to be above a certain elevation, while your garage floor needs to be at ground level to allow you to drive your car into your garage. We usually use this height difference to build a storage space, and our clients love it.

3.JPG

4) Door sizes and the way doors open. To avoid change orders, check all of your door sizes in your architectural plan and the direction each door opens. For most interior doors, 30” is the standard width. Some doors, however, should be wider. We’ve seen homeowners remove door casings and door jambs to fit a washing machine into their laundry room. Carefully checking your plan to make sure your laundry door is at least 36” wide can help avoid similar issues. It’s this type of design element you should consider before finalizing your plan. Many homeowners also don’t think about which direction a door will open before it’s too late, and realize it wastes space after it’s installed. You can avoid having to order a new door, or bring painters, carpenters and floor installers back for a costly fix by doing the legwork upfront.

5) Roof pitch. Pitched roofs—for example, those with shingles—versus a low pitch or flat roof—have a number of advantages, including energy savings, a longer lifespan and helping protect your home against the elements. With a pitched roof, and especially a roof with a high pitch, you can also make use of the extra space. One way to utilize that space is to use it to store mechanical equipment like your water heater. If you want a pitched roof, carefully check your plan to make sure it’s adequately high. Sometimes architects will default to a low or flat roof because they look appealing or because of an area’s restrictions on building height. Without a pitched roof though, you may end up needing to buy smaller, and more expensive, mechanical equipment that can fit in your attic, or you might have to spend the money to build a special room to house the machines. It all comes down to your taste and priorities, but understanding these nuances before the building process starts is important.

4.jpg

Identifying all these components on an architectural plan isn’t easy. That’s why we offer preconstruction services where we check our clients’ plans before submission to make sure they get exactly what they need and they’re aware of all costs.

5.jpg

A new build often comes with its share of surprises. You don’t want one of those to be thousands of dollars in unexpected costs. By taking the time to carefully consider and review your architectural plan, you can help ensure your costs stay on track.