Part 1 of 2
“A design isn’t finished until somebody is using it.” — Brenda Laurel, Scholar, Author and Researcher
Modifications that make homes more accessible help people with disabilities live more independently, and that’s especially true for the around 2.7 million people in the U.S. who use a wheelchair.
In recent years, developments in technology have made it possible for builders to incorporate more automation into home modifications. But less hi-tech modifications to make sure wheelchairs can easily navigate through a home are crucial. These need to be well thought out if they’re going to be successful.
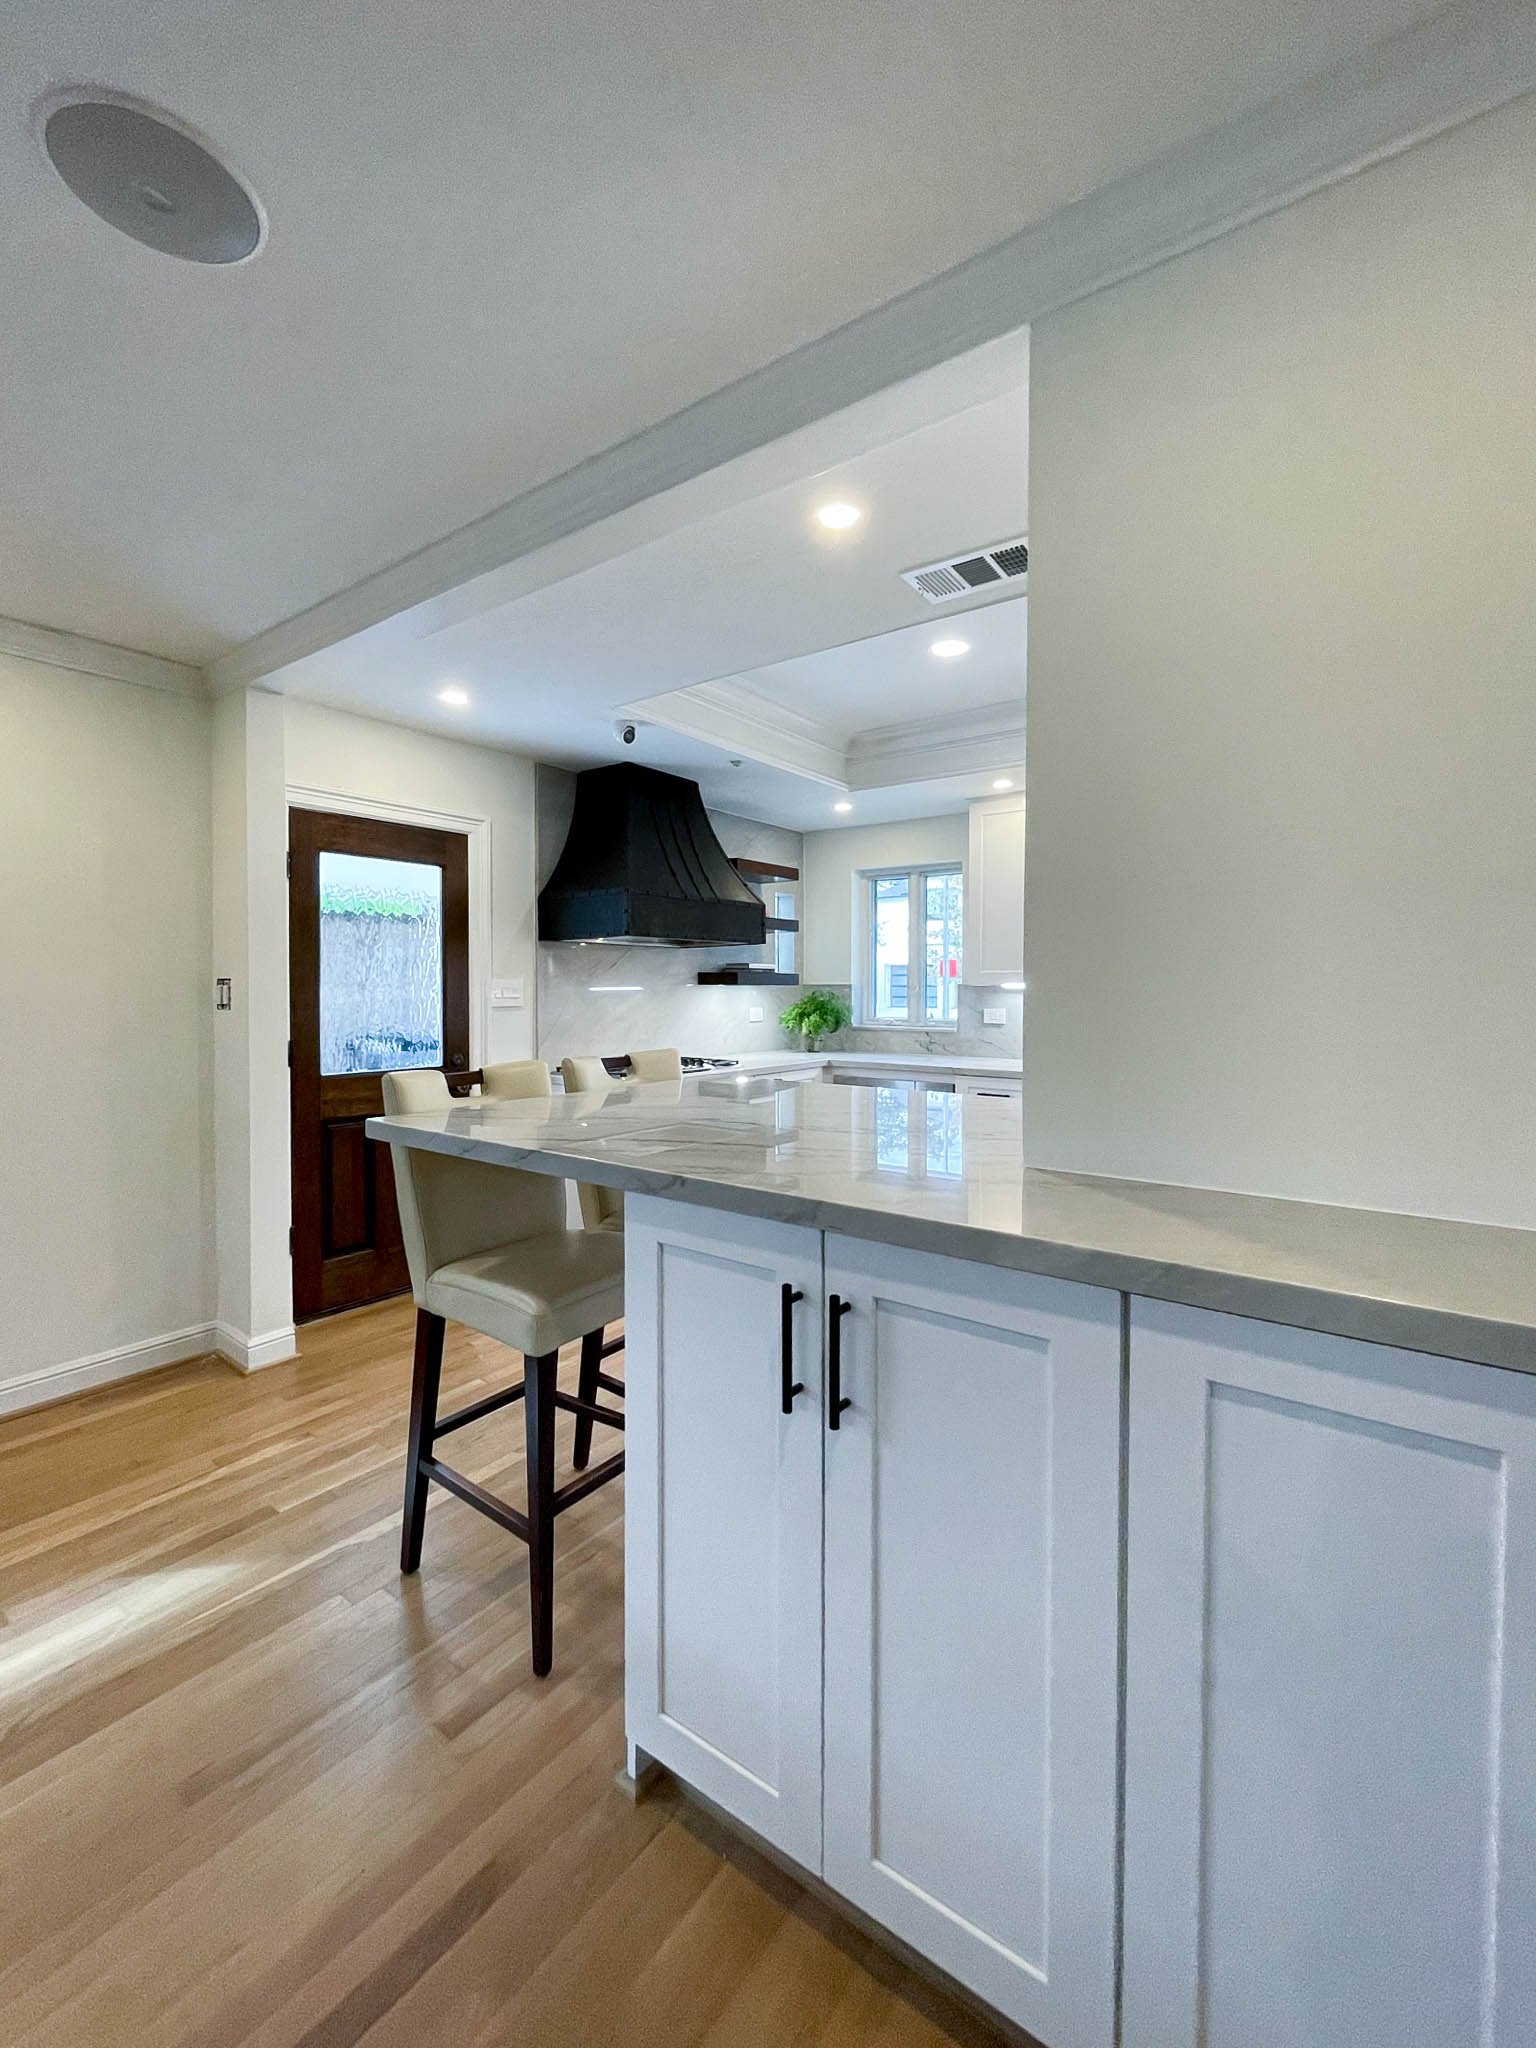
During a recent full-scale remodel, we incorporated accessible features into a home to make it more wheelchair friendly. The one-story house was built in 1940s with a traditional closed floor plan. It needed updating. But the bulk of the remodel focused on incorporating specialty items and automation into the design and making sure counters and fixtures were set at appropriate heights and locations for the homeowners.
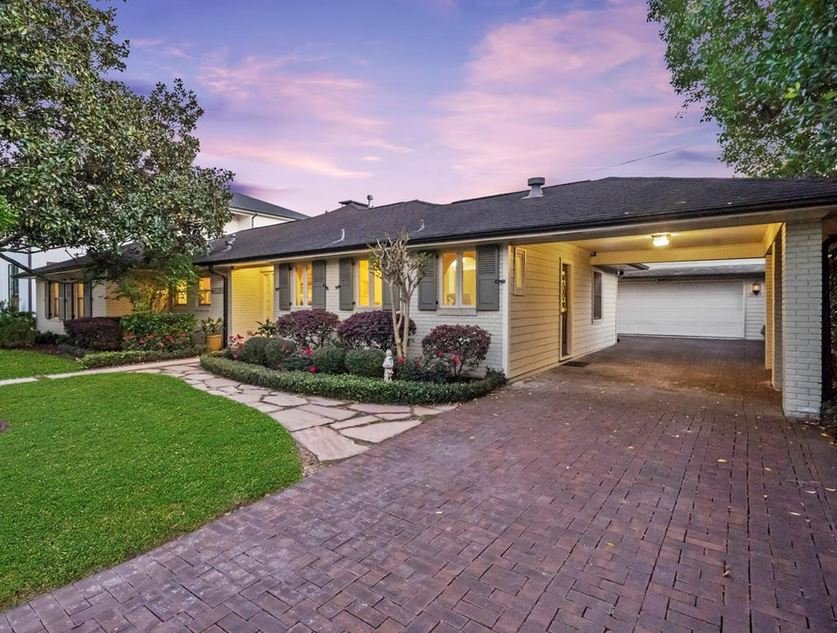
The one-story house was built in 1940s with a traditional closed floor plan.
We started by addressing the home’s exterior and driveway to make them more wheelchair friendly. Then, we addressed doors—both interior and exterior—modified the floor plan, streamlined flooring and made modifications to the kitchen and primary bathroom.
A more welcoming entrance
The existing home had a narrow path to the front door and the brick driveway was bumpy and uneven. We redesigned the flatwork in front of the house to create a wider path to the front door. We also took out stepping stone path from the main driveway to the front entrance and made it concrete instead so the wheelchair can easily navigate it.


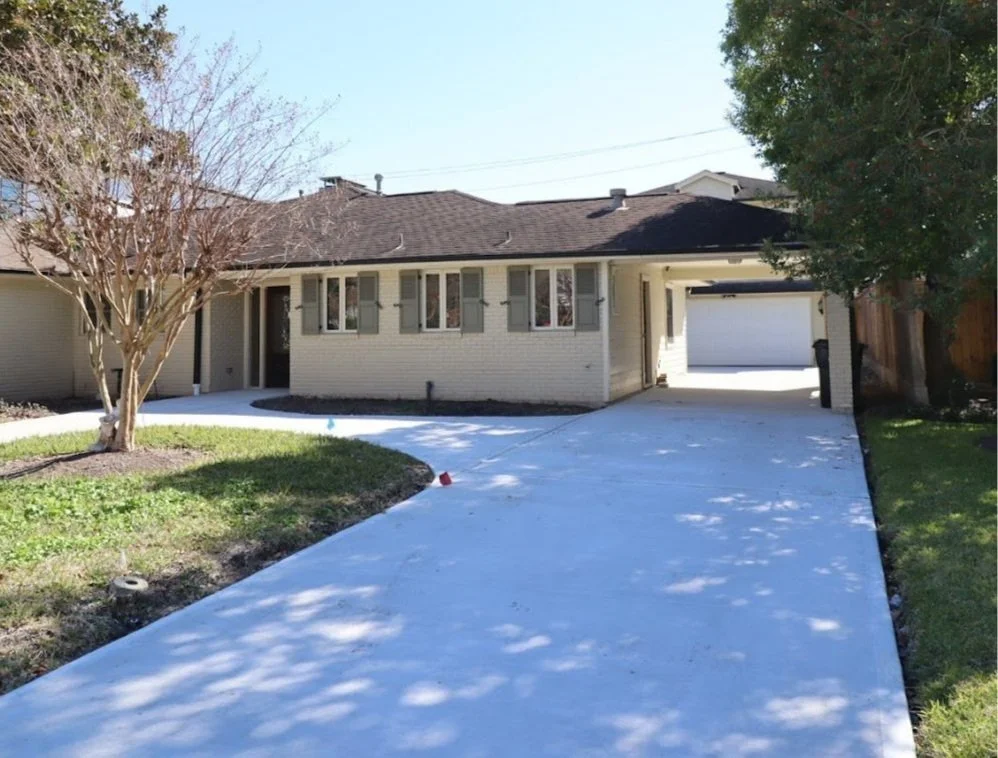
At the end of the driveway where it meets the street, there was a small ditch to collect water. The owner couldn’t safely pass over it in his wheelchair, so we added a steel cover. We used treadplate on it to make for better traction when cars pull into the drive.
This took planning because we didn’t want to impede the flow of rainwater. We used self-leveling sealant to create a smooth transition from the driveway to the ditch cover to the street. Now, the owner can successfully navigate by himself from the street up the driveway and into the house.
We added a steel cover over a ditch. Now, the owner can successfully navigate by himself from the street up the driveway and into the house.
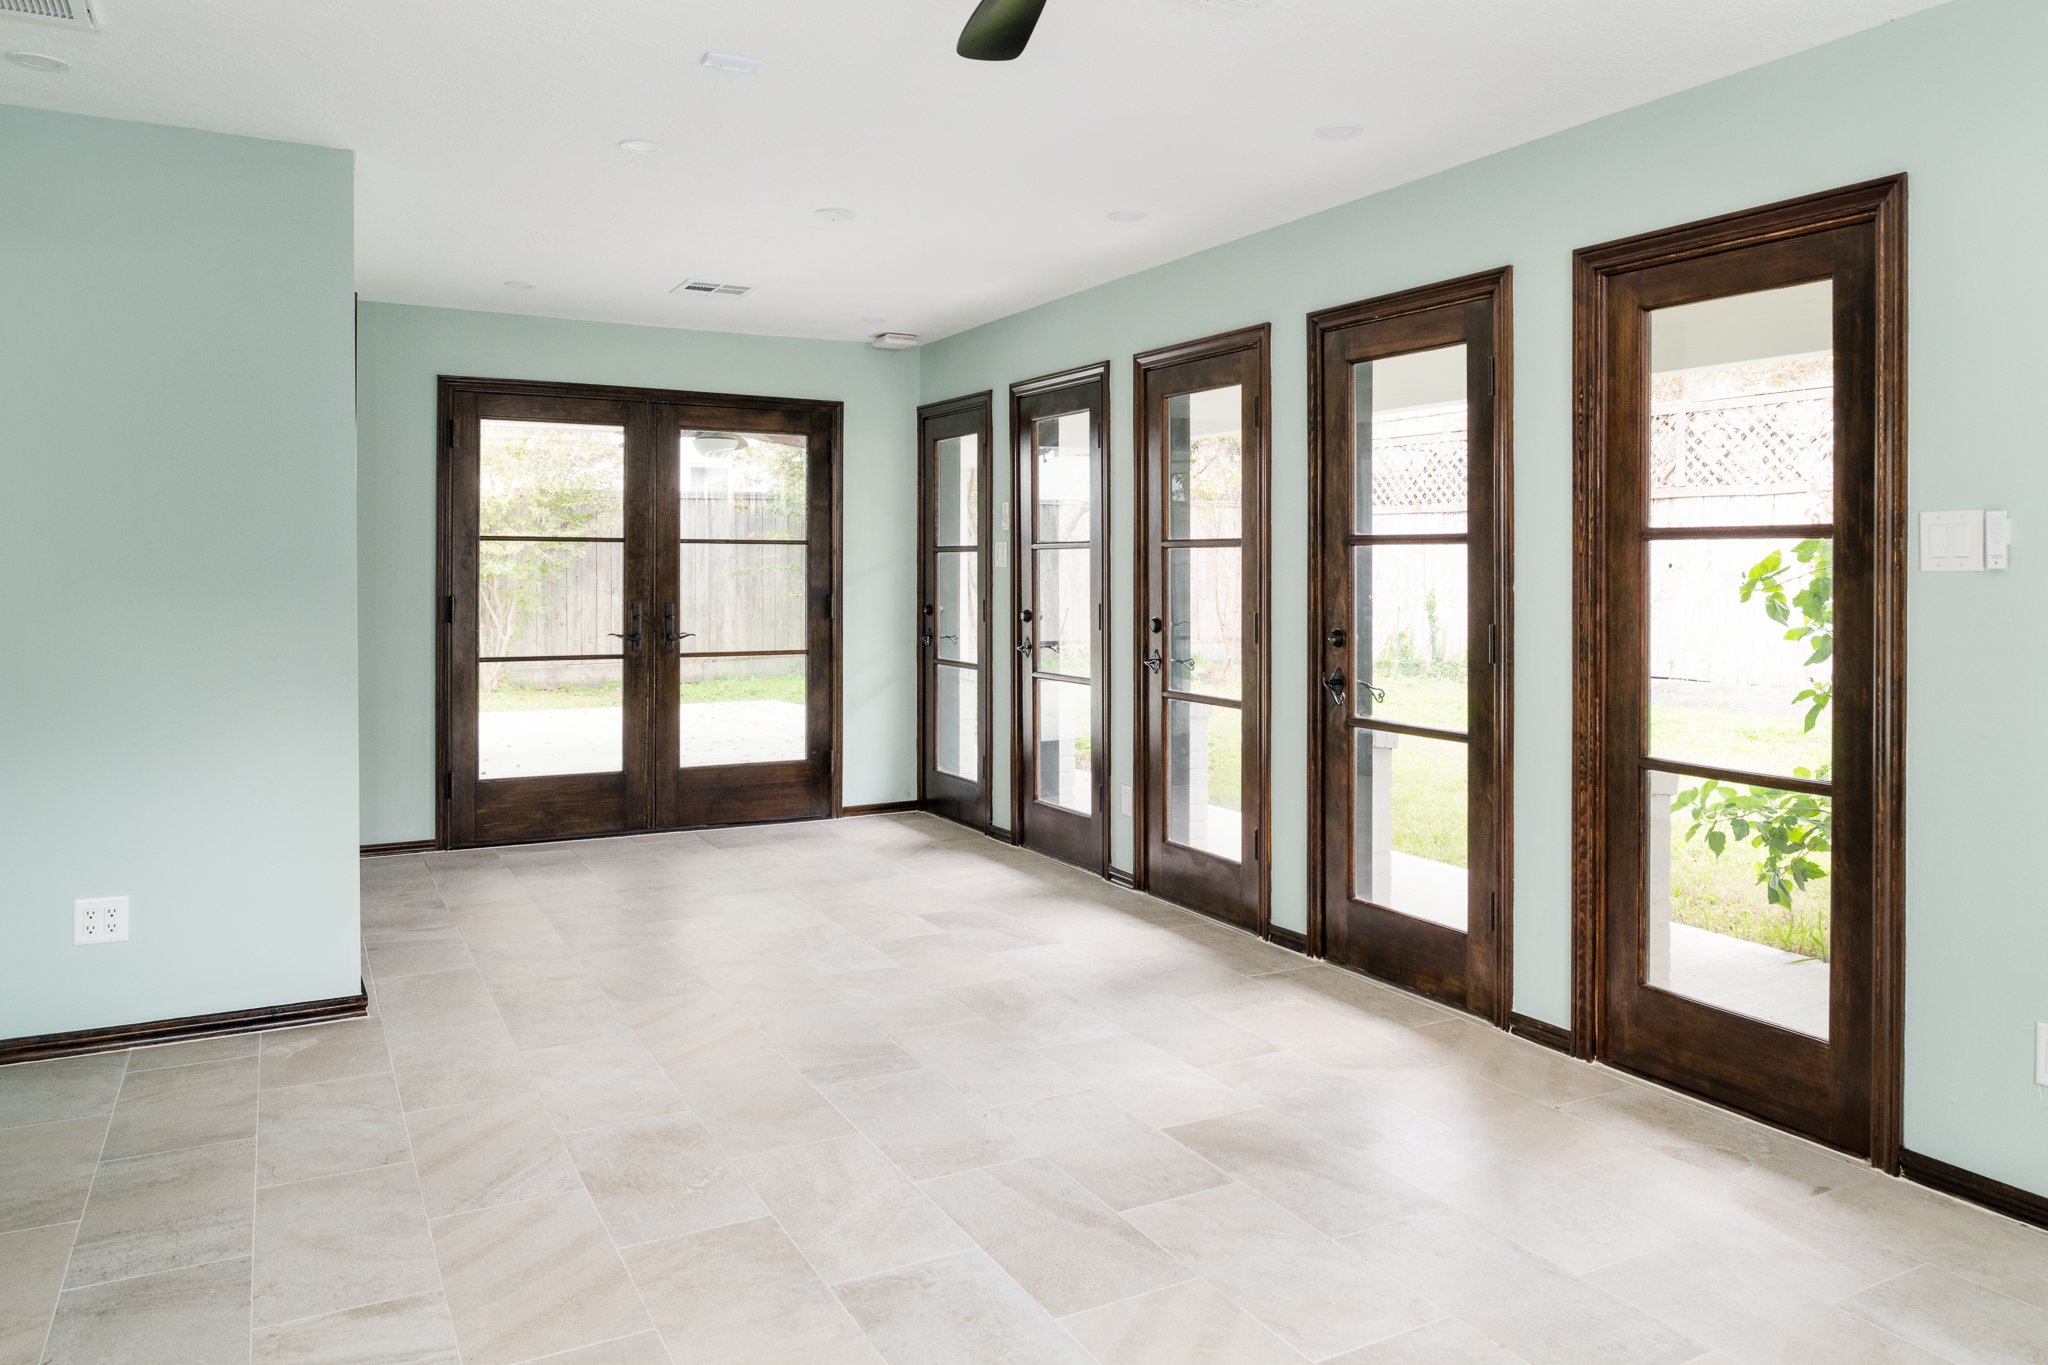
Out back, we created a flat, even patio area that connects to the house with new double doors. To keep water from entering the home through the patio we used stainless steel flashing with a drip edge. We installed it under the bottom skirt of siding, sealing off the first 18 inches from the ground to keep water from damaging the walls.


ADA-accessible doors
We wanted to make sure every entrance to the house, plus interior doors, were accessible. Almost all doors we used were at least 36 inches wide and double doors to make it more seamless to pass through in a wheelchair.
For exterior doors, we installed beautiful Jeld Wen Multi Lock door sets with a stain grade wood interior and ADA thresholds. Door thresholds refer to the material on the floor inside a doorframe that helps ensure an air-tight fit between the floor and bottom of the door. ADA thresholds are lower—they must be almost flat with the floor, but high enough so water can’t seep through. To ensure water doesn’t make its way into the house, we also had custom door pans made for the new exterior doors to drive water out and away from the house.
For exterior doors, we installed beautiful Jeld Wen Multi Lock door sets with a stain grade wood interior and ADA thresholds.
We added pocket doors throughout the house, an option we liked because they don’t require door stops to hold them open or get in the way of other nearby opened doors. With one, we did away with the typical stops and trims you normally see on the insides of pocket door frames so we could recoup 3/4 inches in a tight space. The modification will save money on future repairs due to what would have been inevitable damage from the wheelchair navigating the small space.
An open floor plan
While the openings between the kitchen, living and dining spaces were all wide enough to be ADA compliant, we wanted to open up the space even more for ease of movement.
This modification gave the homeowner more options when it comes to furniture placement and to creating easy to navigate paths around furniture and easy access to furniture.


As with all remodels, opening up walls and adding beams to make sure the home was still structurally sound meant multiple systems needed to be rerouted. This included water pipes, gas pipes, electrical wiring and HVAC drain lines. It was time-intensive work that had to be completed well before the framer, drywaller and painter got involved and required careful planning and coordination.
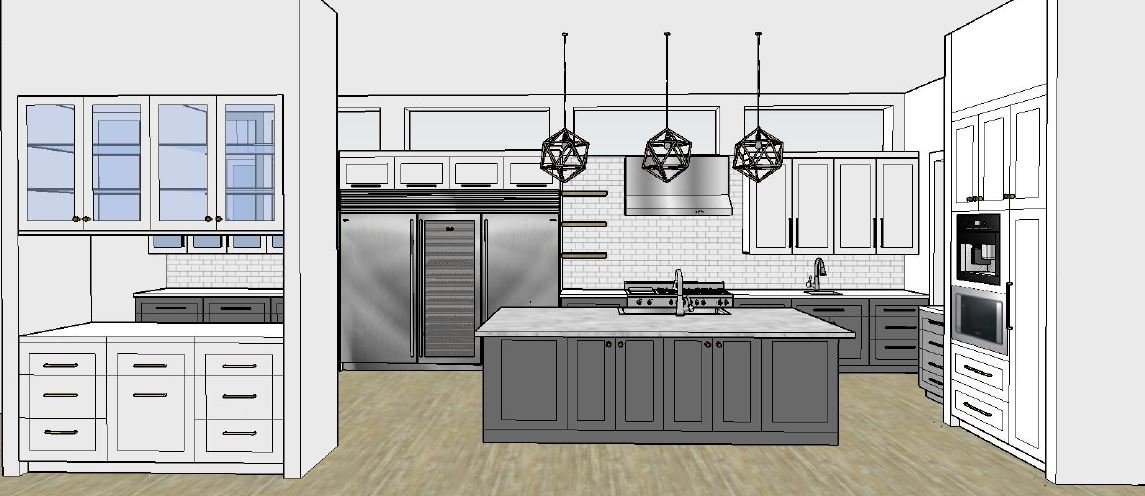
Seamless flooring transitions
The house still had its original, traditional two-inch select white oak flooring throughout, except for in the kitchen, gym (the former den) and in the bathrooms. We wanted to make sure flooring was even and made for easy transitions in the wheelchair.
We installed new tile in the gym and made it perfectly flush with the wood floor in the living room. We used a thin metal flush transition piece to separate the tiles from the wood. Color-matched flexible sealant filled in final gaps.


In the kitchen, we removed the tile and installed matching wood. We found reclaimed wood, matching the wood species, grade and manufacturer. We used the “tar and screeds” method to put in the floor, first laying tar, then thin wood planks, or screeds, followed by the flooring. We were able to lay the wood perfectly flush and in line with the rest of the home. Transitions between all rooms were seamless, with most not requiring any thresholds or transition strips to bridge gaps.


Stay tuned for Part 2 of this blog where delve into modifications made in specific rooms and automations.