Converting a window to a patio door can be a great way to get your family to spend more time outside—whether it’s barbequing, gardening or playing backyard games.
But contrary to popular belief, the process isn’t quite as simple as popping out old windows and then securing a new door in their place. Converting windows into patio doors takes careful planning and precision during from demo through installation.
Costs can also add up depending on the decisions you make and the materials you choose. If you’re toying with the idea of turning your windows into a patio door, here are 15 considerations to keep in mind—and decisions you should make—before you commit.
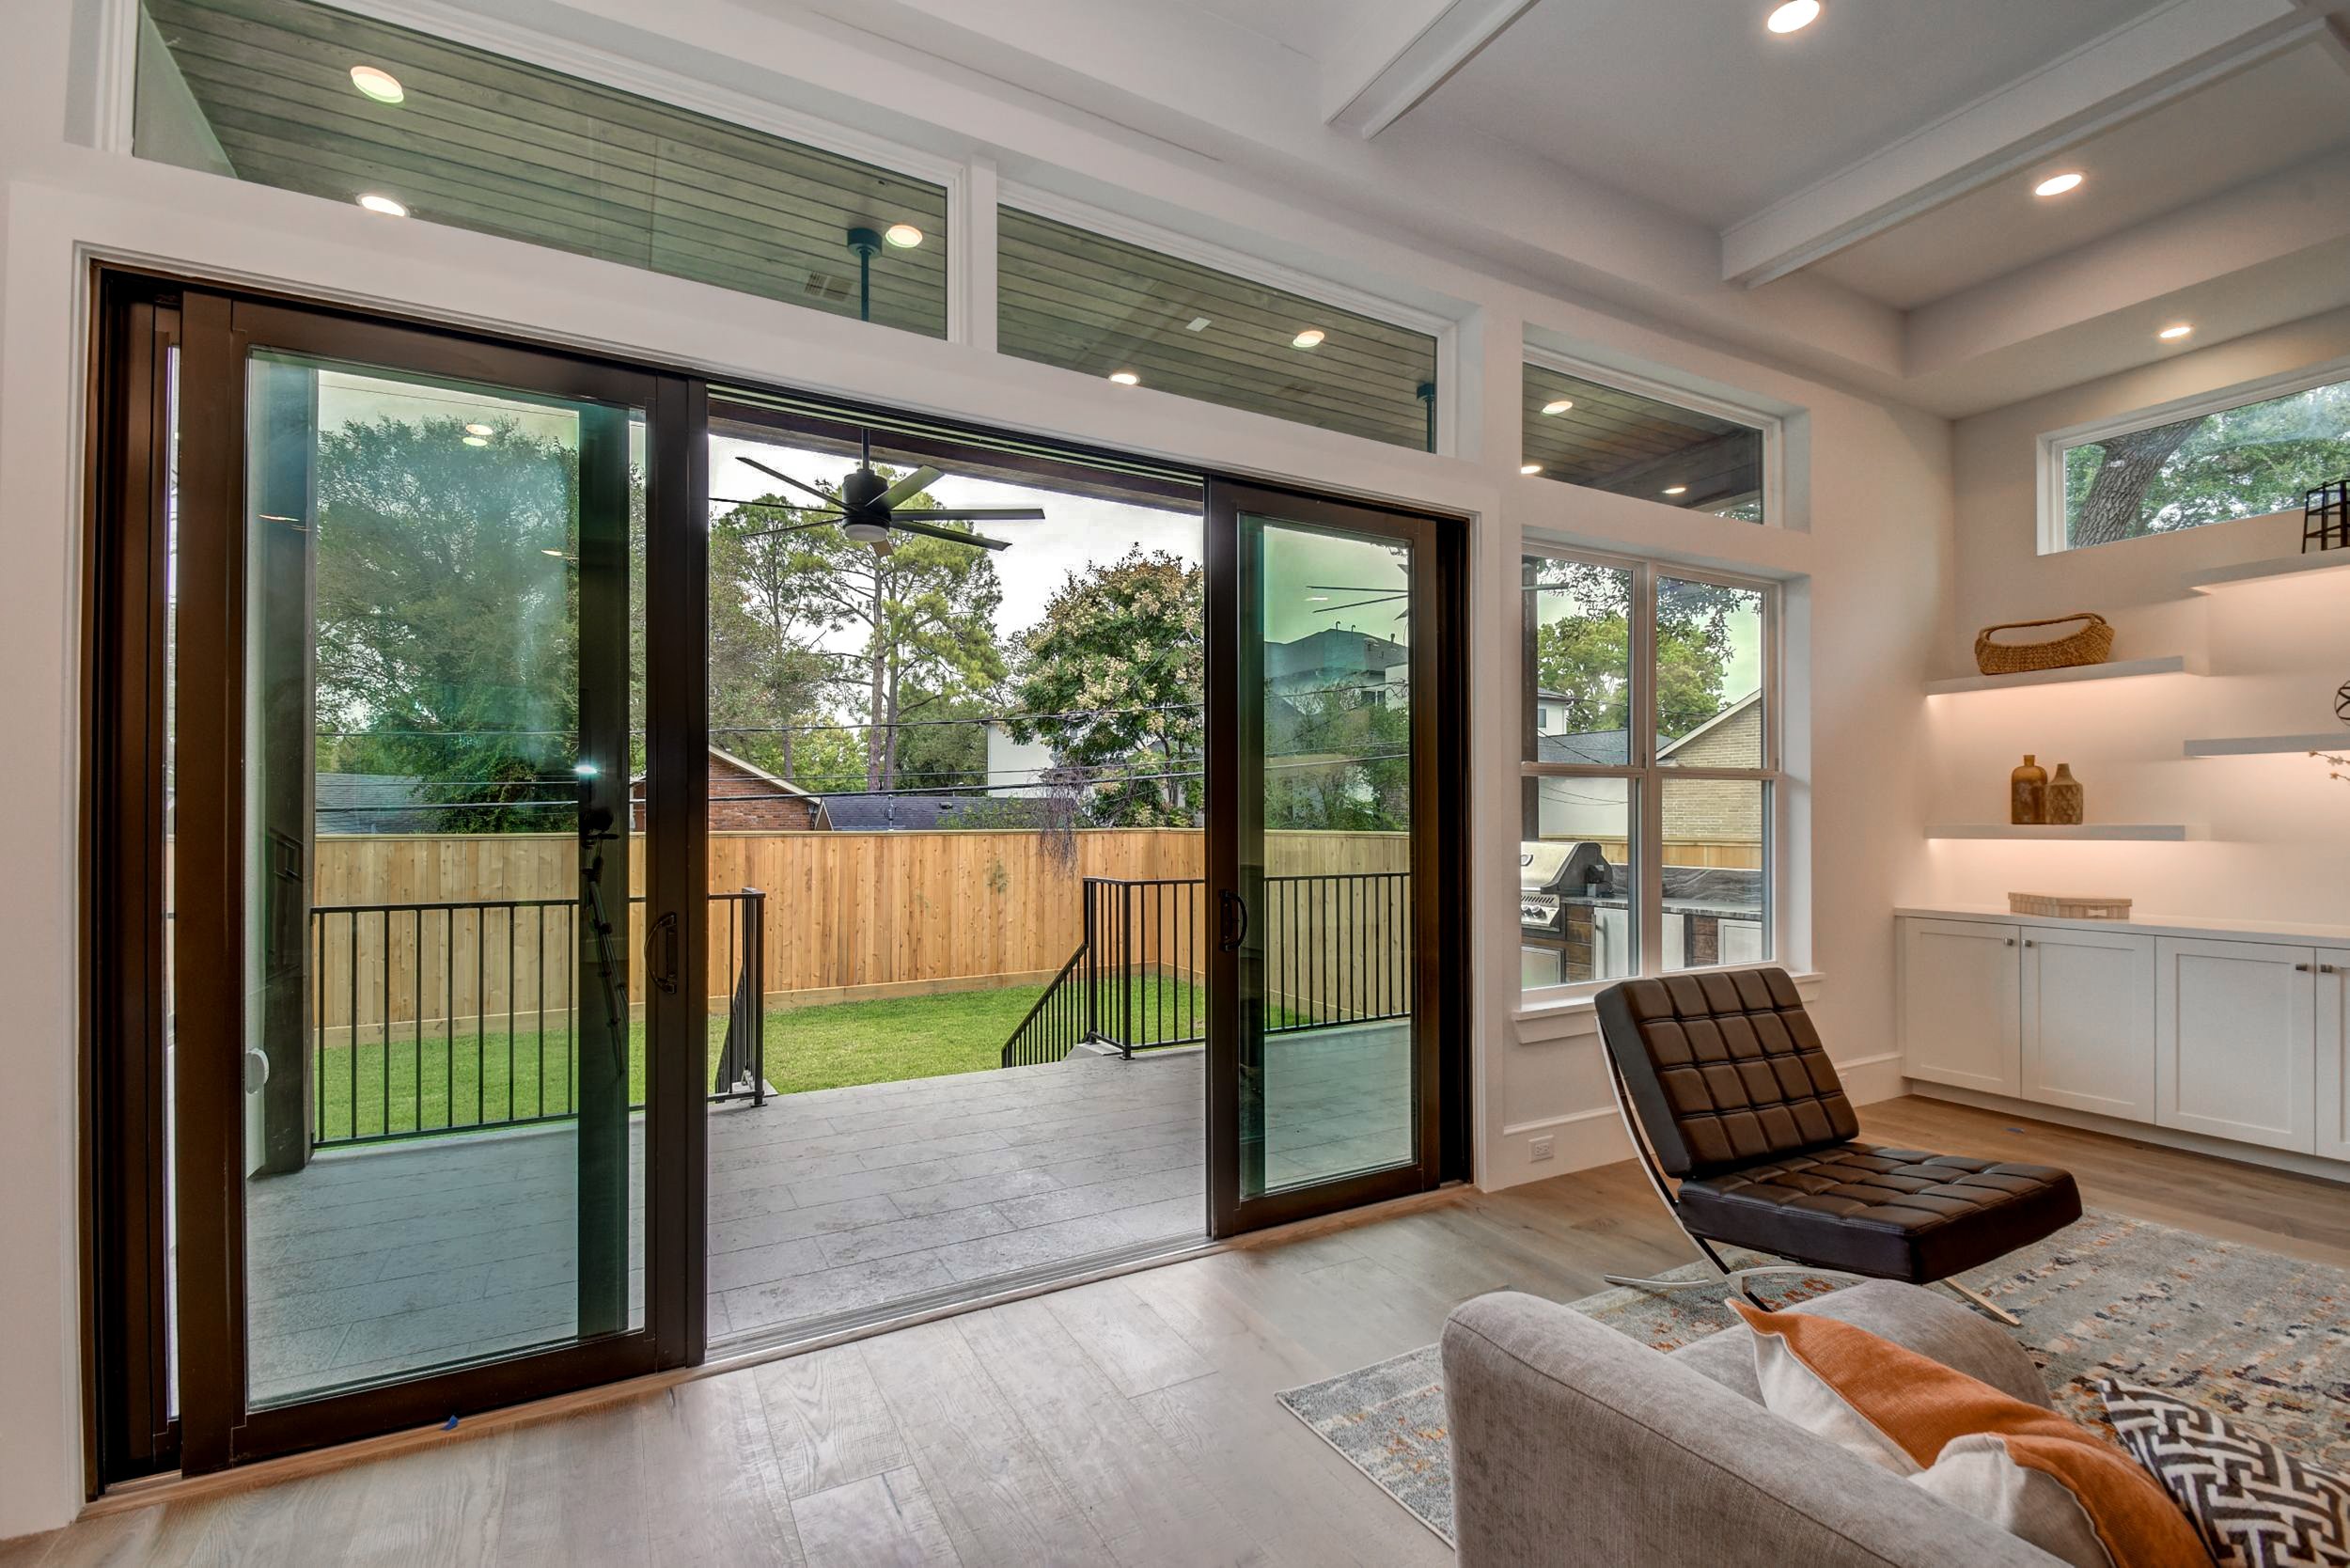
1. Decide on the doors. Door will be a big chunk of your budget. There are many varieties to choose from, including French, sliding, multi-slide and bifold patio doors. This can cost anywhere from $500-$20,000. Take the time to look at all the options online, in the store, or better yet in action at a friend or family member’s home, to decide which one you prefer.
2. Ask about an overhang. After considering size, cost and door style, ask the manufacturer their requirement for an overhang or facing to go along with the door. Depending on location, you may need to build an overhang to protect your doors from the elements—or even change the type of door you were considering depending on the manufacturer’s response. If you do need an overhang, a small, shingled mini roof can start at $1,500 and easily climb to tens thousands of dollars depending on the type of construction, finishes and size.
3. Factor in demo costs. Demolition (inside and out) and debris removal can cost about $1,800 for a 10’x8’ wall. Price will depend on the type of construction—brick is more expensive than siding, for example—and location. Costs can add up, for instance, if manual hauls of debris are necessary because a dumpster isn’t allowed on the property per neighborhood policy.
4. Understand if you need a landing. Per some building codes, a landing outside any exterior doorway that doesn’t open onto a solid surface is required. If code requires you to have a landing outside the door, ask about the cost and required size. For example, a 6’x3’ basic concrete runs about $1,000.
5. But install a landing nonetheless. We recommend you have a landing, regardless of what the code says. A landing will provide a stable place to stand while one's attention is focused on operating the door. It’s also a good idea because it will help avoid tracking excess dirt and mud inside the house. And, the step up to a doorway can be high—anything above about 7” will be a trip hazard.
(If your new door widths are less than the size of the window or windows you’re replacing, you’re in luck because that means you can skip over several more complicated and expensive steps below. If that’s the case, skip the next step.)
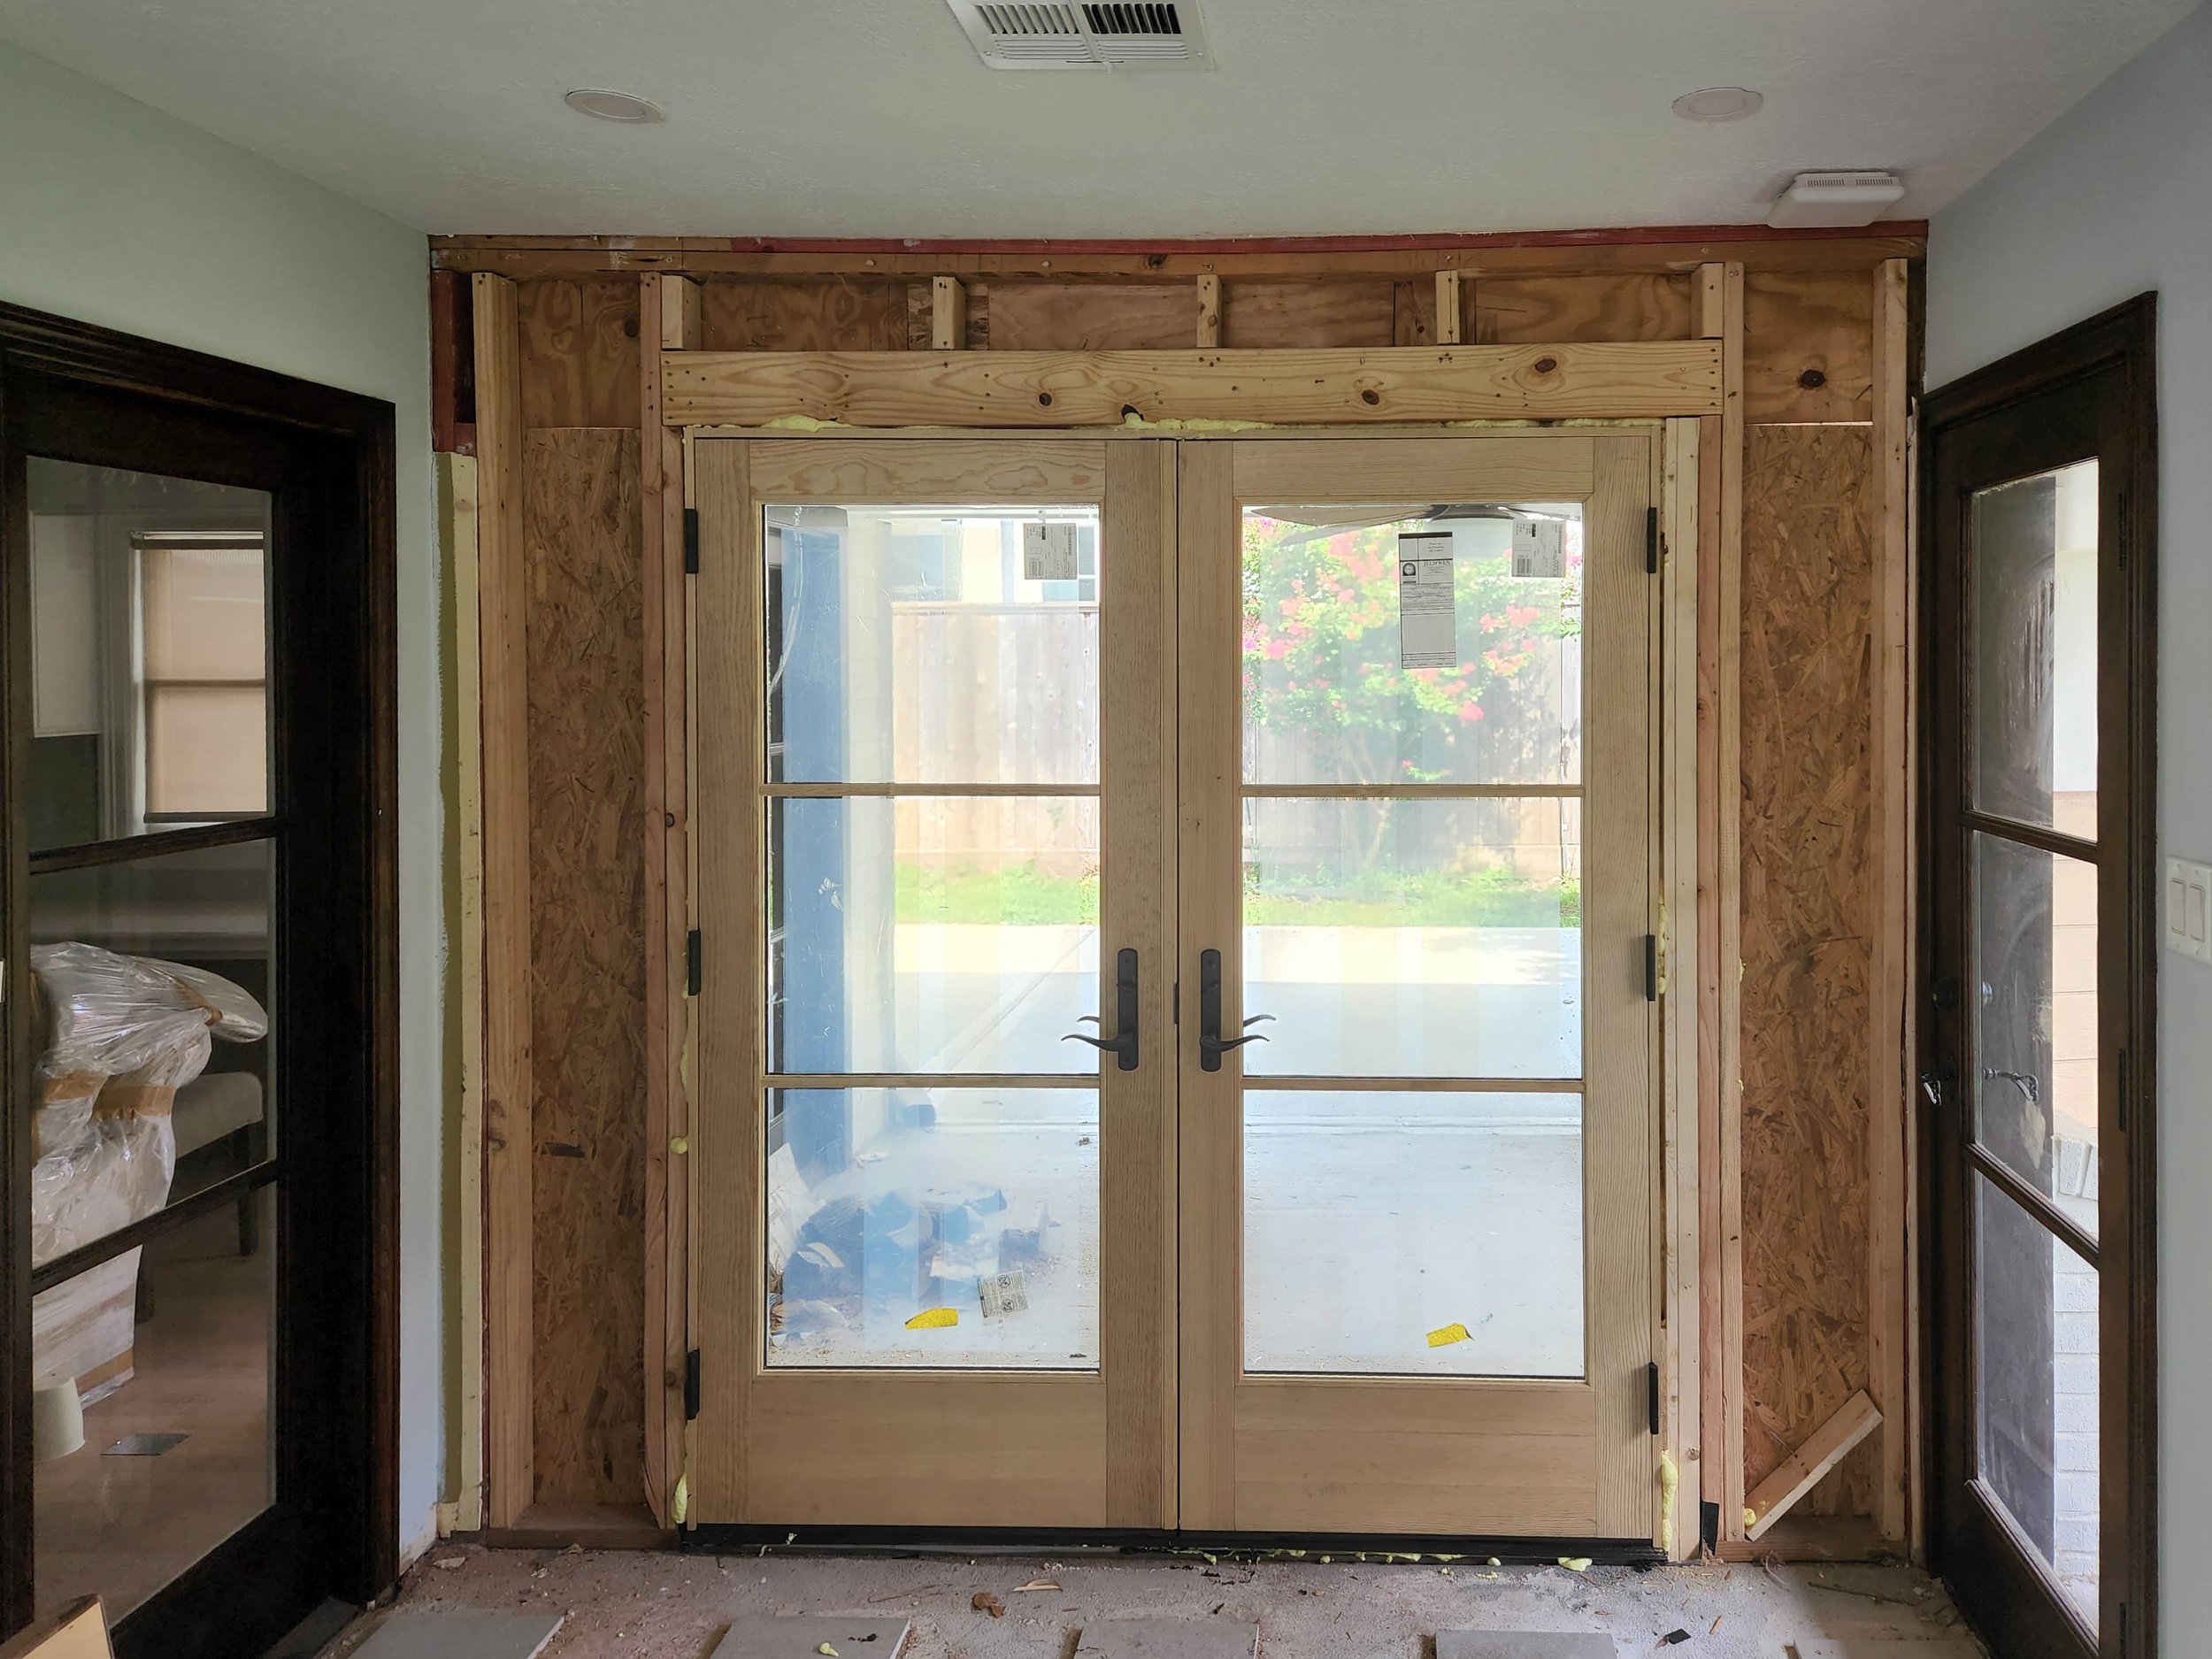
6. Add in new header costs, if needed. Depending on the type of construction and the distance between windows, there’s a high probability you’ll need a new header installed that is designed to bear the load of the wall or structure above. That means the whole area needs to be reframed, at least 2’ from each side of the doors’ rough opening, or the framed opening size into which a door is installed. This is normally 2.5-3” larger than the door size, but it’s model specific, so check with the supplier. The new header needs to covers the entire span of the opening. That will cost anywhere from $1,500 to $3,000 including labor and materials for a 6’x 6’-8” door’s rough opening.
7. Think about plumbing. If there’s plumbing in the area of the new rough opening, you’ll need to relocate or remove the plumbing. Sometimes you’ll be able to see a hose bib, or small faucet, on an exterior wall. In other cases, you won’t know about plumbing until the wall is opened up. Capping this hose bib, modifying it or moving it to a new location can start at $350 with labor and materials. If you don’t have access to the wall from the attic, for example, on the ground floor of a two-story home, be prepared for some surprises.
8. Remember HVAC and outlets. You may need to make adjustments with HVAC and outlets, too. As with plumbing, some of this work will be simple and inexpensive. Moving or canceling an outlet or two can cost around $200 each. But the same caveats apply—often you won’t know what you’re dealing with until the wall is opened up.
9. Choose a quality door sill pan. For the new opening you make with your doors, you’ll most likely need a door pan. It’s a tub the bottom of the door sits in that’s open to the exterior. The water that inevitably gets through door seals, jambs and thresholds is diverted back outside instead of onto your new wood flooring or carpet. This is especially important if you’re facing south or west and lack adequate overhang protection. The cost depends on the quality of the pan. We use custom stainless steel pans that run about $850 for a 6’ pan, installed.
How a Specs Document Can Transform Your Remodeling Experience
10. Get ready for wall repair. After the new door pan and door are installed, the exterior will need to be trimmed out, or the wall repaired so the new door looks finished like the rest of the house. The price depends on the material your exterior is finished with (siding, stucco, brick). Siding, for example, is often the most economical option. Brick or stone is normally the most costly and could run about $2000. You’ll also need to install a metal lintel, or a piece of metal that spans the space in front of the header and supports the weight of the brick or stone. If you have a one-story home, you can choose to have just siding above the door. But if you have a brick wall over the door, you must install a lintel.
11. Prepare for painting. Exterior trim, paint and flashing will cost you about $600-700 for a 6’x6’-8” opening on a lap siding wall, or type of siding that’s installed horizontally on your home, such as Hardie Plank, wood, aluminum, or PVC.
12. Doing drywall. Interior drywall, trim, and paint costs about $1,300 for a 6’x6’-8” door. This depends on door casing and baseboard used in the home, the paint and drywall finish level and demo required for framing, electrical and plumbing.
13. Installing the door. Sometimes suppliers have installers of their own. This is a good idea, as suppliers are familiar with the product and your warranty is assured (at least with respect to install). This cost will run about $750, depending on the type of door and the manufacturer.
14. Putting in a threshold. If you order conventional swinging doors without a threshold, there will be an additional cost. Thresholds can be installed from about $650 for a 6’ double door.
15. Accounting for permitting. Finally, you might encounter additional costs if HOA/Municipality permitting is required or requested for the project.
In all, you’re likely looking at about $6,500 up to $15,000 to convert a window to a patio door—minus the cost of the actual door or doors. Costs will fluctuate based on what’s found behind the walls, any technical complications with the doors, and materials costs. If this works with your budget, then adding a patio door can be a great option.













A leaking balcony can lead to costly repairs, water damage, and even structural issues if left untreated. In this guide, we break down the most common causes of balcony leaks—such as poor waterproofing, improper drainage, and structural cracks—and explain how to fix them the right way.